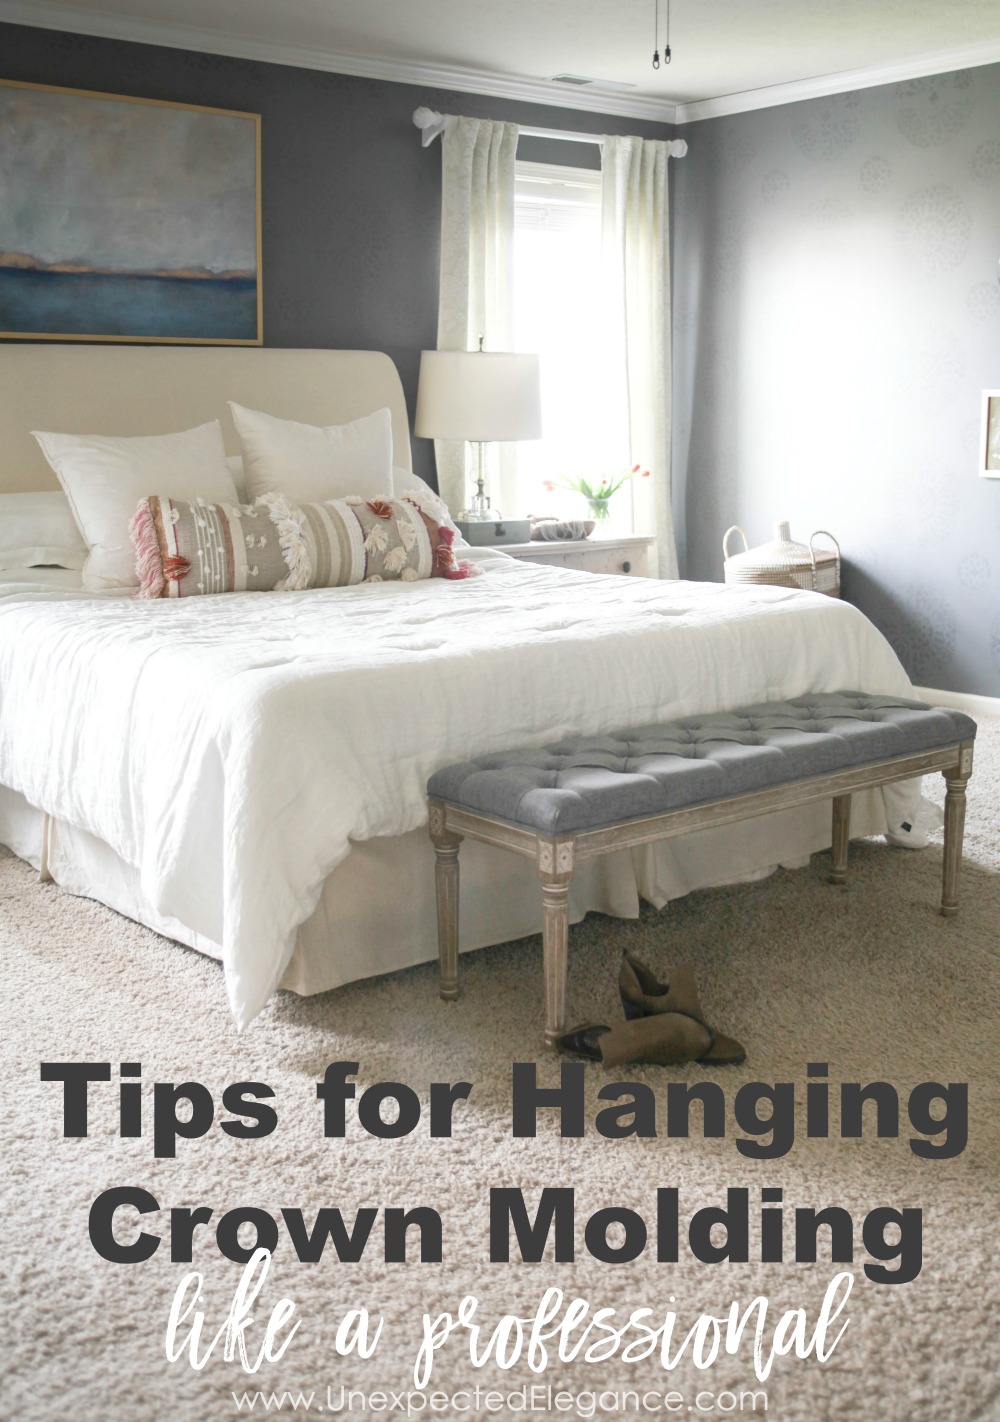
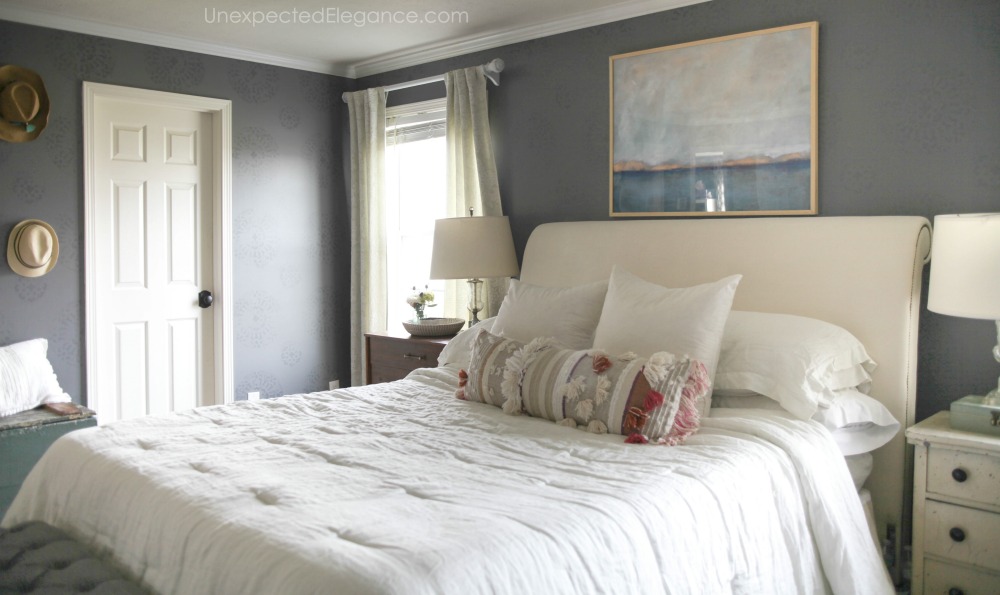
The first time I attempted crown molding wasn’t a success. I got the first piece up right away and then could.not. get figure out the cuts. My master bedroom sat unfinished for months. Finally I was “threatened” by my husband to finish the project or he would help me… 😉 Thankfully my parents came to visit and they helped me finish the project. (My dad is a wealth of home improvement/DIY knowledge!)
I learned so much from working with my dad and have even done a few rooms myself (check out my Dining Room Makeover).
So here are some things I learned along the way and thought that there would be some of you out there interested. I have to say, I was really intimidated by the whole process before my dad showed me just how easy it is.
Tips for Hanging Crown Molding Like a PRO | From a NON-Pro:
FIRST things, first. When you buy your crown molding it should have a sticker like this one:
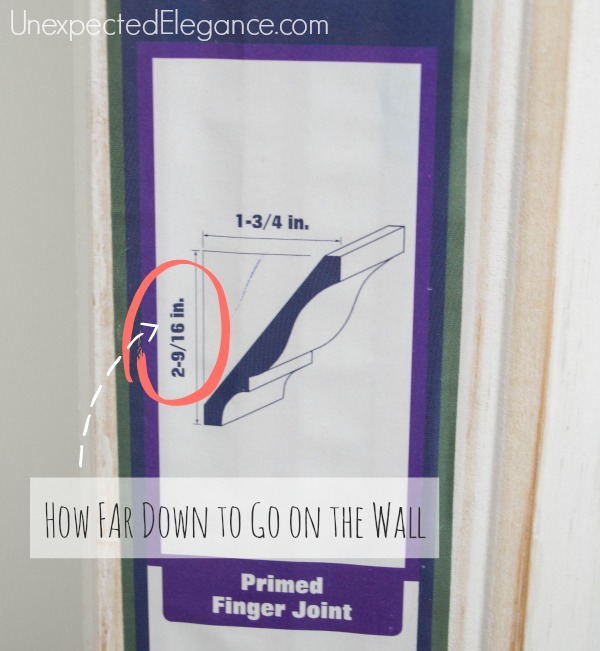
The number I circled in the picture is IMPORTANT! It tells you how far down from the ceiling you need to have the molding. You will need this number so don’t lose it!!
PREPPING
Before we even started, I made some templates. This helps as a guide when you are figuring out the angles.
My suggestion would be to have a set of these to help keep everything straight in your head. They come in very handy when you can’t remember which direction the molding has to go on the saw!
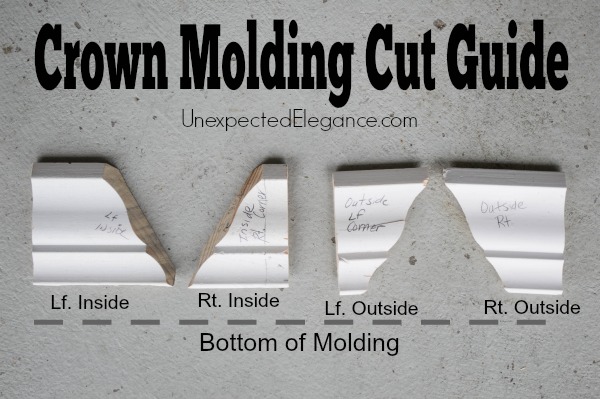
Looking at the wall you are putting the molding on, will determine which cut you need to make.
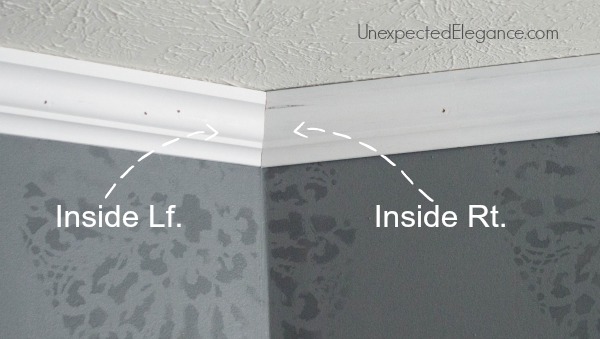 (An “outside” cut would be a corner that sticks out.)
Taking a little time before you get started will help you immensely. We cut a “fence” for our saw that was the exact measurement for how far down on the wall the molding needed to go. (The circled number in the picture above on the molding tag.) Ours was 2-9/16″ so that was how tall our fence was.
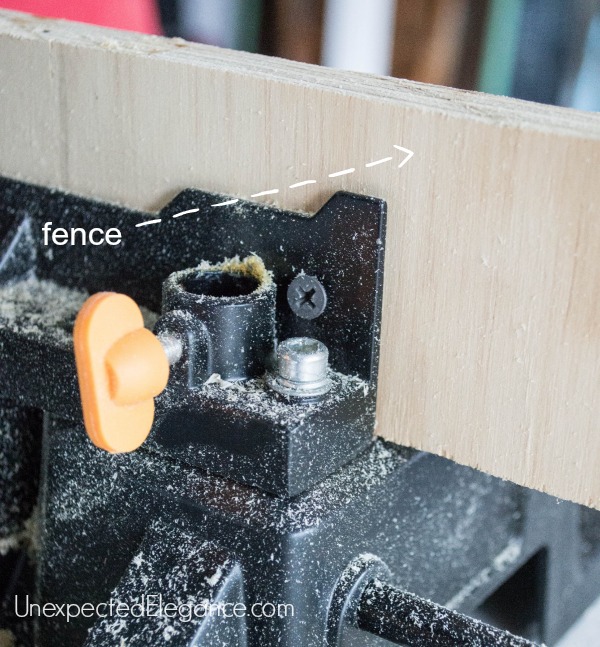
It’s also a good idea to use a clamp on top of the fence that sticks out just slightly. It will stop the molding and is easier to hold the molding in place.
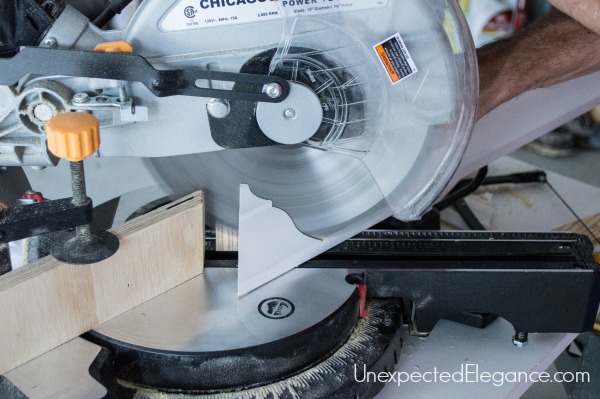
The purpose of the fence and clamp is to give you the angle of the cut. When you are cutting your molding you want the bottom of the piece to be flush with top of the fence.
Making the Cuts
We used the coping method (which I will explain next), and in my opinion it gives you the tightest fit. (It also takes out some of the angle cuts!!) Your first piece will be a straight cut into the corner. The straight cuts should be on the wall you see when you first enter the room and the wall across from it. Your angled/coped pieces will be on the side walls.
REMEMBER: Mark how far down from the ceiling that your molding needs to be so you get the right angle. (It should be on the label that came with the molding.) You need to do this step with EVERY piece.
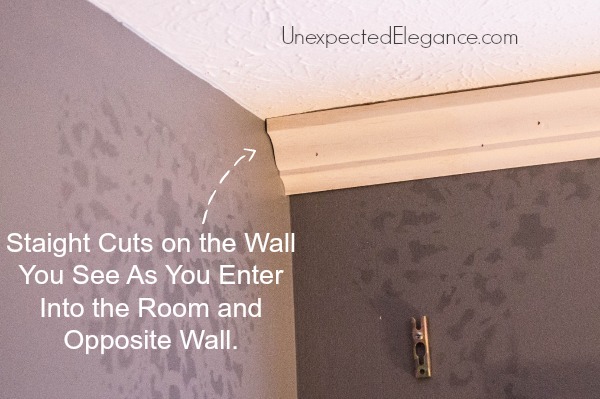
After your straight pieces are up, measure from the bottom of the molding (already up) to figure out how long the next cut (angled) piece needs to be. This piece will butt up to the straight piece.
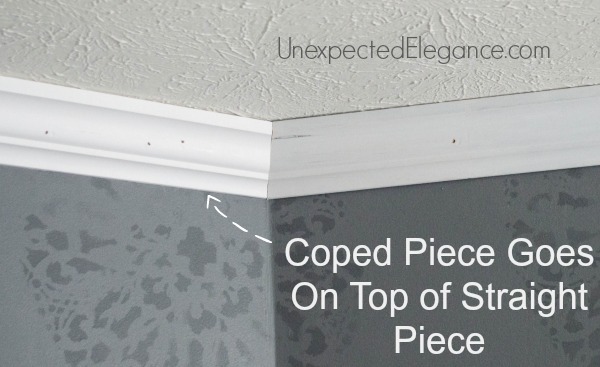
Coping
This takes a little bit of patience but it is worth it!! You will need a coping saw for this step. Carefully follow the paint line with the saw blade at a 45 degree angle.
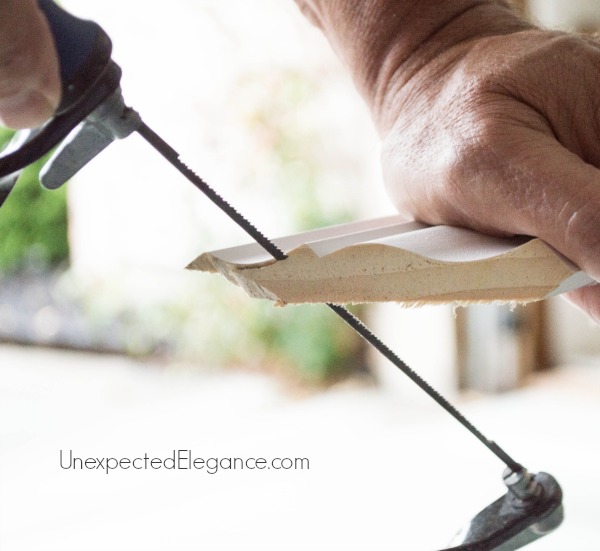
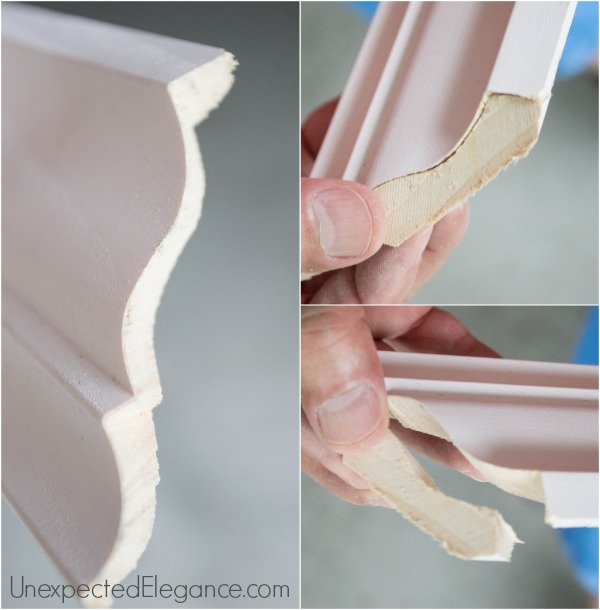
For a quick video, check out this link.
Finishing
Chances are that your ceilings and walls aren’t completely square. This can cause a slight gap in-between the molding and ceiling. Use a small bead of caulking along the ceiling before painting to give you a flushed finish.
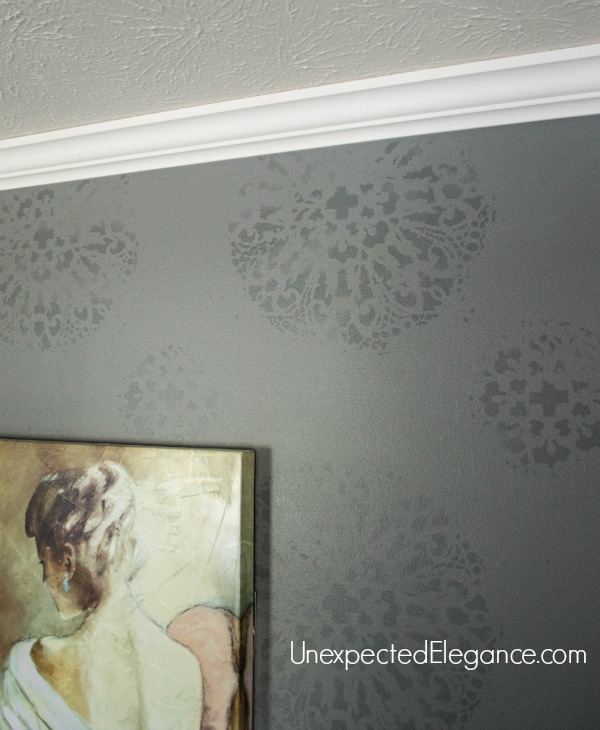 TIP: If you are doing a crown molding project by yourself, measure down from the ceiling how far the molding needs to go and place a few nails down the length of the wall. These nails will help hold the molding in place while you nail it up. When you are finished, carefully remove the nails.
I used my Ryobi Cordless NAILER to hang the molding. It is one of my FAVORITE tools and makes the job go so much quicker!!

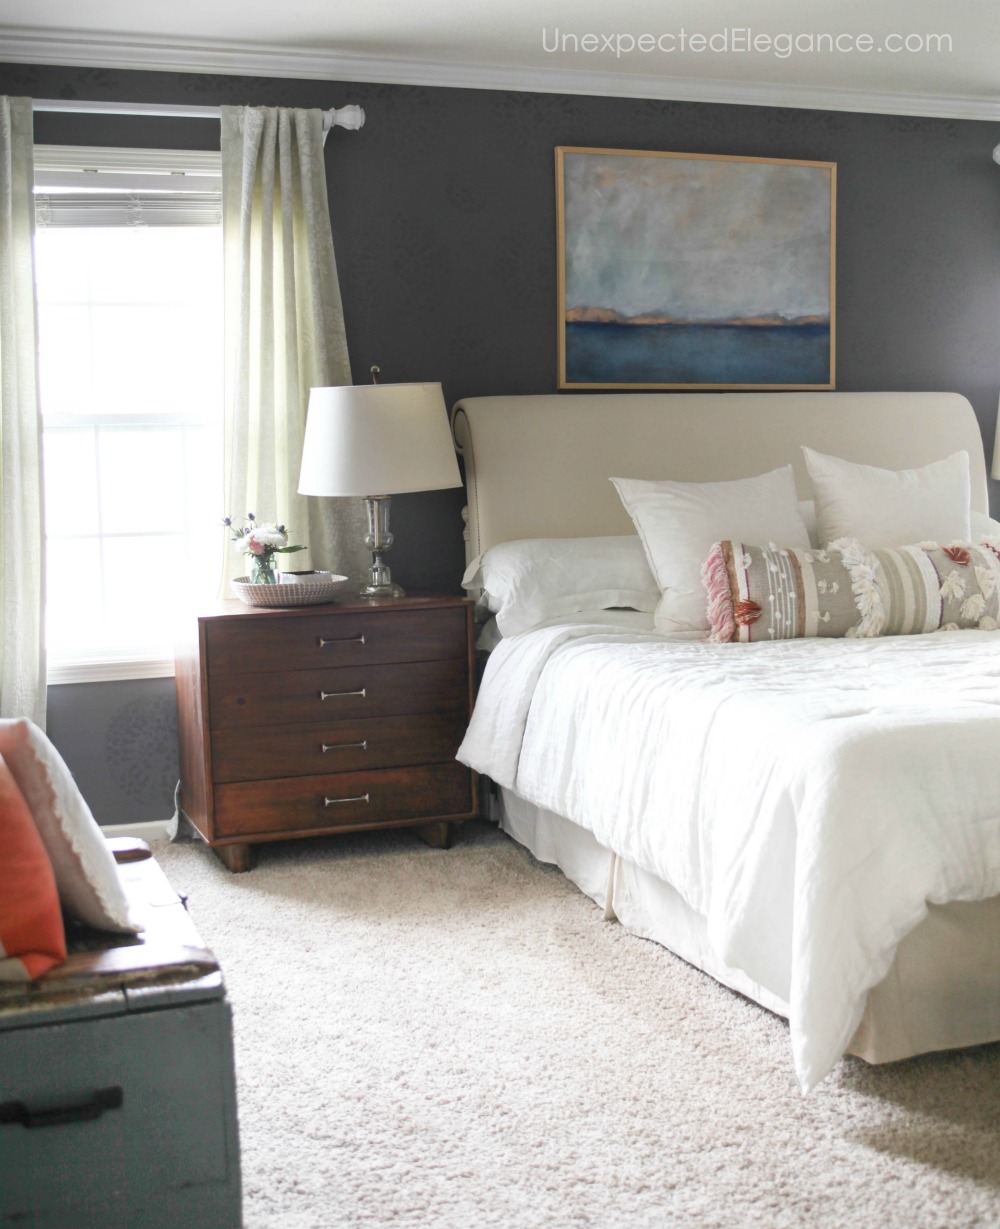
If your room has a dead end without a corner, check out this post: How to Dead End Crown Molding
Hanging crown molding is not as hard as you might think and will give your space a great finishing touch!! 🙂
To find more detail about my walls check out this post: My Stenciled Walls.
This post contains affiliate links.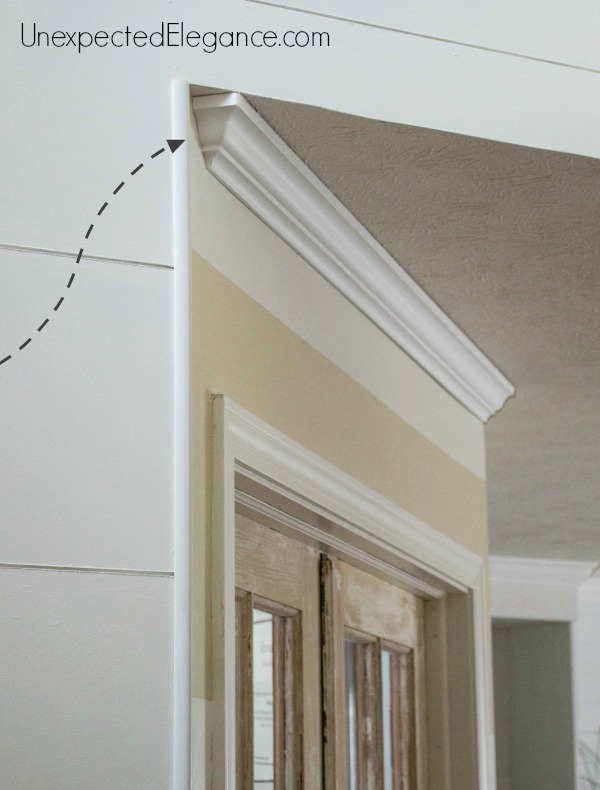

Love it! I have been nervous about taking this on b/c of the many angles in our bedroom and family rooms, but I think I’m ready.
Unrelated – love the grey paint and big “flowery” stencil. PInt color? Stencil source?
Thanks!!
Betsy, I just updated the post but you can find all the details in this post: https://www.unexpectedelegance.com/2013/06/24/my-stenciled-walls-and-a-giveaway/
Thanks!!
Angela
Your bedroom looks awesome and I love crown molding!! I still am not sure if I can do it but less afraid to try. 🙂 Thanks for sharing – pinned!!
You did an awesome job. Congrats to you. I have never in all the crown we have bought and put up have a had a sticker on any of it that said how far down the wall measurements. Wish it did
We have recently started our new carpentry company and came across this blog post.
Really appreciate you taking the time to educate us on this topic. It’s a great quick guide for those who want to install crown molding DIY, and yes, a cordless nailer would get the job done much faster.
Crown molding is an exciting topic to write about, and you did an excellent job of keeping it entertaining. Thanks!
Where is your bed from??
Sorry, I’m just seeing this! It’s from Pottery Barn but it’s very old.
The tip about the sticker and using templates for angles is so practical. Crown molding can be daunting but your experience shows it is manageable even for a non pro.
ABA Therapy Services in Sacramento CA
Thankfully my parents came to visit and they helped me finish the project. My dad is a wealth of home improvement/DIY knowledge escape road!
I totally get the struggle with crown molding! Your story about the unfinished master bedroom and your dad’s help really resonated. I’m often intimidated by DIY projects, so hearing how your dad showed you it’s easy gives me hope.