To kick-off my Anniversary Week, I thought I would start with a recent project…inspired by none-other-than Pottery Barn.
The way this project began, was with a trip to PB to buy a gift card. My brother was visiting from Texas last week and he went with me. He saw this:
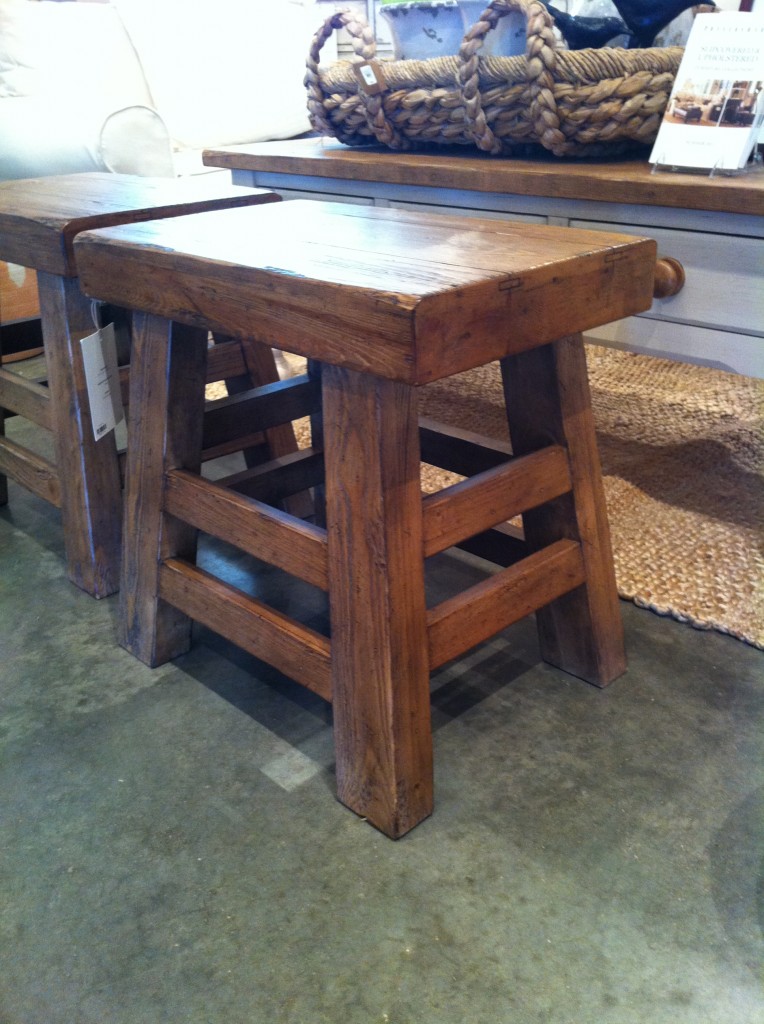 And decided we needed to make one. (He’s a lot like me!)
Now, I can’t find these online but from what I can remember they were well over $100. We made ours from under $20.
Materials we used:
(1) 12″x1″ (6′ long)
(2) 1″x3″ (4′ long)
(1) 2″x4″ (8′ long)
(8) 2″ screws
(16) 1 1/4″ screws
50 grit sandpaper
220 sandpaper
Miter saw, speed square, clamps, tape measure, drill and bits, pencil, wood glue, sander
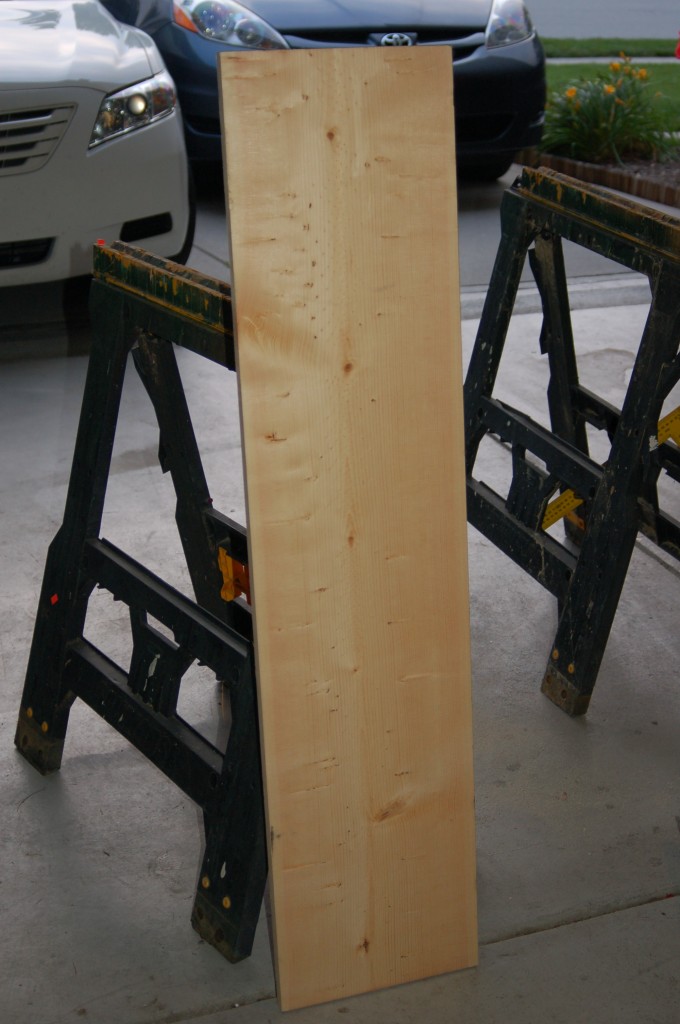 We used a 12×1 that was 8′ long and cut it into 3, 2′ sections and glued all three together.
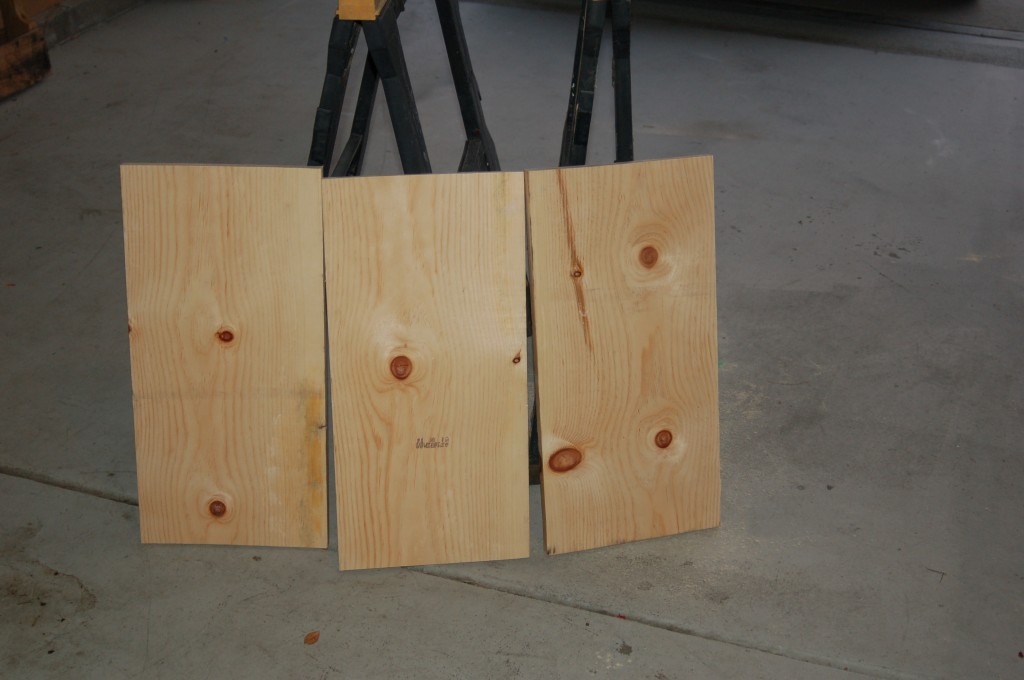
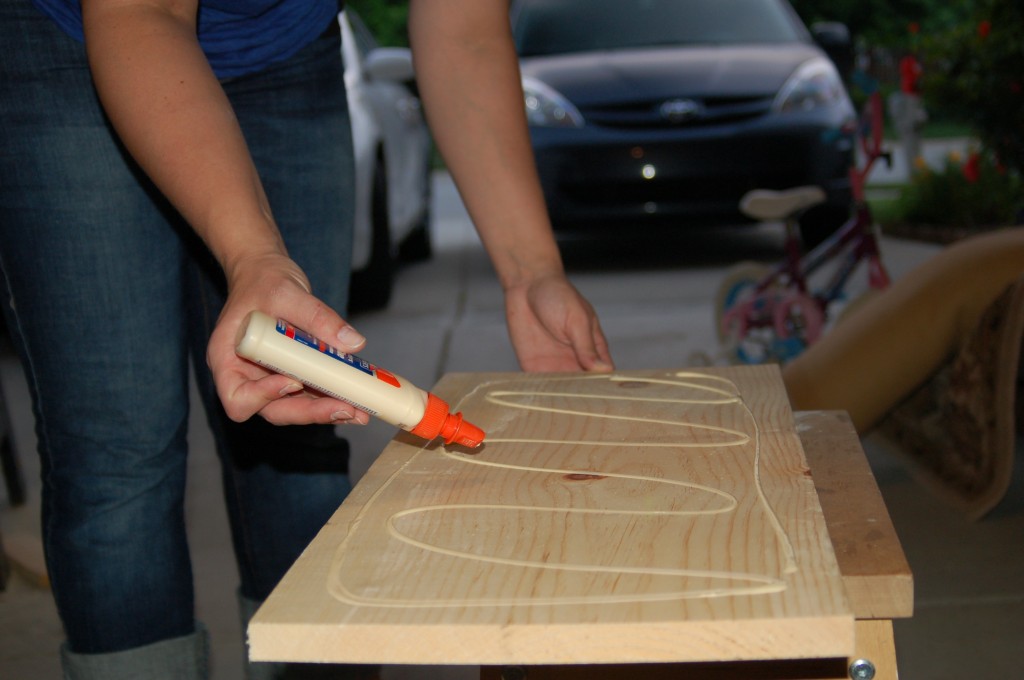 Use clamps to hold them tightly. It only takes about 30 min. to set and they will NOT come apart…I PROMISE!
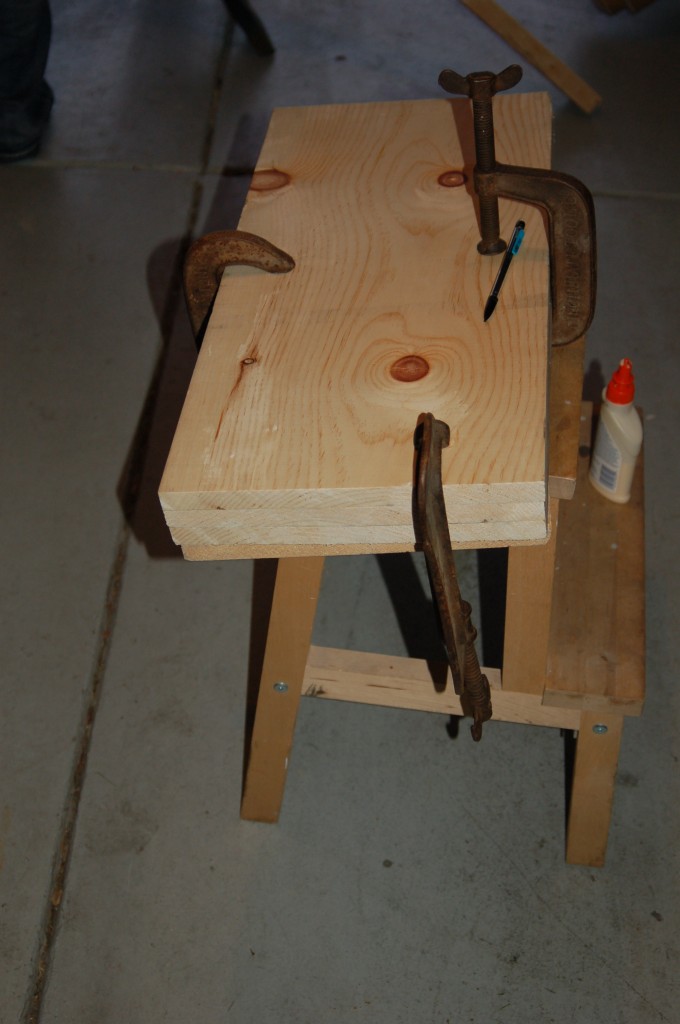 Don’t worry if they are a little off. You can sand it down smooth!
Next we cut the four legs. Set your miter saw at 10 degrees.
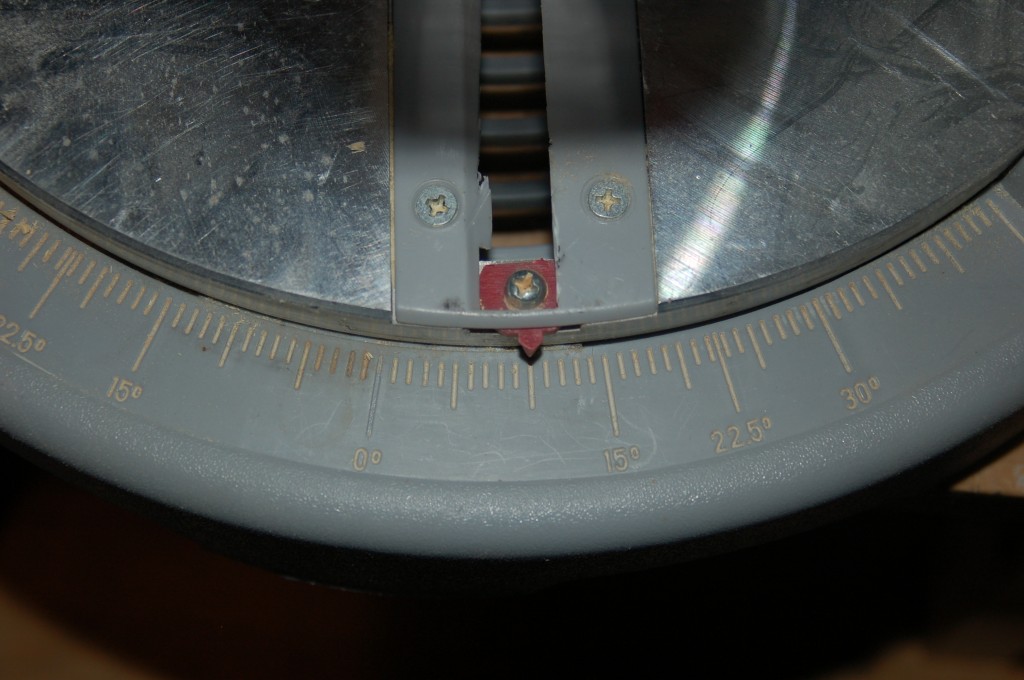 Cut one end at the 10 degrees, measure down 17″ and cut again at the 10 degrees. The angles should be same.
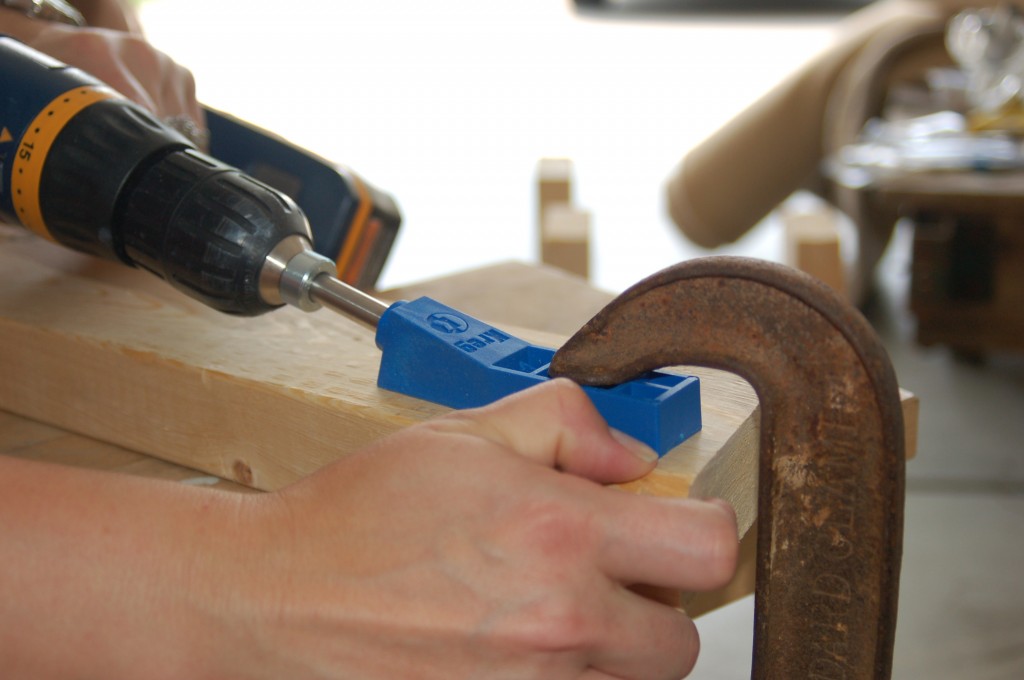
Next you will need to pre-drill holes on the tops of the legs. We used a Kreg jig and it worked GREAT. They are around $20, but just pre-drilling would work too.
Make two holes for better support.
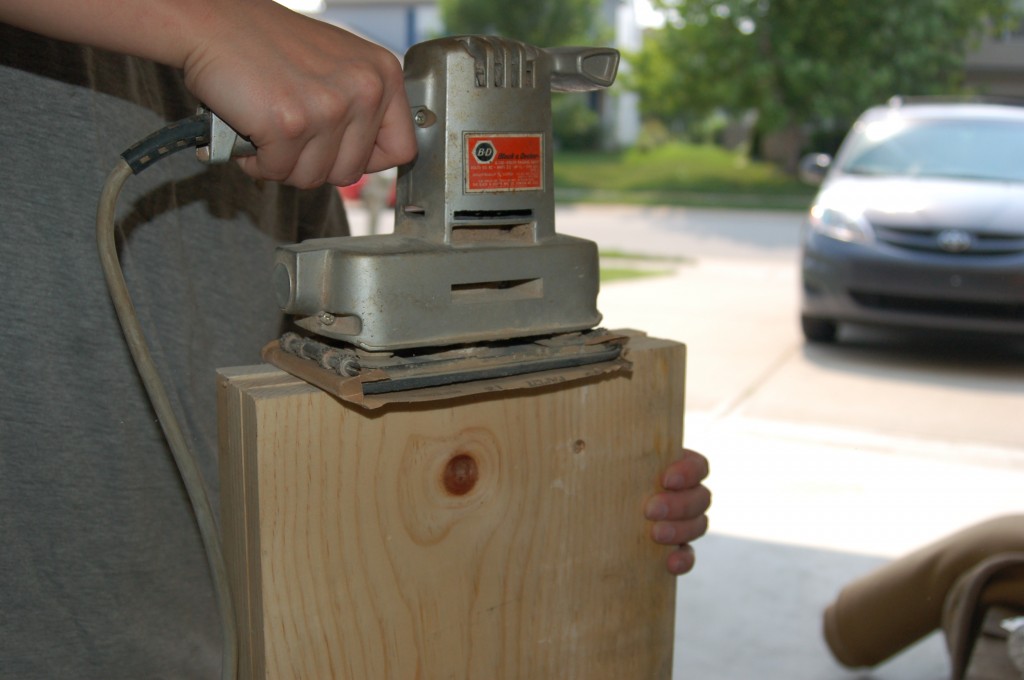
 Once the glue has dried on the “seat” piece, use the 50 grit sandpaper and sand the edges, to make the all even.
We also rounded off the edges.
 On the under side of the “seat” measue in 1″ from the front (longer side) and 3″ from side. Mark those measurements all the way around and then attach the “legs” using 2″ screws in the pre-drilled holes.
Next measure the width between the legs on the front for an exact measurement. Cut four pieces out of the 1×3 at 10 degrees with measurement. These cuts need to be going in OPPOSITE directions.
On the font of each leg, measure up 3″ and 7″. This is where you will attach each support.
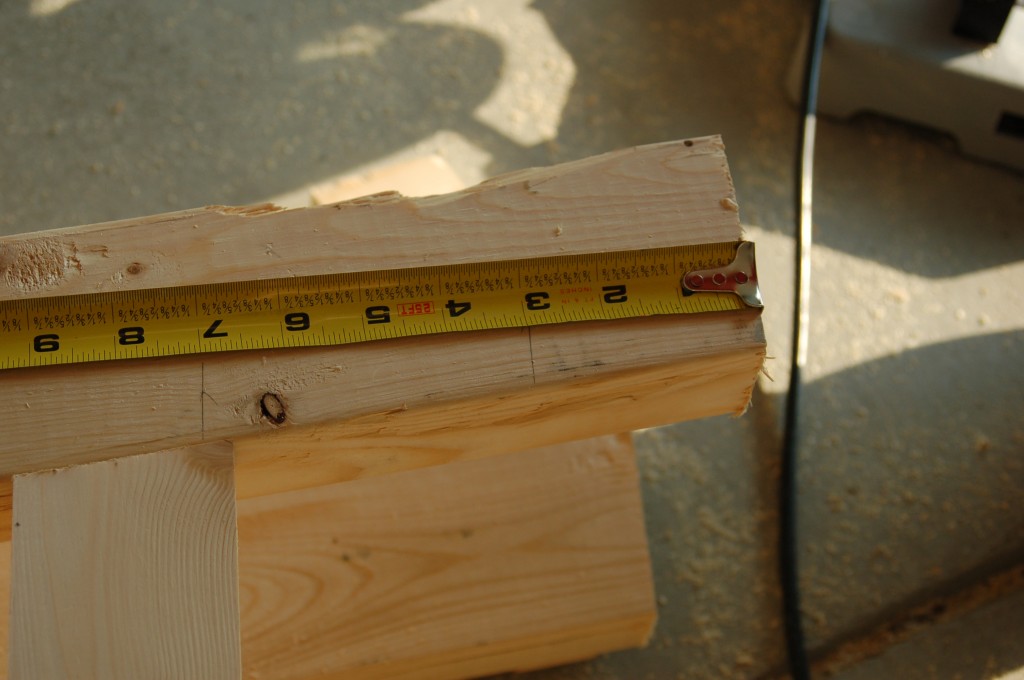 If you have a square, you can use it to copy the measurements on each leg.
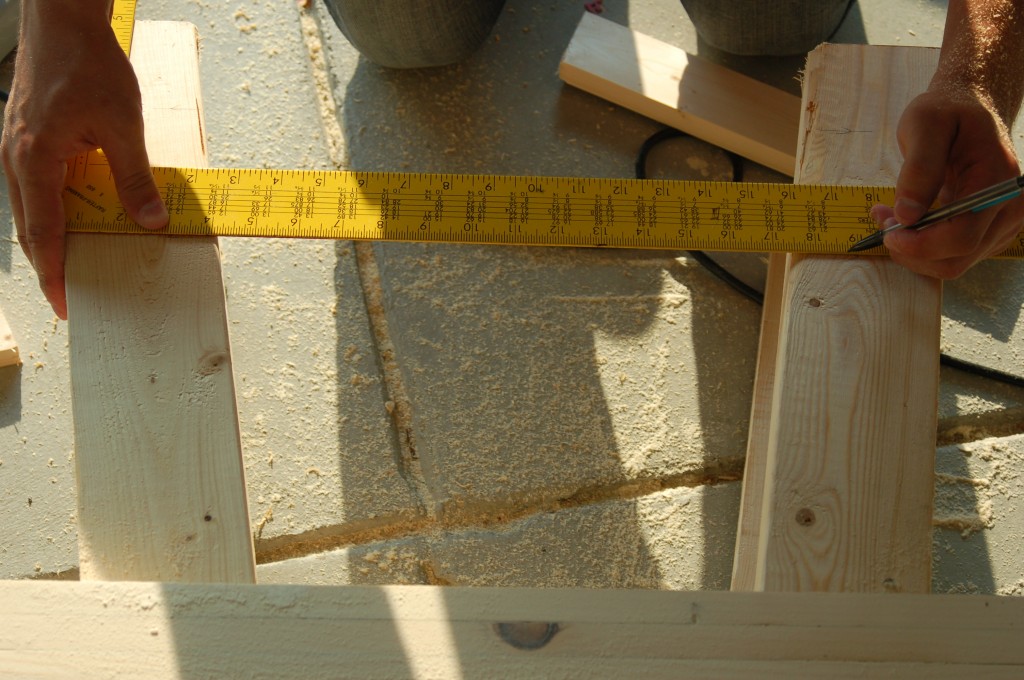 Attach the supports at the marks you made. Two supports on the front and two on the back.
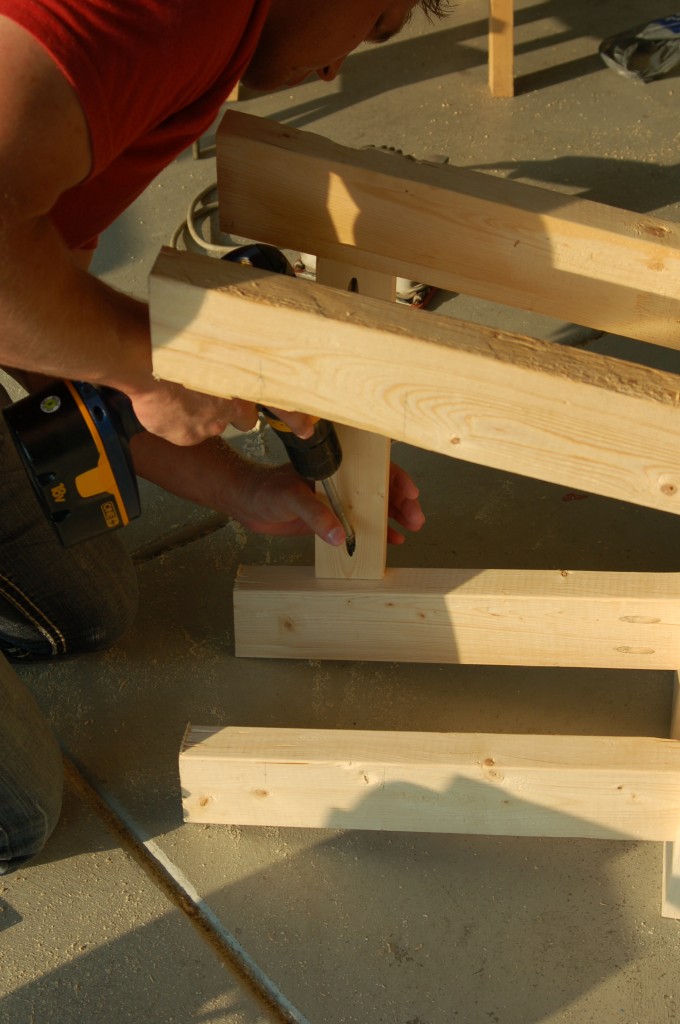
Next measure the distance between the legs on the sides. These cuts will be straight, so make sure you change the saw back to 0 degree.
Mark these legs at 4″ and 8″. Just slightly higher than the front and back.
We found it easiest to take off one set of legs to get a better angle.
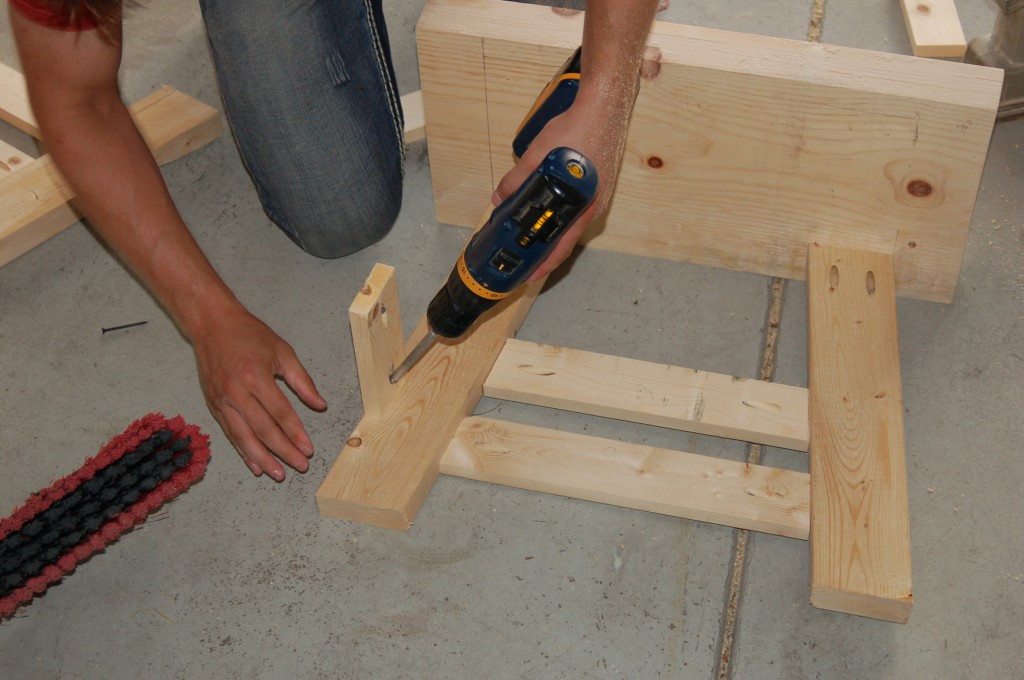 This was a lot of trial and error.
Once we had it built, I took a hammer and “beat it up!” We used 220 grit sandpaper to completely sand the entire thing and make it smooth.
Lastly, stain it. I used Minwax Jacoby.
It still needs to be touched up a little, but I think it turned out pretty close to the orginial.
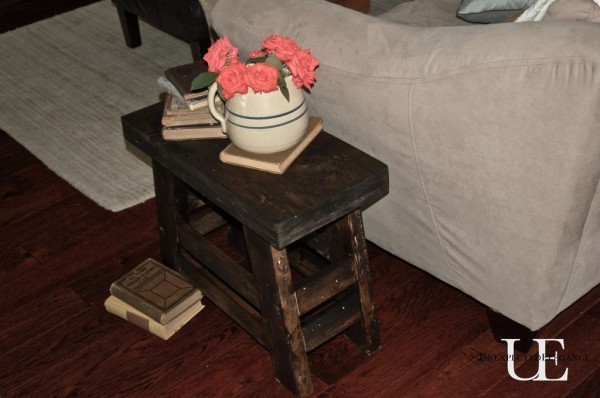
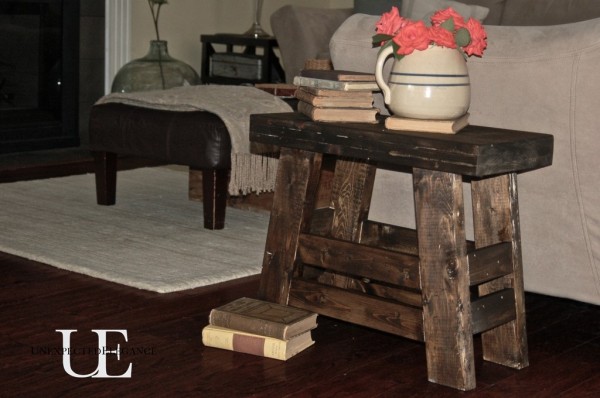 What do you think?
~Angela
I’m linked to:


Your bench looks great! Isn’t it nice to have family members that are handy like that? Thanks forbeing my Google Friend! I’m following you, too!
So fantastic!! I actually like it better than the original and you guys should be so proud of yourselves. Thank you so much for sharing this with us at Inspiration Friday this week! 🙂
Vanessa
OH, I like yours a lot better! Love that color!
I wish I had the tool know-how to do these…not enough time in the day to learn everything I’d like to!
That looks great!!! I’m going to have to add this to my “to do” list!
Looks so great, Angela! You made it look easy – I love the chic style of it!
Keen to build this, could you explain the material measurements more clearly?
1x3x4?
2x4x104?
Thanks!
Pedro, sorry it’s taken me so long to answer your question! It’s been so long since I made this I had to go back and figure it out. 🙂 I updated the post because it was very confusing! The first measurement is a 1″x3″ (4 feet long) and the second is a 2″x4″ (8 feet long). Hopefully that helps!
Your content is outstanding! The clarity, depth, and quality of the information provided are truly exceptional.
Each piece is well-researched and presented in an engaging manner, making it both informative and enjoyable to read. Keep up the fantastic work!
You’re welcome to check out my webpage as well.
truck body work Truck body work involves the repair, modification, and customization of truck exteriors and structures.
This includes fixing dents, replacing damaged parts, and enhancing the vehicle’s functionality and aesthetics.