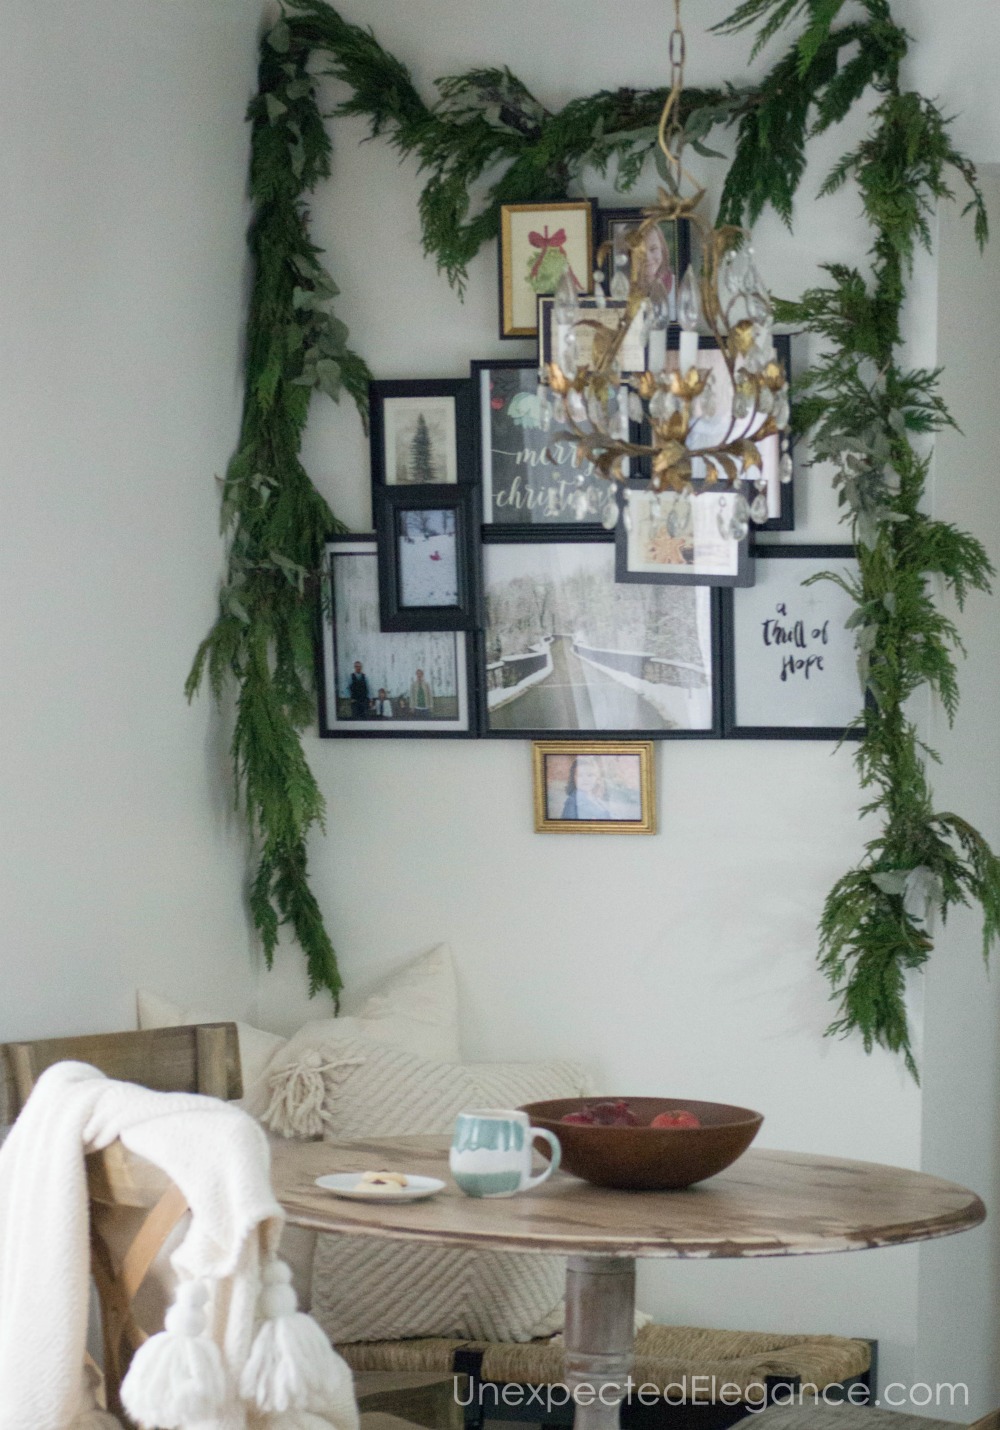
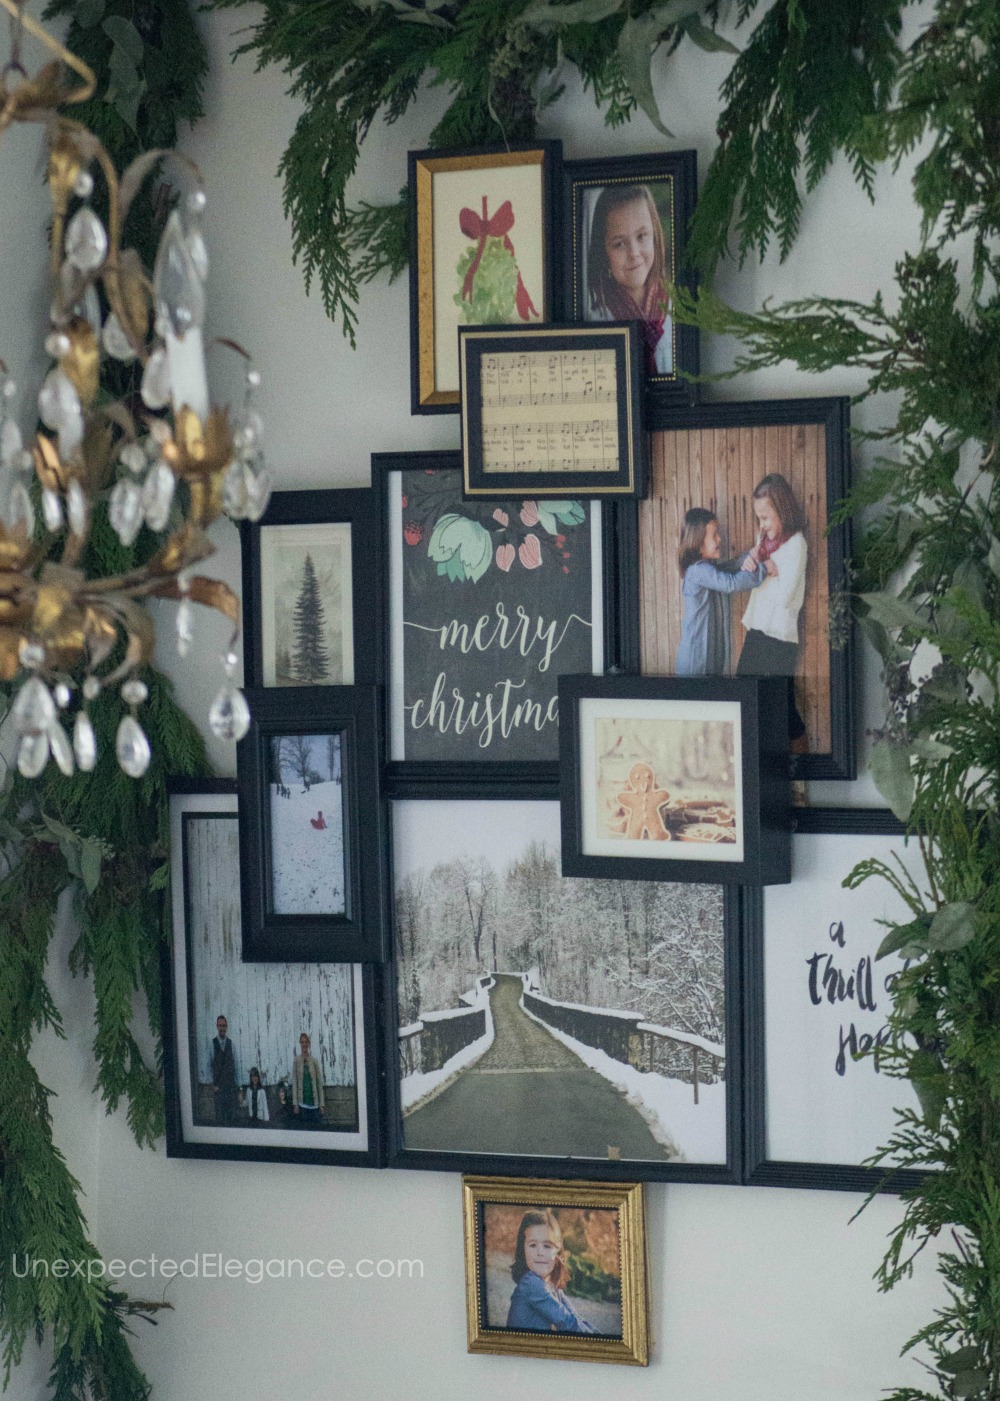
Want to add some fun and personalized Christmas decor to your home this year? See how easy it is to create this sentimental holiday photo tree!
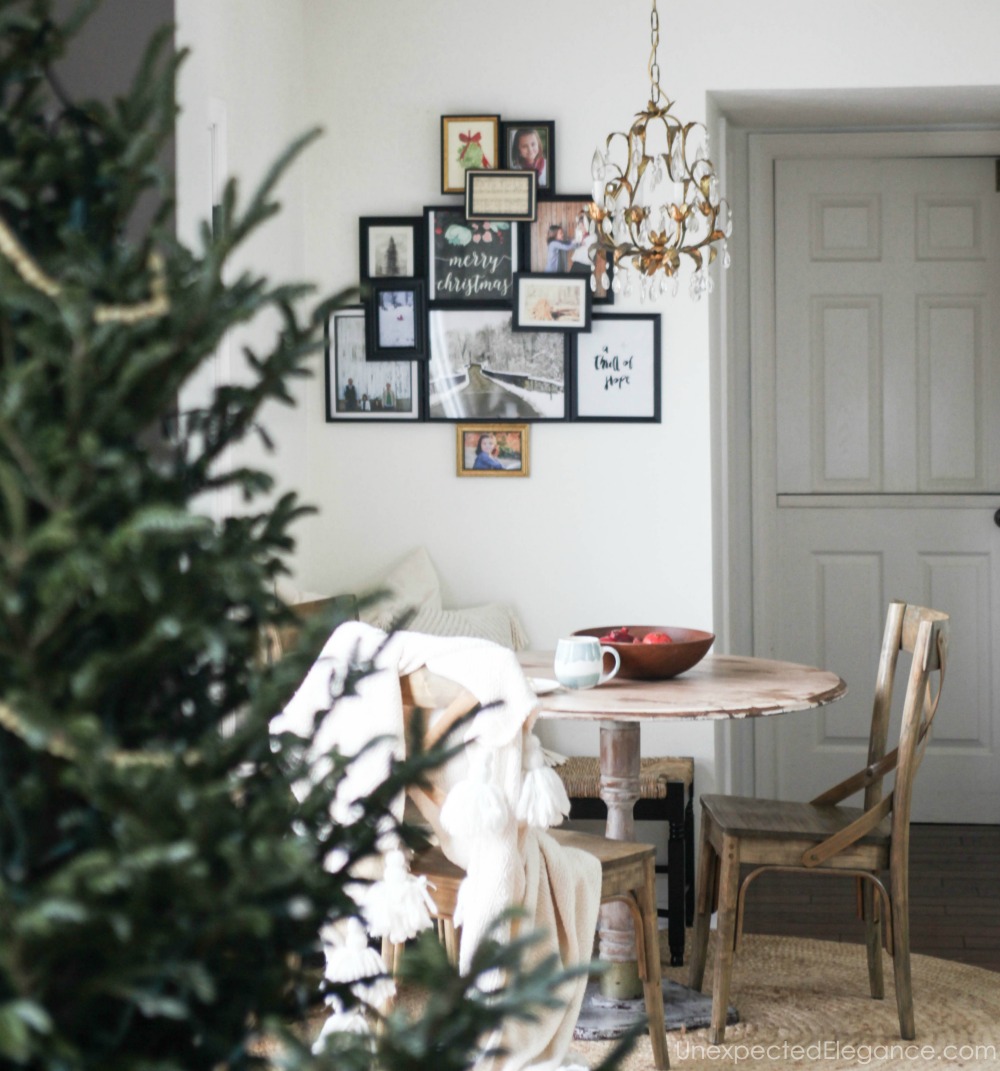 I have always loved a holiday photo tree but never gotten around to purchasing one. I’ve never been an overly sentimental person. I don’t save things I “think” will be family heirlooms one day or hold onto things I “might” need because objects don’t hold a lot of value to me.
However, the older I’ve gotten (and now that I have kids), I value pictures a lot more. I want to remember the moments and preserve them in time. I’m still not the best at getting pictures printed, but I thought this year would be a great time to make something special just for our family!
I decided to make a tree out of some older photos that we’ve taken over the years and a few free printables I found online. Here’s how I made it…
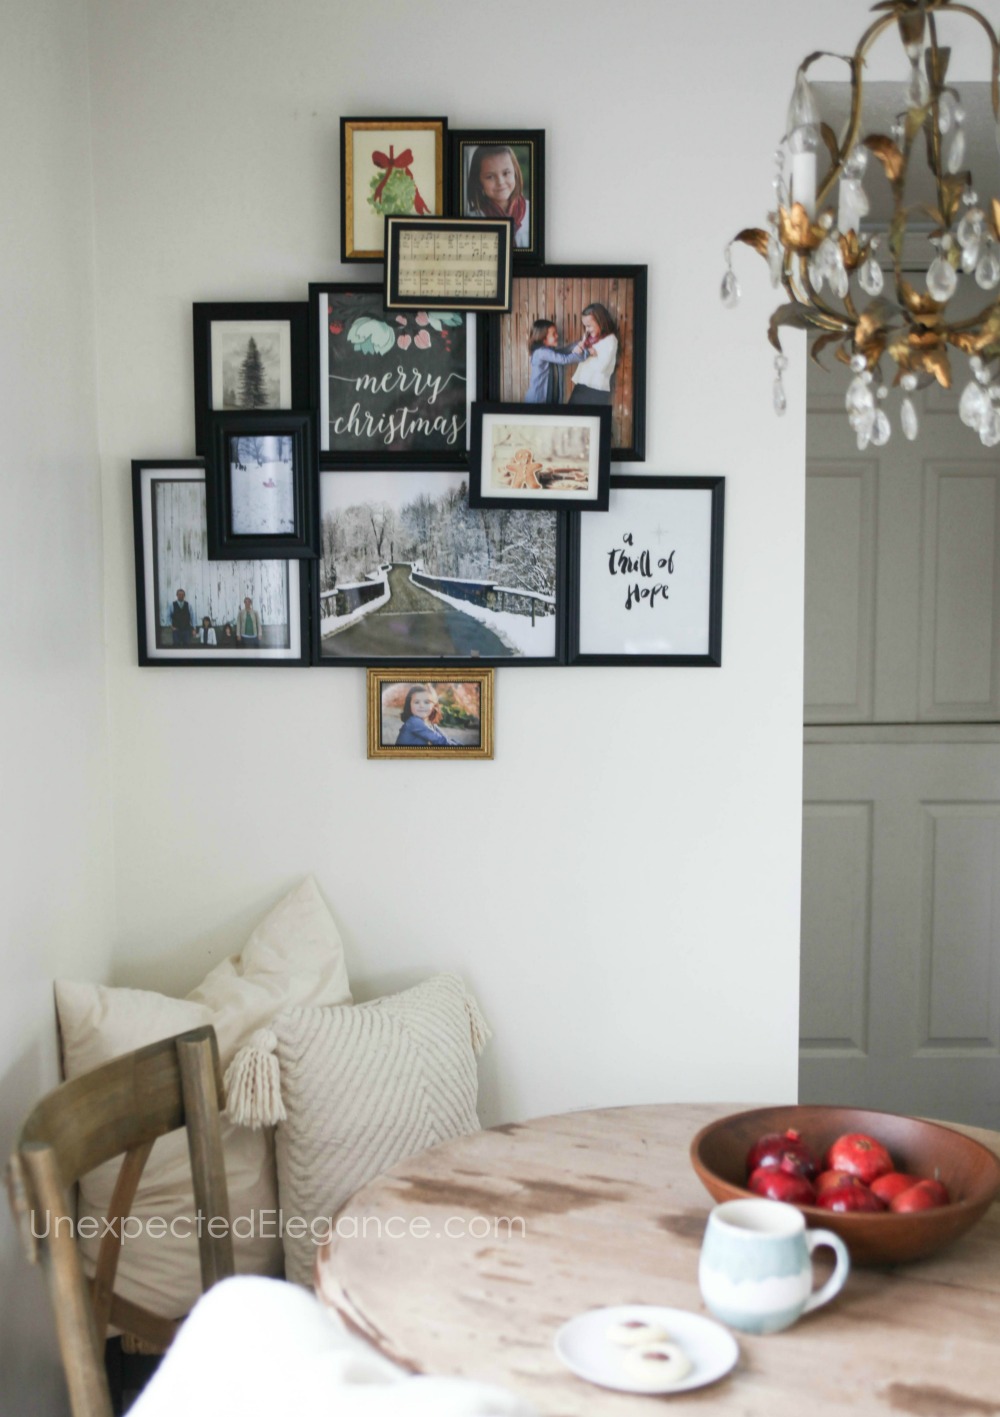
Holiday Photo Tree Tutorial
Supplies:
- Inexpensive frames (I got all of my frames for $1 from the dollar store.)
- Gorilla Hot Glue Sticks (You need THIS specific brand for this project because it will hold it all together.)
- Glue gun
- Photos
- Thin scrap wood
- Picture Hanger
I went to the dollar store and bought different size frames, so this project cost me around $20 total. You could also check thrift stores or just round up some frames you already have. You won’t be able to reuse them, so make sure you don’t need them for anything else.
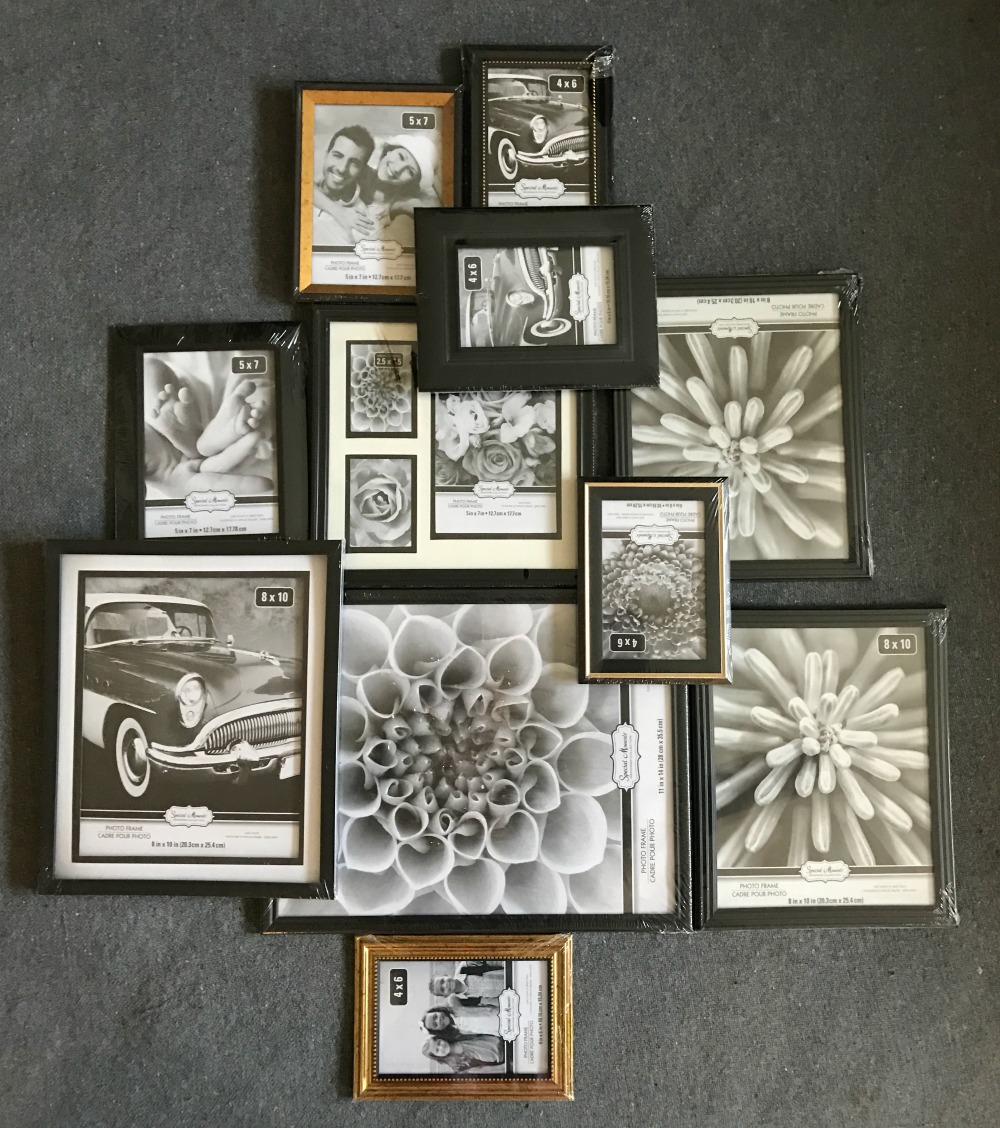 1. Layout the frames in a design that resembles a tree. You want all the frames to touch and you can even layer a few for some dimension. (They won’t make a perfect tree, only resemble one, so it’s OK if it’s imperfect!) You also might want to take a picture of it on your phone to reference as you work.
2. Then decide which pictures you want in each frame. I decided to add in some prints I found online for free, but you could do all photos.
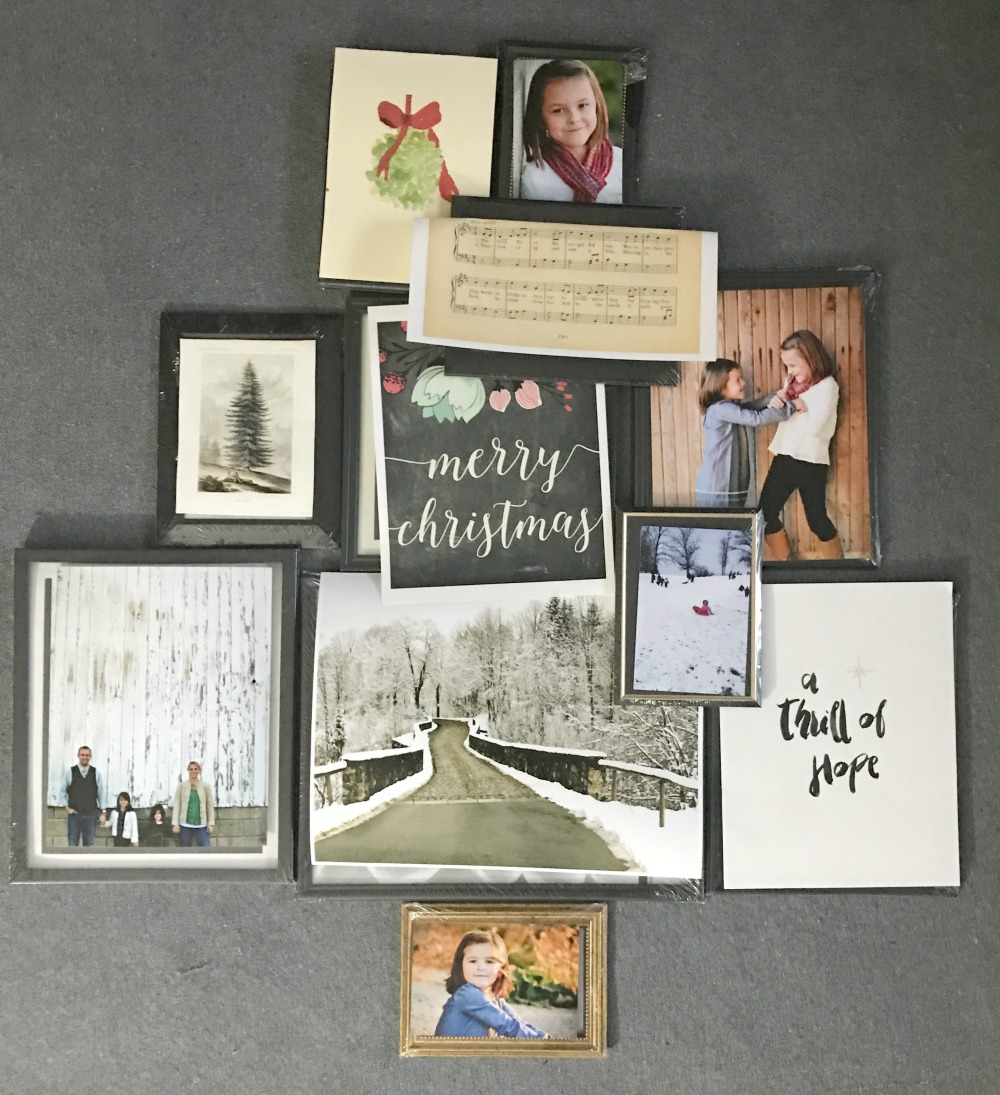 3. Once you have it all laid out like you want it, put all the pictures in the frames, then heat up your glue gun.
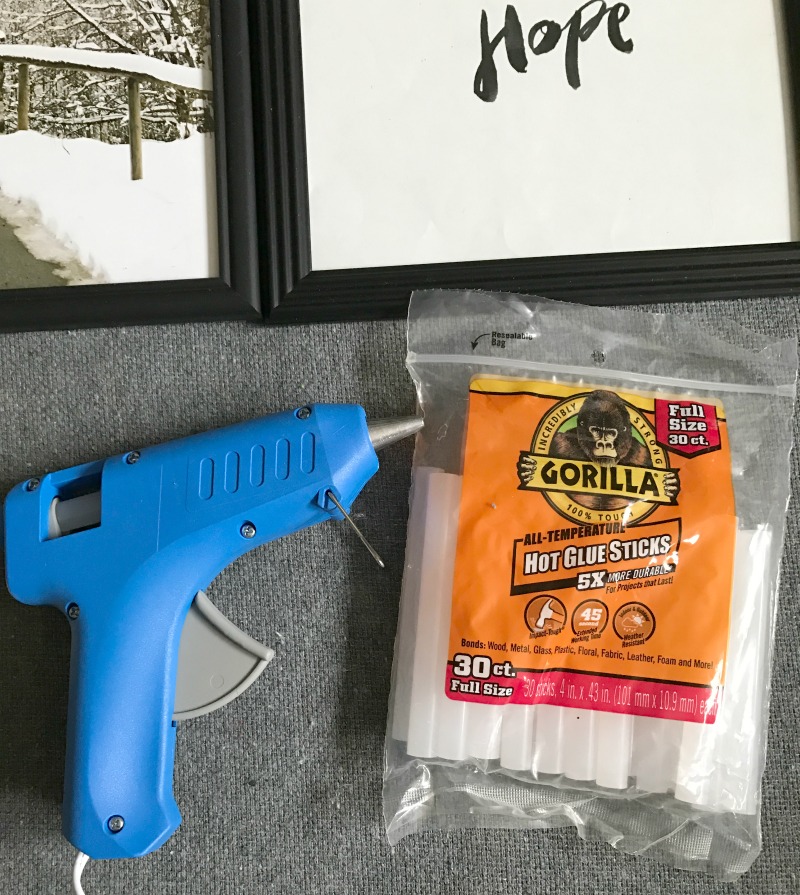
This project might not work unless you specifically use Gorilla Hot Glue Sticks. This hot glue is amazing!!! I used Gorilla Glue for the first time over 15 years ago and honestly, it was a game-changer.
4. So now that you have your glue gun ready… Start gluing all the frames together in the pattern you laid out. Wait to add any frames over top.
I just worked in sections and glued the side of the frames together. I used a piece of cardboard under them, in case the glue dripped as it cooled.
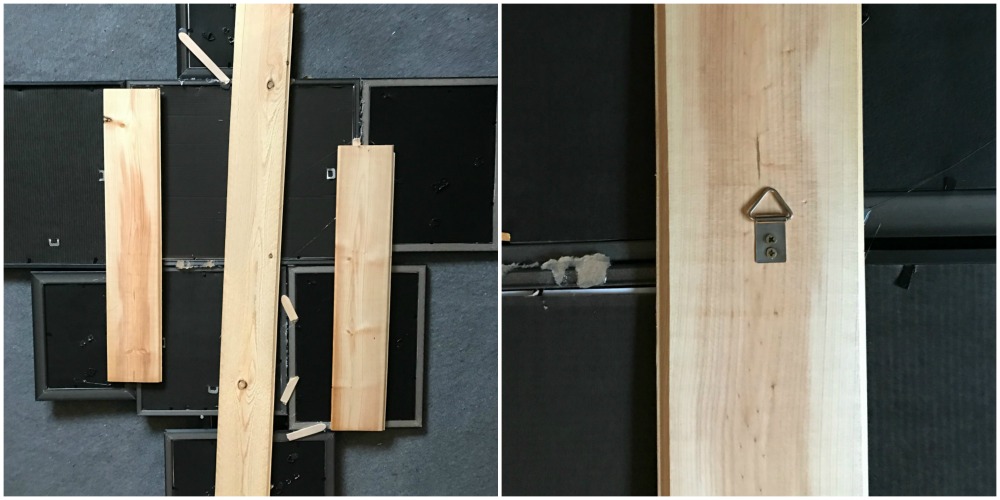
5. After all the sides are glued together, flip it over and add some thin scrap pieces of wood for stability. My $1 frames are pretty flimsy so the wood helps keep them from wobbling when it’s moved.
6. Add some picture hooks to the wood so you can hang it easily.
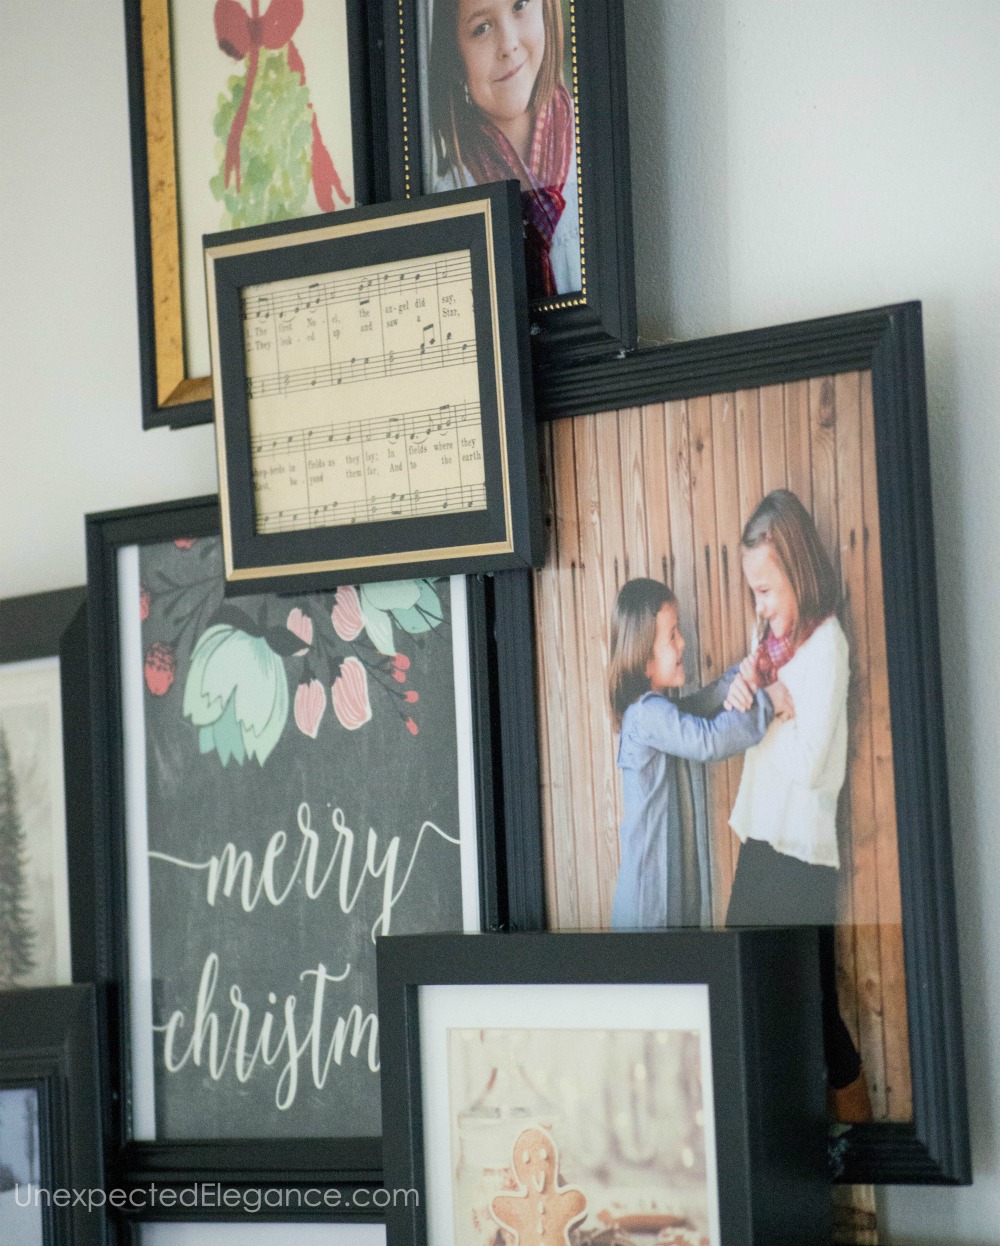
7. Finally, flip it back over and glue down any frames you want to layer.
 When the holidays are over you might want to hang it in a closet or at the back of the garage until next year.

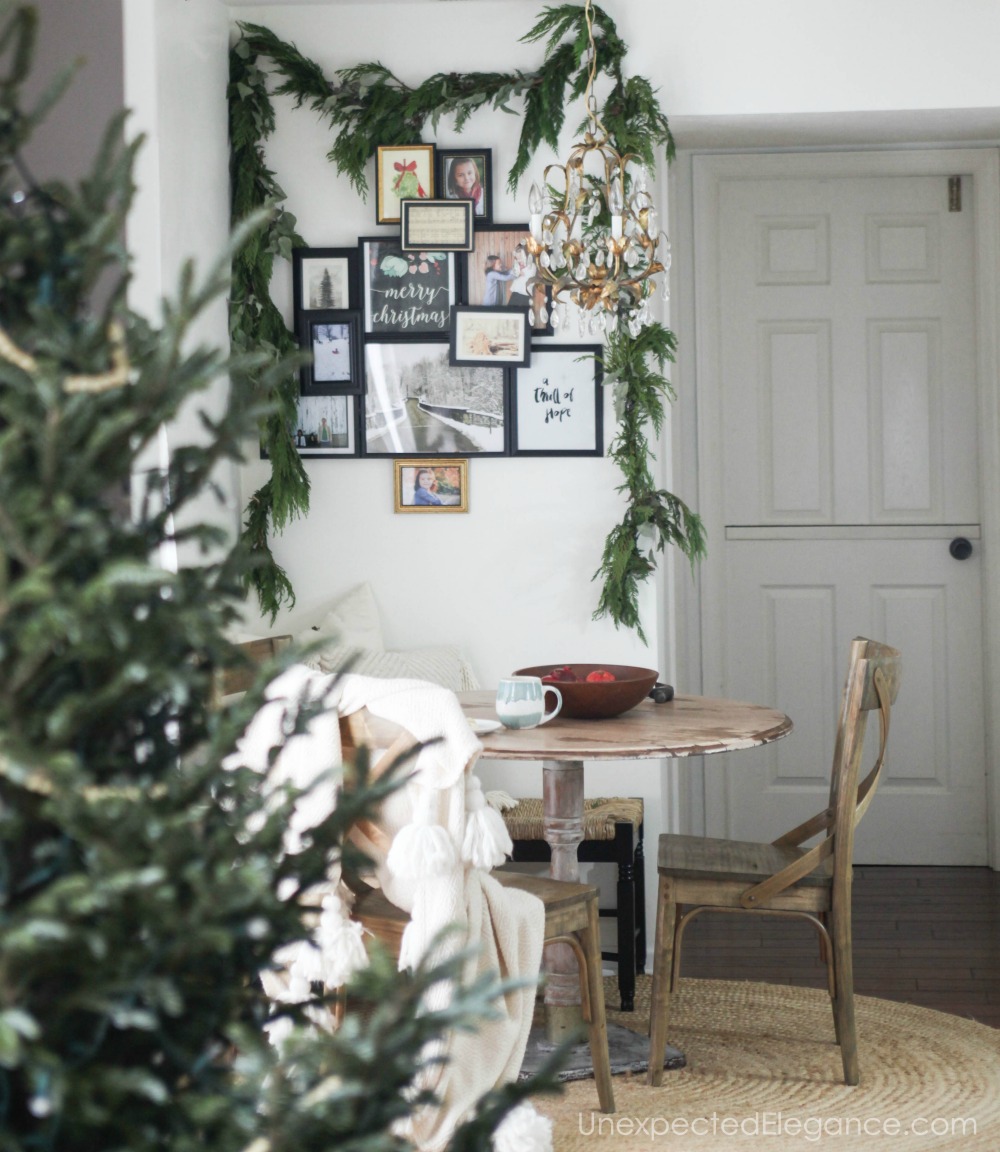
 I added some garland to make it a little more festive!

This is beautiful! And as I said on your other post – this does NOT have to be seasonal at all! Love love love!
Happy holidays! Love the pictures Xmas tree.
I love the idea. It looks great. Just make sure the frames are straight though. I see one that is not, and it drives my crazy!!!
geometry dash breeze is the best to me.
I recently worked on a project called Photo Tree, where I combined different images to create a beautiful visual story. However, I wanted to remove some unwanted people from my photos, so I used tips from this site This helped me enhance the final result and focus on what really mattered!
Creating a photo tree like the one featured in this article is a wonderful way to celebrate family history! When I was putting together my own family tree, https://myheritage.pissedconsumer.com/review.html was incredibly helpful. It allowed me to uncover fascinating details about my ancestors and connect with distant relatives I never knew existed. The platform made it easy to gather family photos, stories, and important dates that I then included in my photo tree.