Check out this tutorial on how to replace your outdated carpet with an inexpensive stair runner.
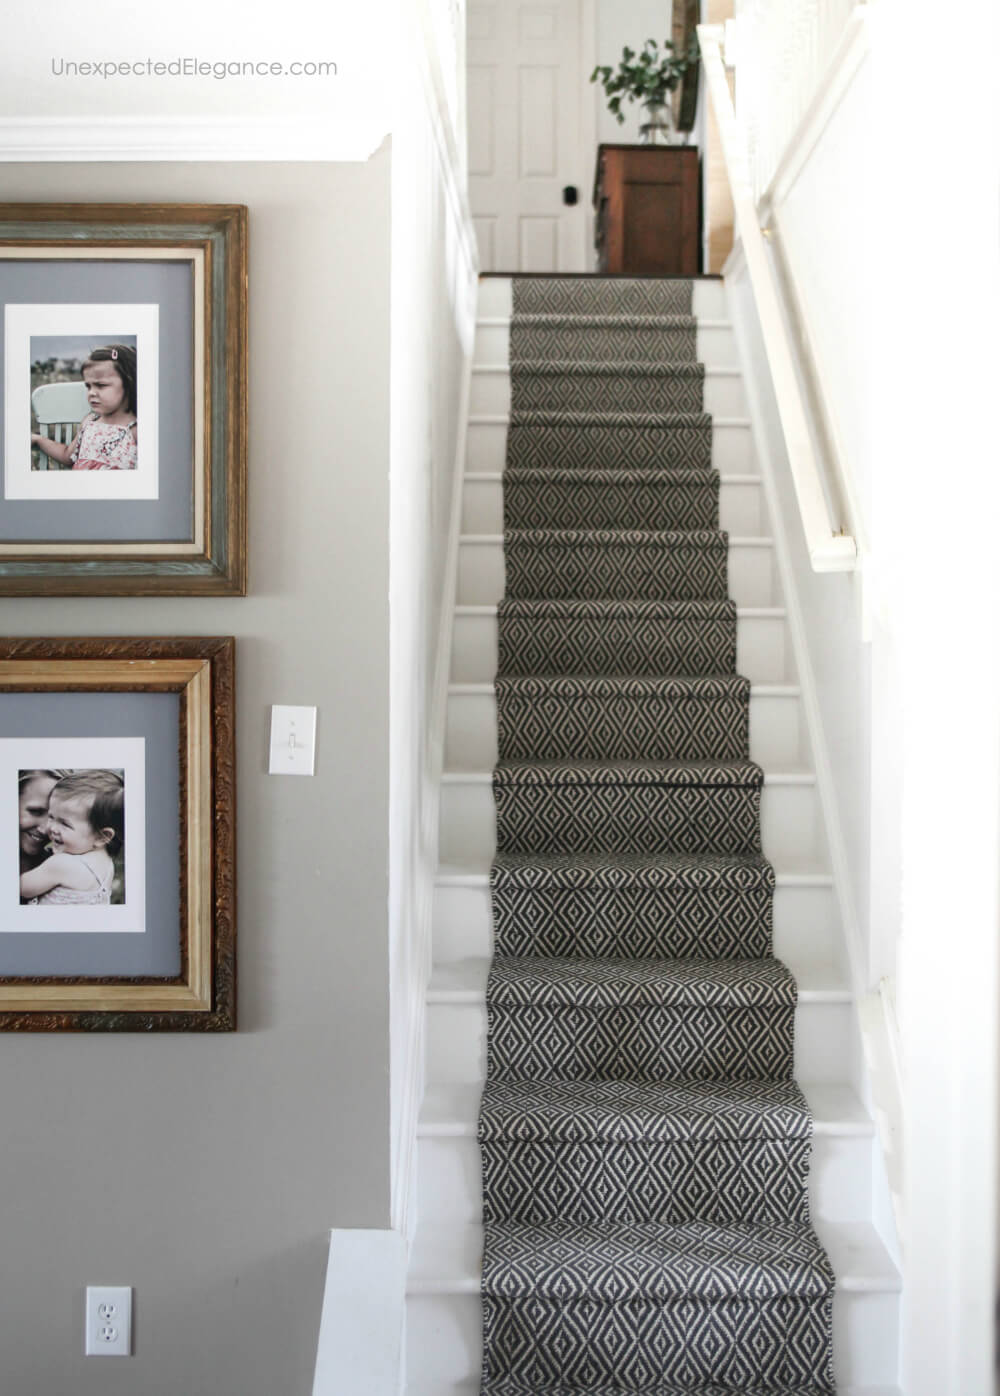 I’ve been anxious to share this inexpensive stair runner project I just completed last week. These stairs have needed a makeover for a while!
We moved into our house 9 years ago and replaced the carpet and painted…but we hadn’t touched that part of the house since then. To say it was time for an update would be an understatement.
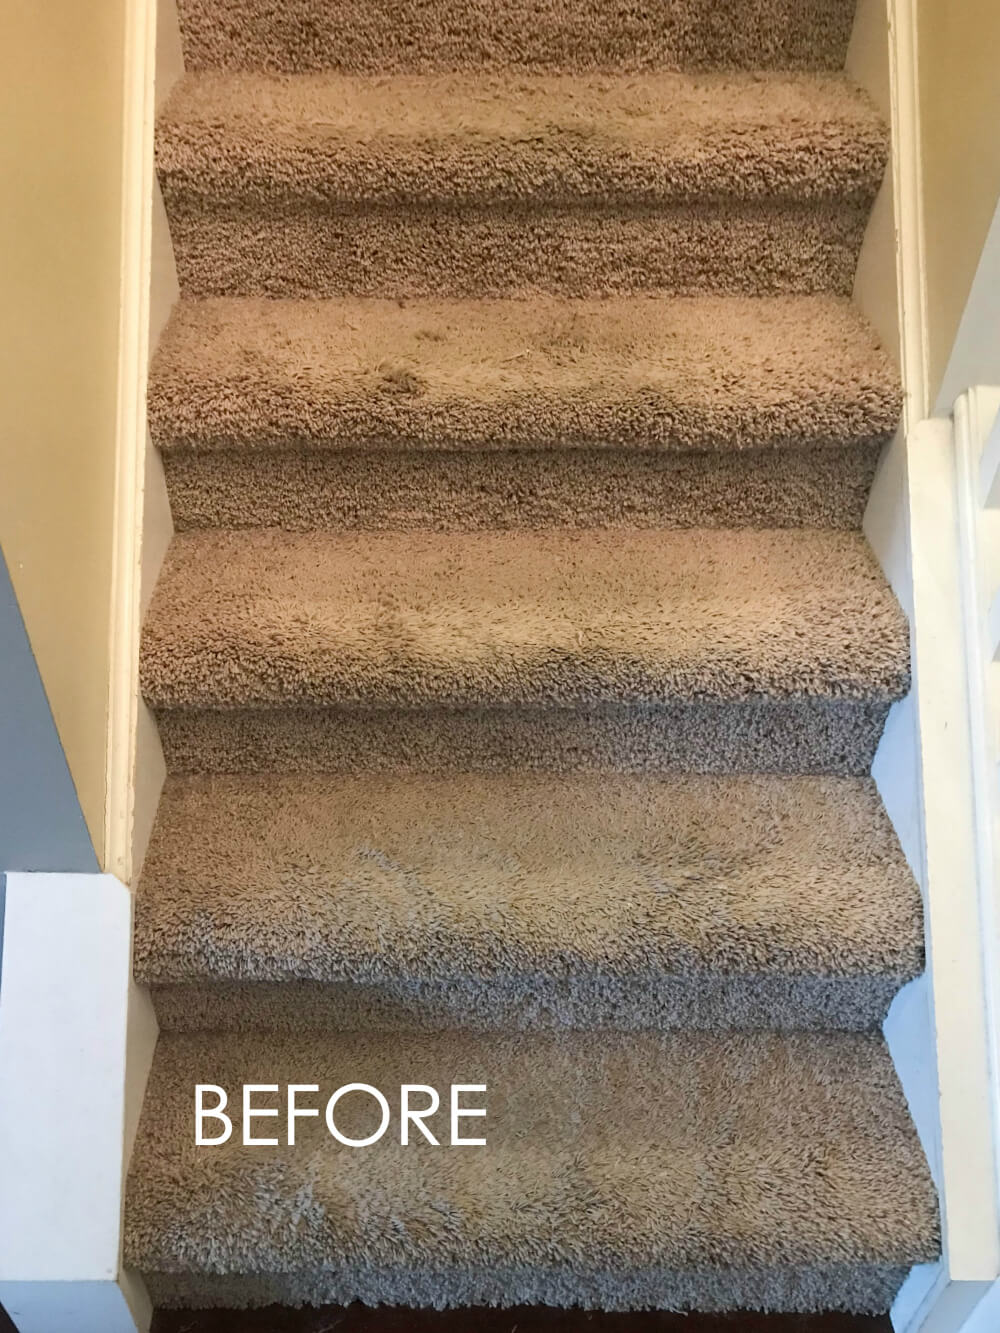
Here’s what it looked like BEFORE. It was a toupe frieze carpet with yellowish colored walls and cracked paint around all the trim.
My husband doesn’t handle home construction very well, so I knew this project wouldn’t go over well…especially considering we NEED to go up and down the stairs. I’d been waiting for him to go out of town, so I could start this!
I gave him a heads up, but he told me I needed to finish it before he got home from his business trip. Did mention he was only gone for a little less than 2 days?!?
Supplies for Inexpensive Stair Runner:
- Rugs
- Carpet Tool
- Staple Gun & Staples (at least 1/2″)
- Paint
- Pliers
- Crowbar
- Caulk/Caulk Gun
- Scissors
- Tape Measure
- Optional: replacement stair risers
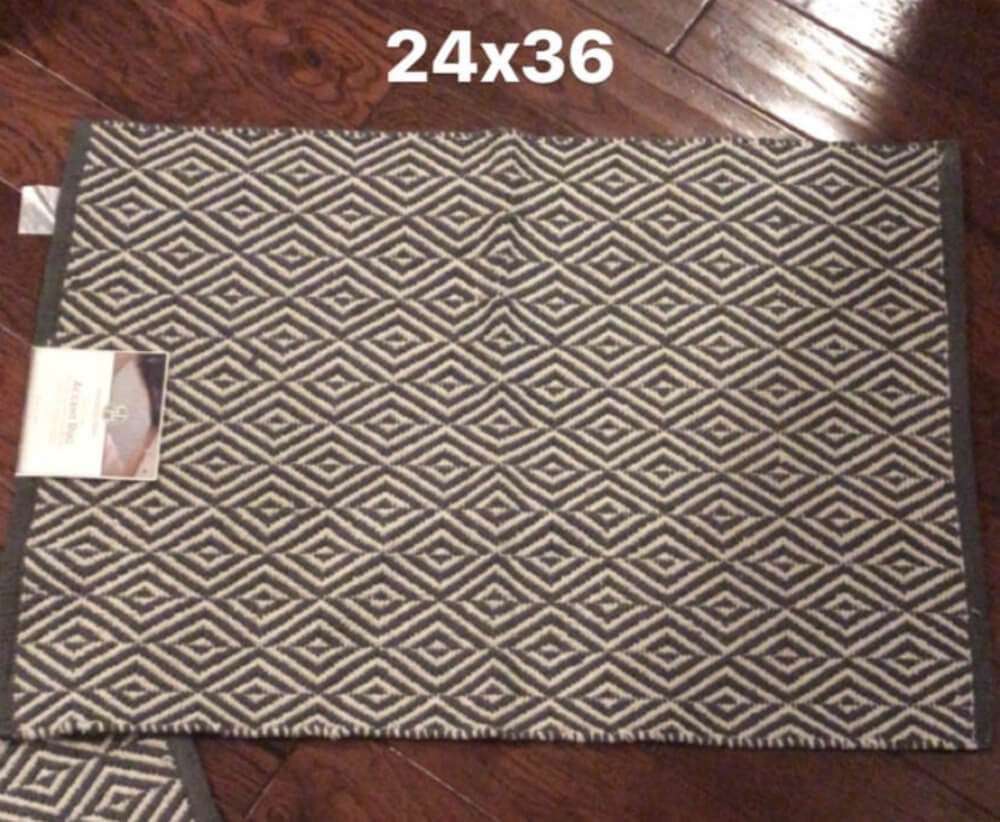
The specific rugs I used were small 2’x3′ size from Aldi that I found for $3.99 each. I can’t link to those, but I did find this one. Honestly, a longer rug will be much easier to use because you’ll have to hide fewer seams. They come in different lengths, but make sure you purchase more than you “think” you’ll use!
The paint I used was Pittsburgh Paints & Stains® Paramount™ in Arctic Cotton. I LOVE this paint because it goes on smooth and only requires touch ups-not a second coat!
I ripped out all the old carpet first. It was simple to pull up, but was a little bit of a workout! Removing it was easy compared to all the prep work that came afterward.
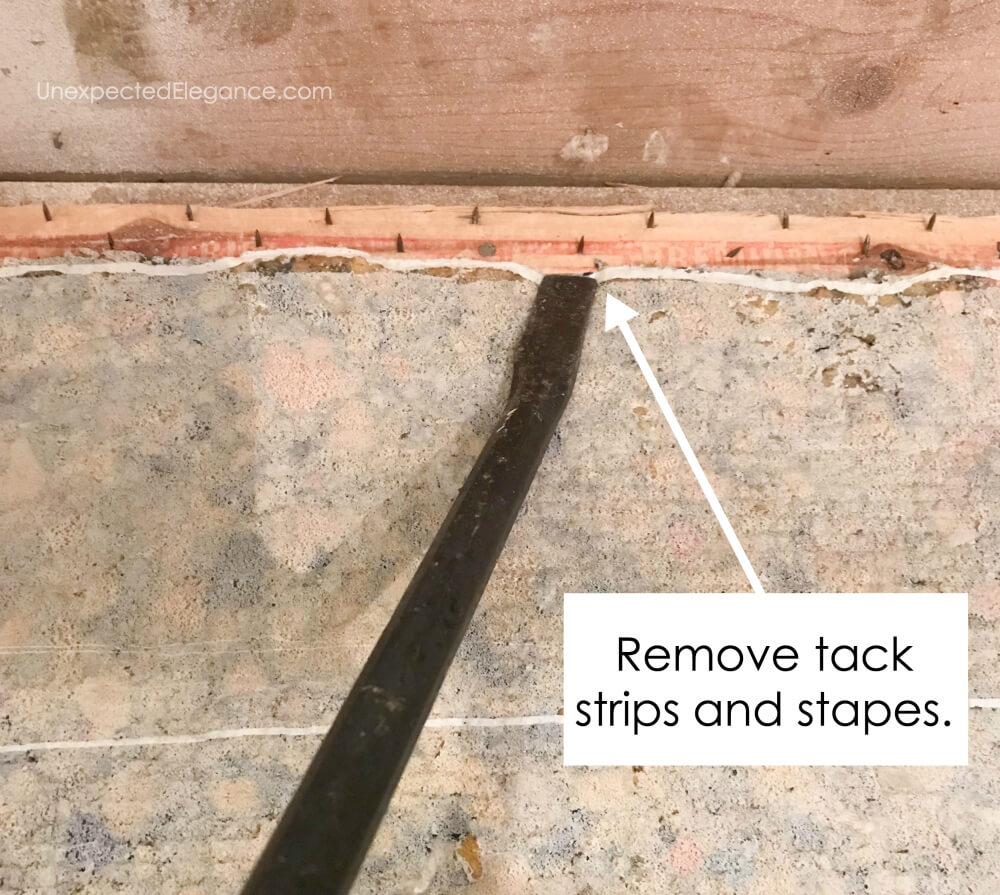
Once the carpet was gone, there were a bazillion staples and a tack strip on each stair tread. It took me several hours to get all the staples, but you want to make sure there are NONE left.
Note: Use a prybar and hammer to get up the strips easily, then pliers to remove the staples.
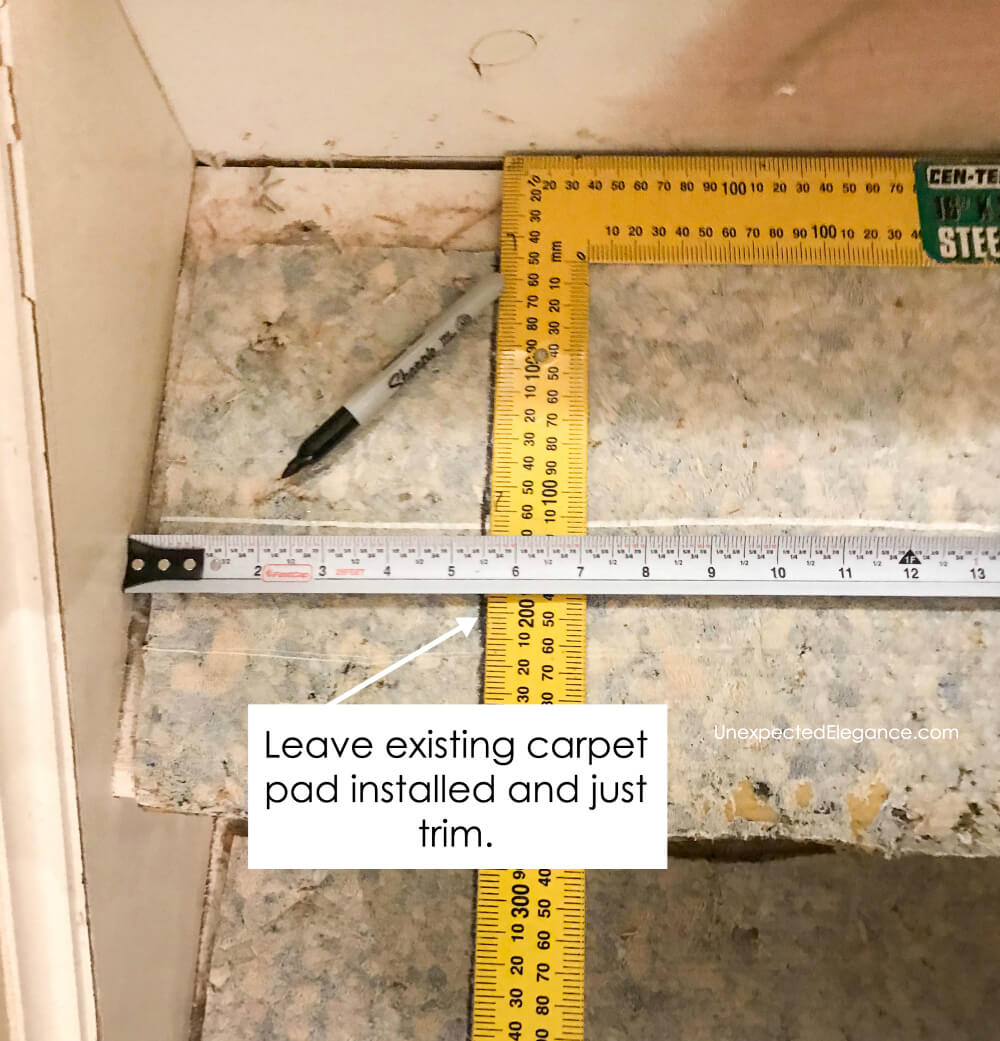
It’s important to have a pad under the rug, so to save some time and money I just trimmed the pad that was already there.
Here’s where a little bit of math comes into play. I measured the width of the rug, then subtracted 3 inches. (You want the sides of the rug to hang over the pad about an inch and a half on both sides.)
I found the center of the step and then measured out how much pad needed to stay. Using a straight edge, I made lines to show where the pad needed to cut and used scissors to remove the excess.
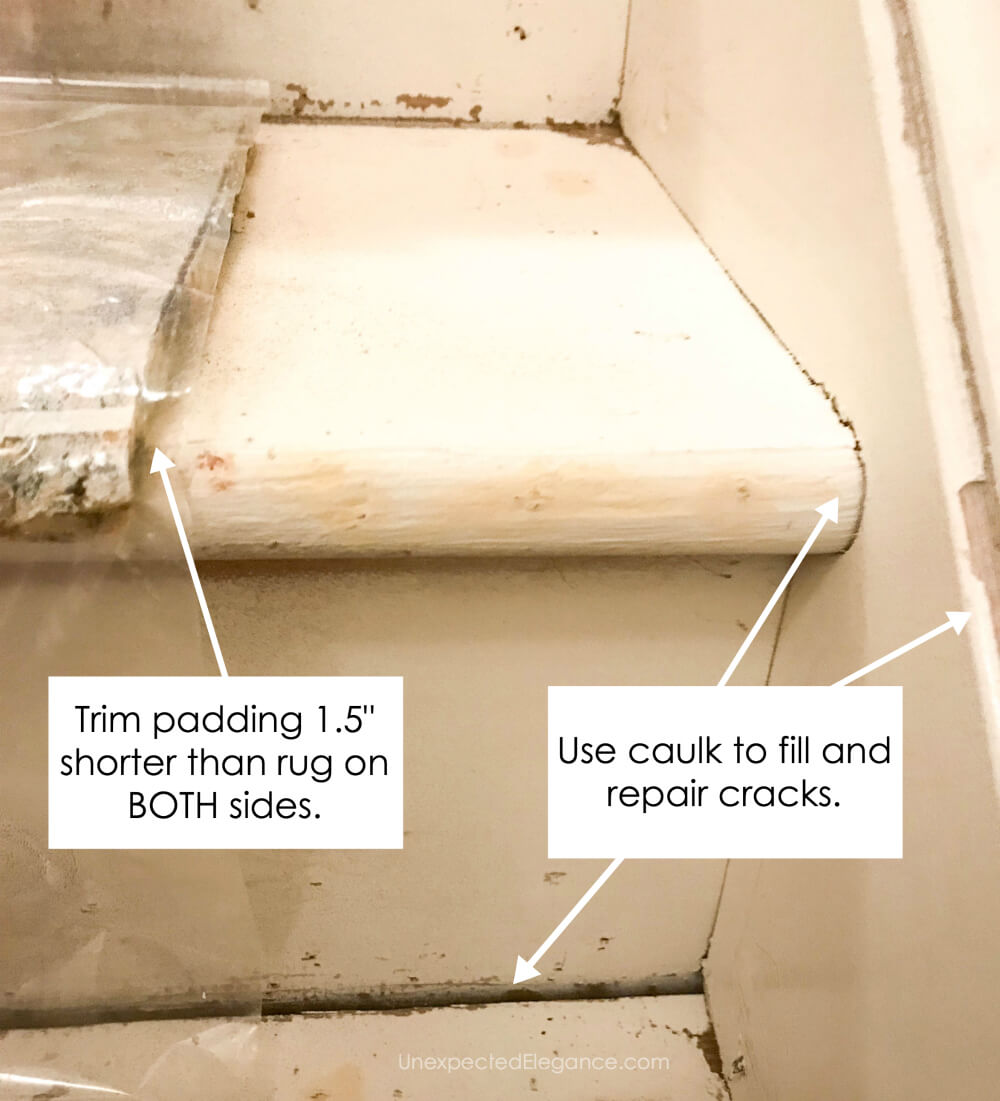
I filled in all the cracks with paintable caulk and then added a replacement riser to the top step. We had hardwoods installed in our upstairs hall a couple of years ago and this is what that riser looked like: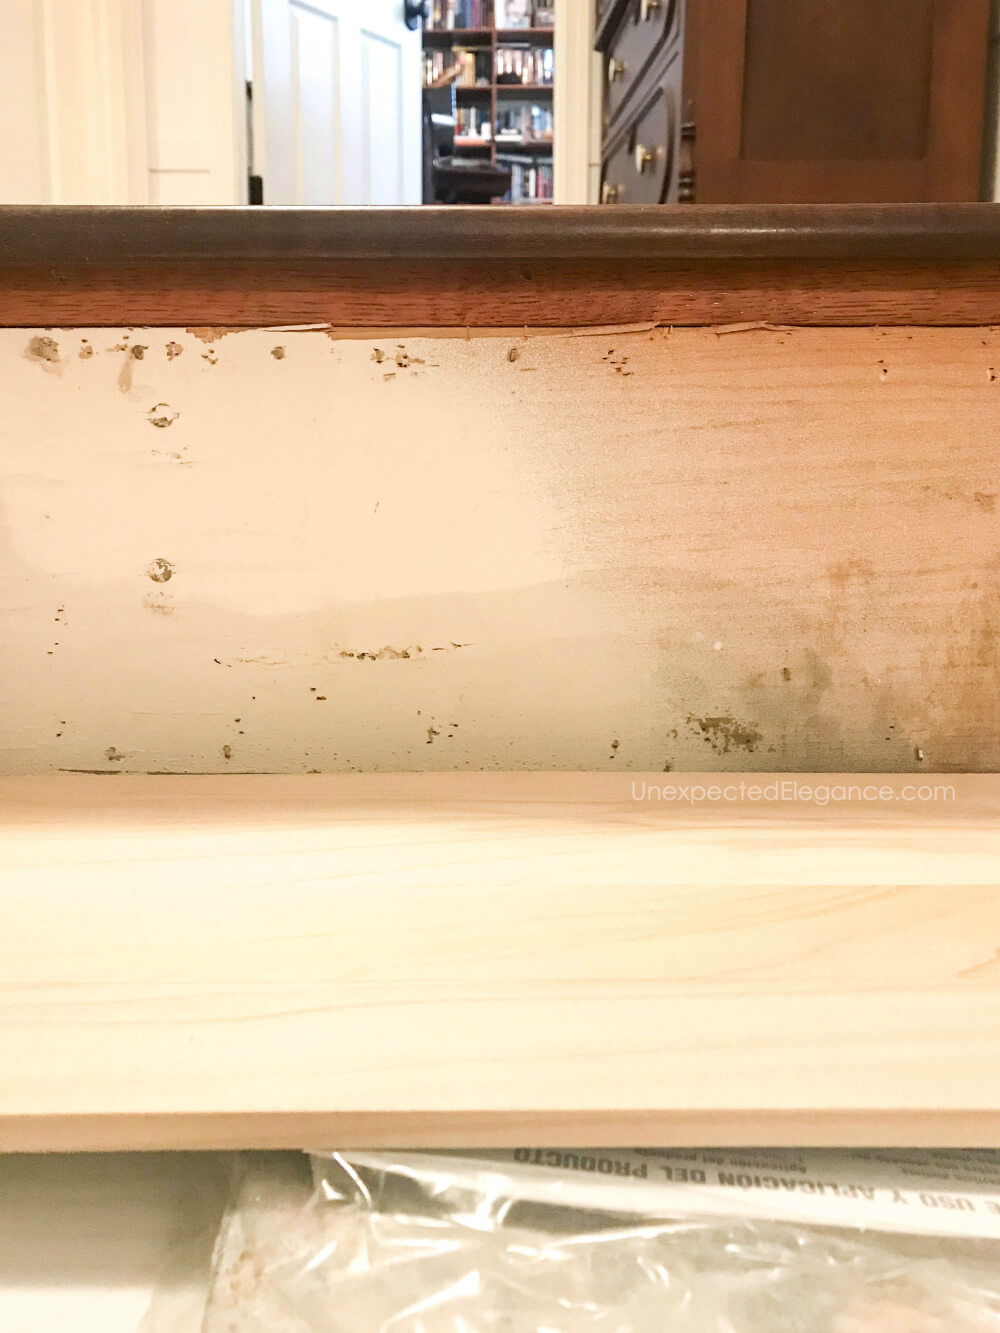
I purchased a pre-made riser that I just trimmed. I was a very easy fix!
Then the tedious task of attaching all the small rugs started. (If you are using longer rugs this won’t take you quite as long because you won’t have to hide as many seams.)
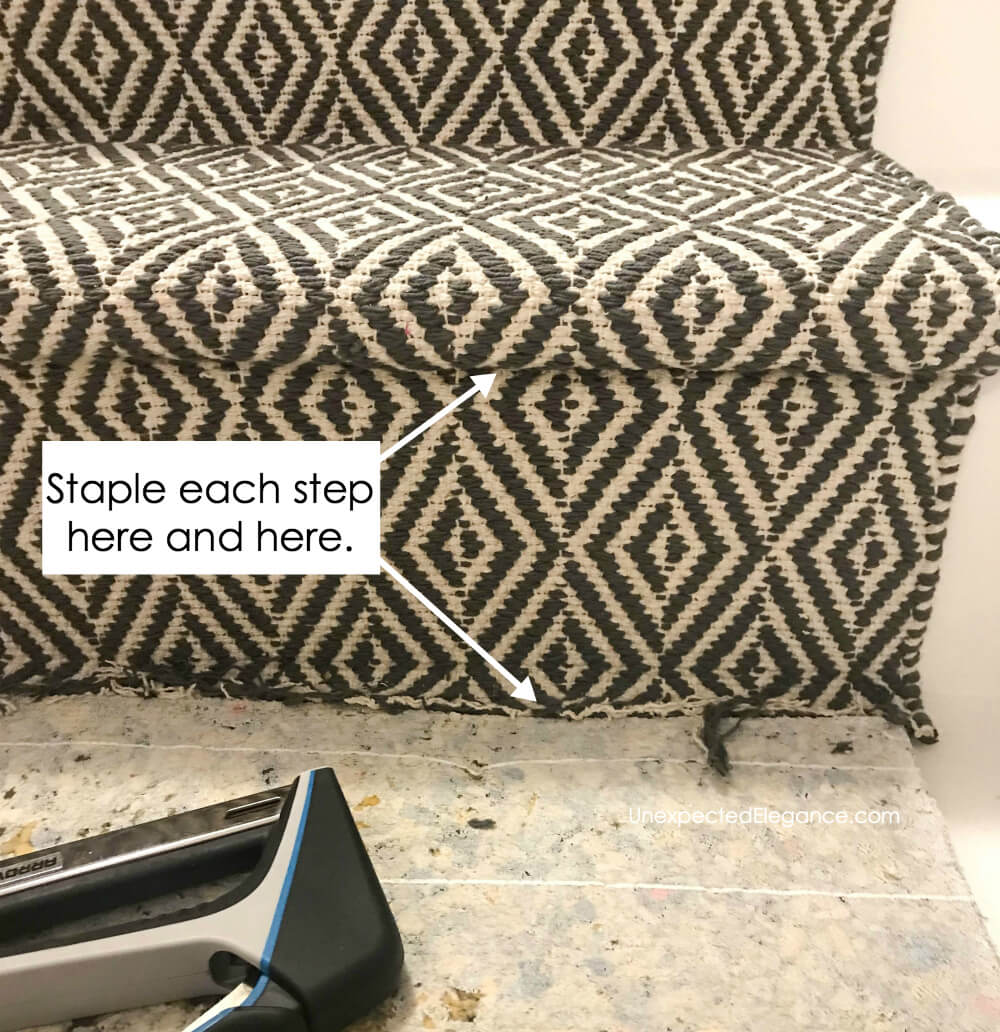
I started at the top of the stairs since that is where your eye tends to look first. To attach the rug I stapled the underside first, then folded it over to hide the staples and edge of the rug. This is also how I transitioned each new rug.
(Tip: I cut off the hem of each rug to eliminate some of the bulk.)
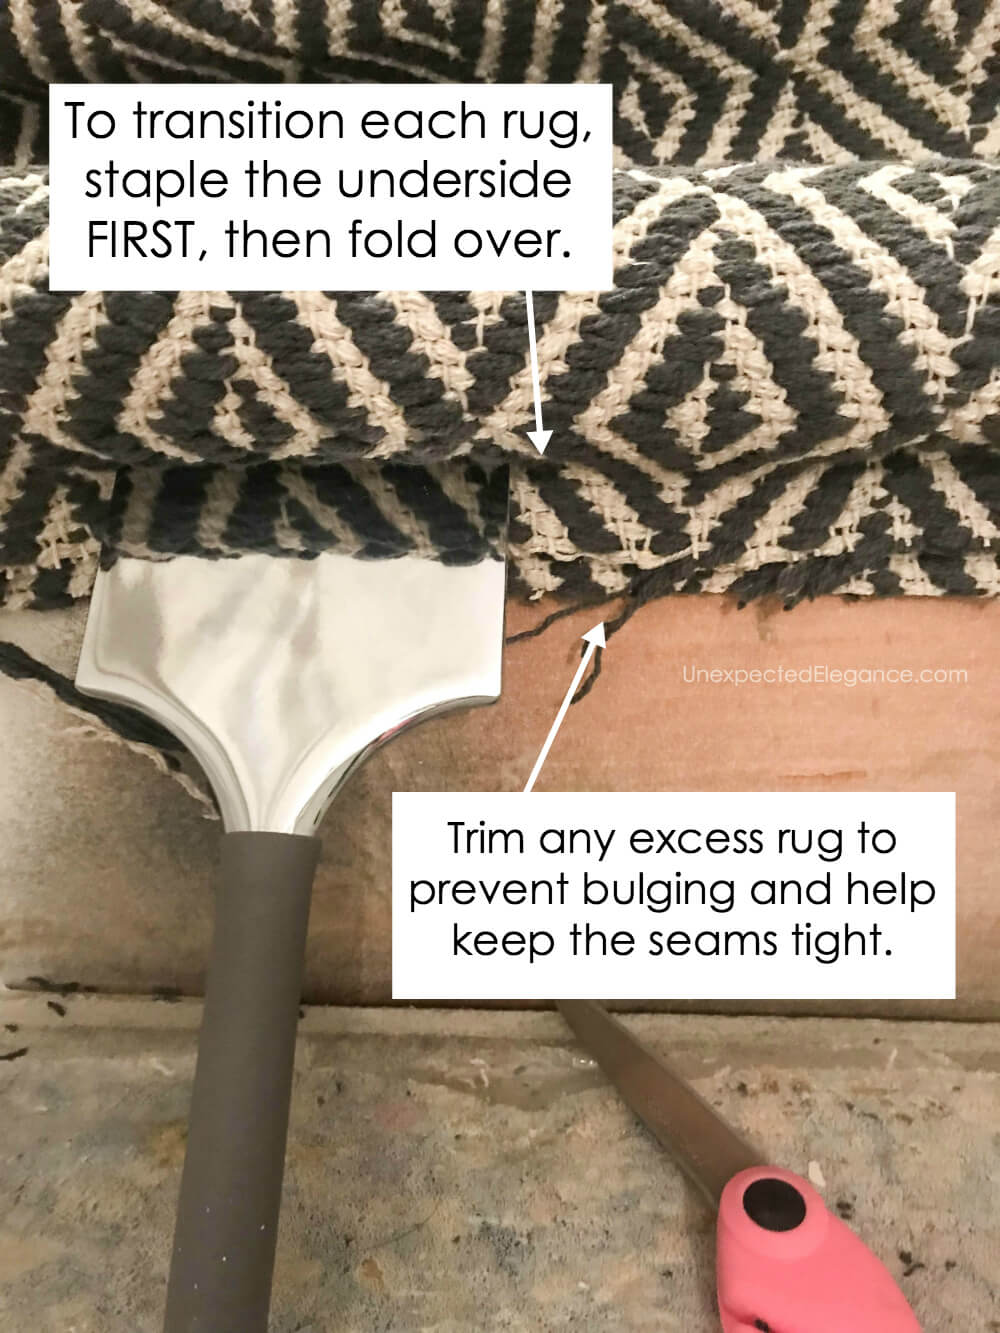
I used the carpet tool, you see in the photo above, to hold the rug in place while I stapled. The tool created a tight and crisp seam.
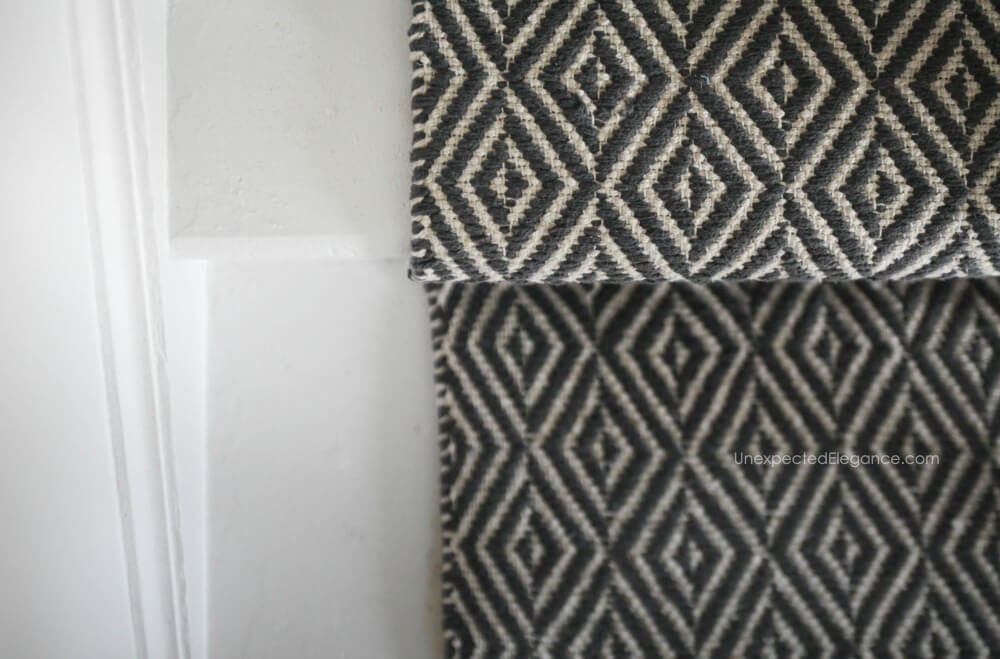
To hide the staples as much as possible, I attached the rug underneath the nose of each step and at the base of the riser. (See the photo below for a visual.)
Some things to remember and tips:
- Measure before attaching the rug every time…this will keep it centered.
- Try to create a straight line with the staples when you are transitioning to a new rug.
- USE AN ELECTRIC STAPLER IF POSSIBLE! I used a manual one and it was so much more work.
- As you go, hammer down all the staples on each step so they are flat. You don’t want anything sticking up.
If I have forgotten anything or you have questions, please feel free to ask in the comments below and I will do my best to answer quickly!

Cost Breakdown for an inexpensive stair runner:
- $55- 13 rugs at $3.99+tax
- $37- Paint (I bought a gallon, but only used about a quart)
- $16- Carpet Tool
- $5- Staples
- $10- Replacement Riser
- I had all the other supplies already.
Project Total: $123
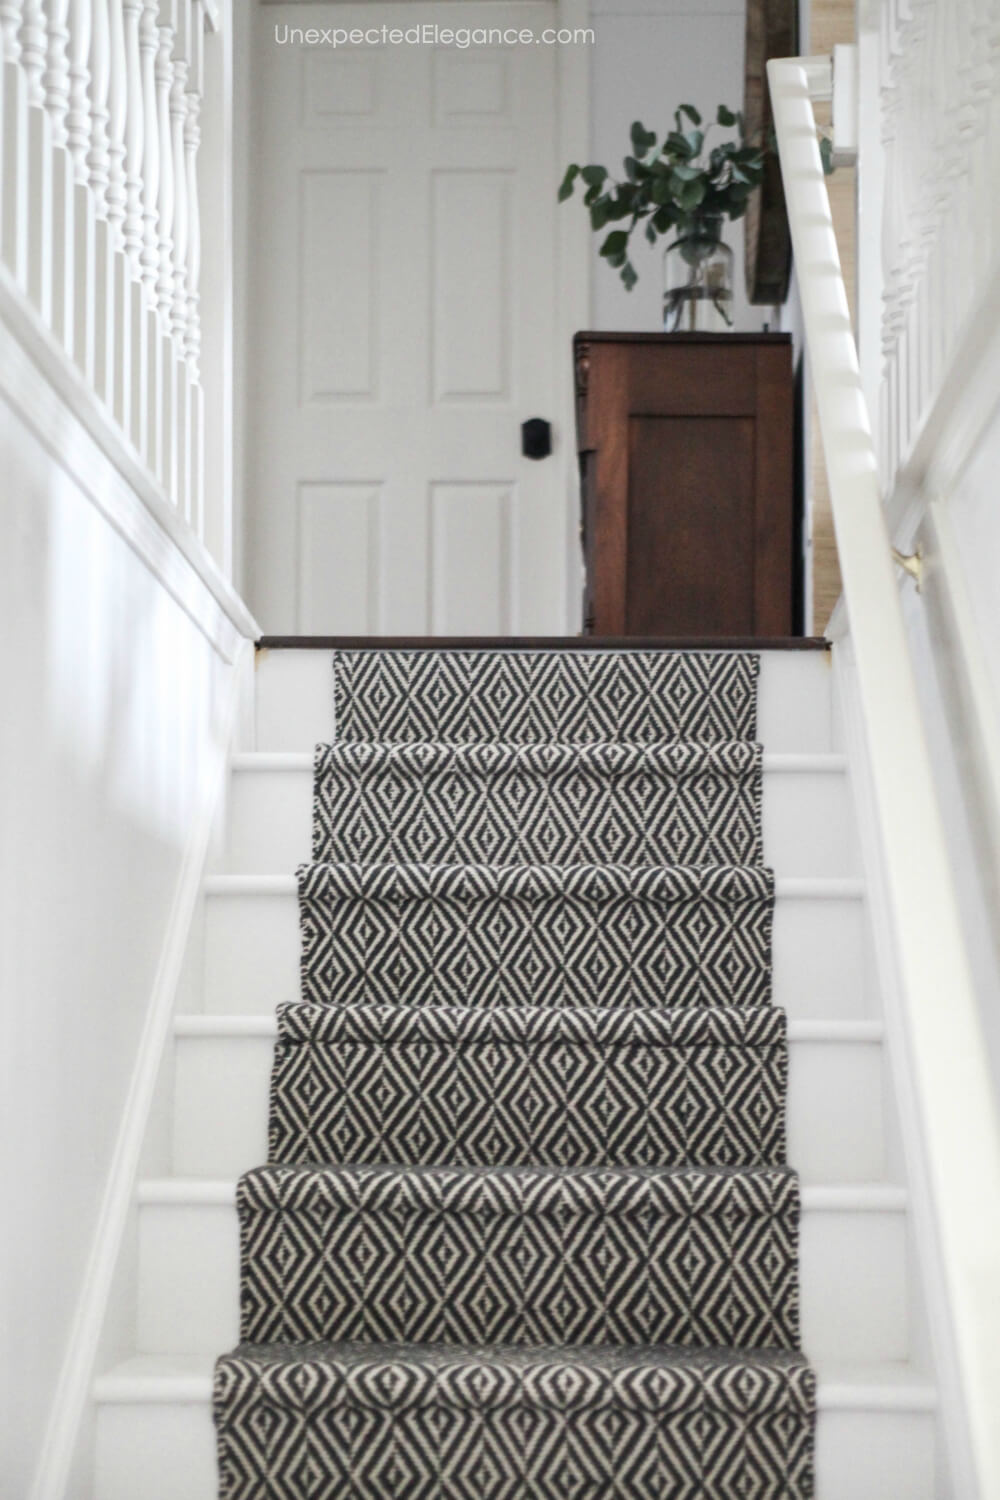


It looks fabulous. Love the carpet you chose and it really looks amazing. Great tutorial too.
Thank you, Marty!!
can you come over and do mine?? i have wood floor envy but the stairs are horrific too. i’d pay ya….lol looks great and i love the runner ;0)
I’ll be taking a break from any labor-intensive projects for a while!
Thanks for this wonderful post. Your steps/runner looks amazing.
Thank you!!
Love runners! I think they’re so beautiful and fill the house with style!
How are these holding up? We have problems with the carpet being too loose on our stairs. I’d love to try this, but I’m not sure i could get teh carpet tight enough!
It is holding up great!! The most important step is to keep the carpet pad. My only suggestion would be to spend the extra $20 on an electric stapler or borrow one from someone.
Beautiful. Love Aldis. Such good prices and good quality for the price for household items.
Where your stairs complete under the original carpet? Or plywood? Or did you have to build the stairs also?
Beautiful! What did you use for the landing at the bottom?
What a beautiful look. You did an awesome job and not an easy one, I might add. My daughter had her stairs carpeted in runner style and in a similar design. It turned out beautiful too but I think yours look like they lay better around curve. Looking at yours , I think she overpaid by a few thousand! Great job! Thank you for your post.
You did such a fantastic job!!!! Love the new rug pattern- so classic!
Excellent tutorial and I absolutely love your new stairs! I am going to attempt this myself! Thank you!!
Looks fabulous!
Looks fantastic! A few questions: Why only the one riser? How did you start a new rug? Did you have to turn it under to hide the edge? How did you hide the last edge on the bottom step/riser? Thanks so much!
Thanks for the instructions. This looks incredible and your step by step guide makes it alot less intimidating to try. Is there a reason why you used the stitched sides instead of the solid coloured sides as the edges? Would one have been easier to work with than the other?
Thanks.
You’re welcome! That was just the best way to make the rugs fit and the look I wanted. You can do whatever works best for you, though.
Where did you purchase the rugs from for the runner?
She purchased the rug at Aldi’s
Beautiful! Can your share where you purchased the runner? I love the look of it!
Thanks, Elizabeth
I got them from Aldi but there is a great selection on Overstock and Wayfair, that are longer. I suggest getting them as long as possible, so you don’t have to create as many seams.
This is so inspiring! I have been wanting to install a fresh carpet runner on my stairs, but pricing rugs at upwards of $200! To only spend $55 On the carpet would be amazing.
How are your carpets on your stairs holding up with vacuuming? In the past I have had rugs that get caught up and ruined by the vacuum and wondered if yours are holding up! Thank you!
Just wondering what did you do on the sides to keep the carpet down?
May I ask where you purchased the runner pieces? In advance!!
Emma
This is a wonderful transformation! How has your caulk held up? I have large cracks like the one you’ve shown where the sides of my stairs meet the wall. I pulled the carpet back months ago to peek, and haven’t touched it since. I worried it’d be too much to caulk and that I’d have to replace treads and risers.
Hello, I am preparing to do this on my stairs. Couple of questions:
On the rug edges, did you staple those? I don’t think so.
When did you paint the stairs? Before putting the rugs down?
Thank you,
Sharon
Sharon,
I’m so sorry I missed your comment! Yes, no staples on the edges and I painted before putting down the runner. Hopefully that helps!
hi- love your project and wanted to ask a question that wasn’t answered previously – why only one replacement riser? I want to do my basement stairs that may only be plywood so thinking I need to add to all?! thank you
All of mine were solid wood and in good shape,except for the top one. There was a larger gap and the wood was pretty torn up, so I decided to add the replacement. If you need to cover all your risers I would suggest using a thinner wood and cutting them to size to save money! You could even use masonite.
This looks awesome! I’m curious what you put at the top of the stairs and at the bottom to cover the seams?
Thanks for the tutorial! I’m gearing up to install one this week so I’m reading up! Thanks so much for the help!
Just bought a new house and want a contemplate farmhouse vibe. This would look great on the stairs that are carpeted of course. But it has a U shaped staircase. How do u due the landing in the middle where it turns? Even if I had a long runner it would still b the question on how to due the turn ? Any thoughts?
Also , I wanted to ad I lived in a 1920’s bungalow in Milwaukee WI ( amazing ) the stairs were beautiful with an oriental runner with the rods that d
Go across the bottom of the back of the stair . That is a great way to conceal any seams, staples too ! Just wanted to ad that as an option as well! A black rod across the back would be amazing looking ! FYI
Did you add new tack strip before putting down the rugs? Thanks!
Not only are they durable and long-lasting, but they also help reduce single-use plastic waste. Stainless steel’s non-reactive nature ensures that your beverages stay fresh and free from any unwanted flavors or odors, making it the perfect vessel for carrying water, juices, or even hot beverages. stainless steel water bottle
Custom luxury sprinter vans are the epitome of style and comfort. These vehicles are meticulously designed to cater to the discerning tastes of individuals who demand both personalization and opulence in their travel experience.
custom luxury sprinter van
Exploring the world of vegan cupcakes is always a delight, and this vegan cupcake bakery truly stands out! The commitment to plant-based ingredients doesn’t compromise on flavor; instead, it elevates the cupcake experience to a whole new level. vegan cupcake bakery
Mufflers for tractors play a crucial role in minimizing noise levels and optimizing engine performance. Investing in a high-quality muffler not only ensures a quieter operating environment but also contributes to the overall longevity of the tractor engine. mufflers for tractors
Discovering an online African grocery store is a game-changer for anyone seeking a taste of authentic flavors from the rich and diverse continent. This platform provides a convenient avenue for individuals to explore and purchase a wide array of African groceries from the comfort of their homes. online african grocery store
Peachtree Restaurant and Lounge is truly a gem in the culinary scene! The ambiance is delightful, offering a perfect blend of sophistication and comfort. The menu is a culinary journey, showcasing a diverse array of dishes that cater to various palates. peachtree restaurant and lounge
The birthday cakes in Alpharetta, Georgia, are pure confectionery magic! Each cake is a masterpiece, crafted with skill and imagination to make celebrations truly special. From classic designs to custom creations, they cater to every theme and taste, ensuring that each slice is a flavorful journey.
Wow, what a fantastic DIY tutorial! Your step-by-step guide makes replacing carpet with a stair runner seem so achievable, even for someone like me who’s not particularly handy.
It’s inspiring to see how creativity and resourcefulness can transform a space on a budget.
Thanks for sharing your expertise and empowering us to tackle home improvement projects with confidence!
Hi
I want to post an article on your site. https://www.unexpectedelegance.com/
I saw your site on Google and it looks amazing. My article will be relevant to your site.
Please share your pricing and guidelines.
And if you accept link insertion and casino-related Articles let me know.
I am waiting for your reply.
Thanks
Wow, what a transformation! It’s incredible how a simple stair runner project can breathe new life into a space. The “before” picture speaks volumes, but the “after” must be even more stunning. It’s amazing what a little updating can do to refresh the look and feel of a home. Car Detailing in Liverpool
Thanks for the useful information you provided it will help me a lot in my work! I will apply it to the game Among Us Online !