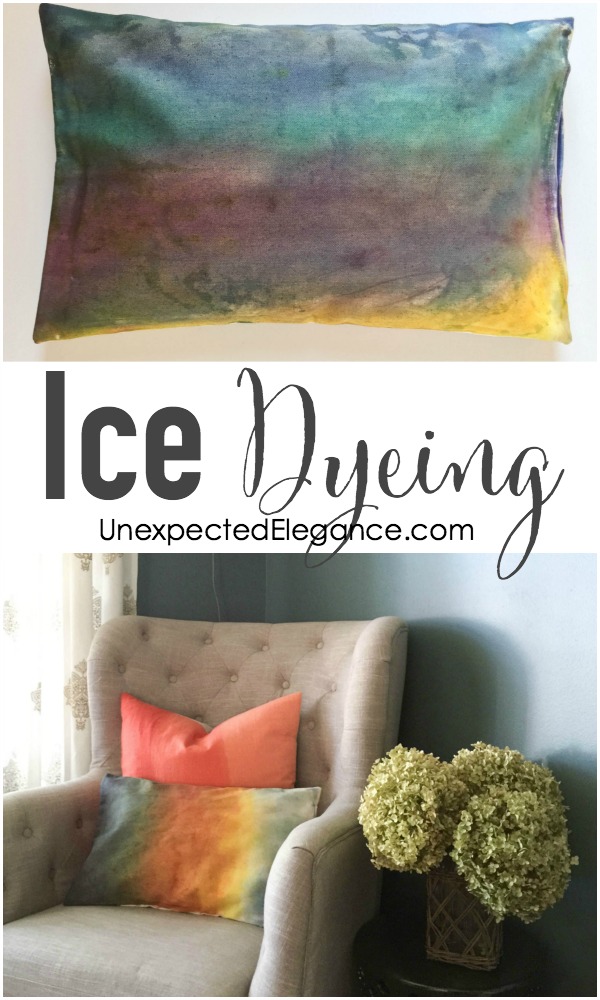
Last week I stumbled upon a post about ice dyeing. Honestly, I had never even heard of this before. It looked pretty easy and the results were beautiful. Unfortunately, the one store I went to only had liquid dye (powdered dye was suggested), so I changed up the tutorial sightly…but I think the results come out great! 🙂
Here’s what I used: liquid Rit dye and a pre-made pillow cover from the craft store, ice and a blow dryer.
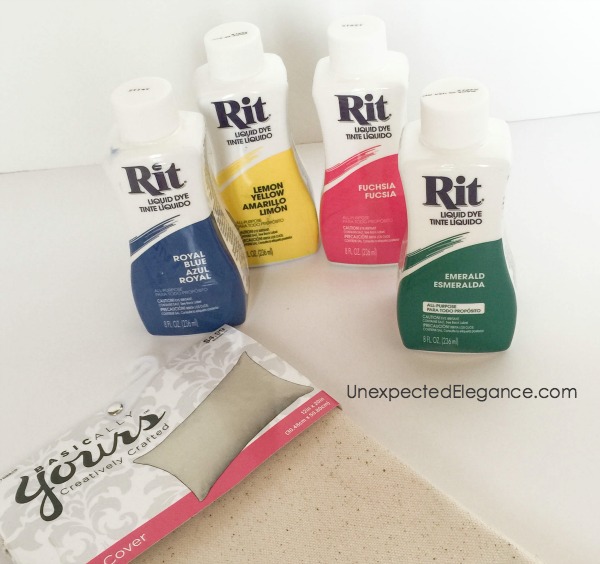
I used a pillow cover that was made from drop cloth material, so I found it best to wet the fabric first. Just make sure you ring it our really well. If you are using cotton , you might be able to skip this step.
I poured a small amount of the dye onto the fabric, then used a piece of ice to spread it out.
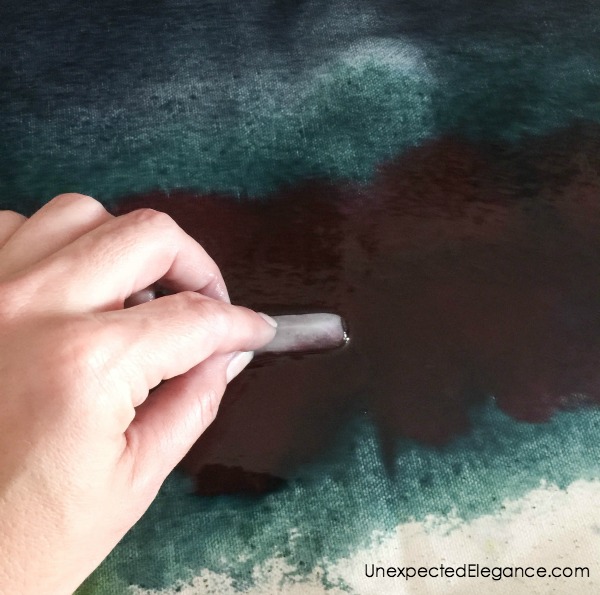
To give the edges a more watercolored appearance, I just fanned out the dye with the ice.
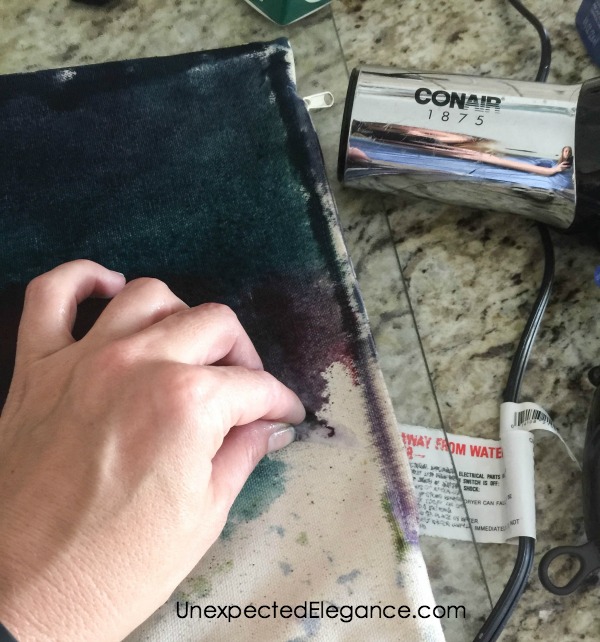
On the photo below, you can see where I put ice down and used the blow dryer to melt it.
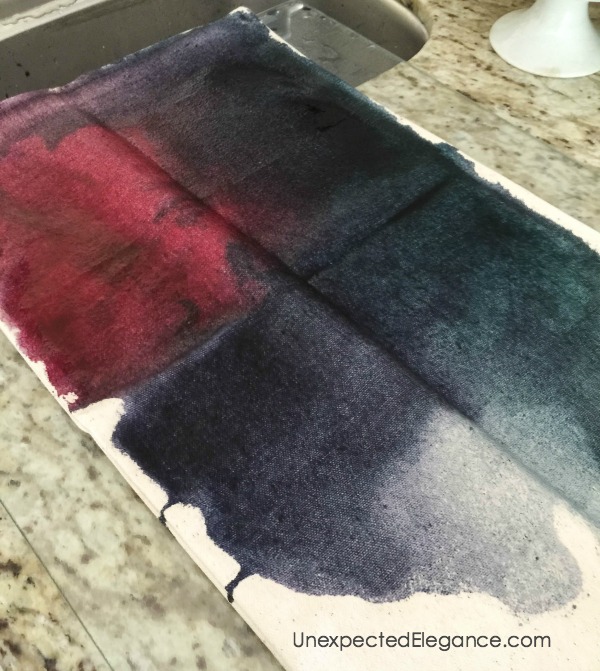
This little project was a lot of fun, but if I do it again I would put the dye into a bottle with a nozzle. It would make applying a small amount a lot easier!
I would also suggest, if you try this, to start with the lightest color first, then gradually get darker.
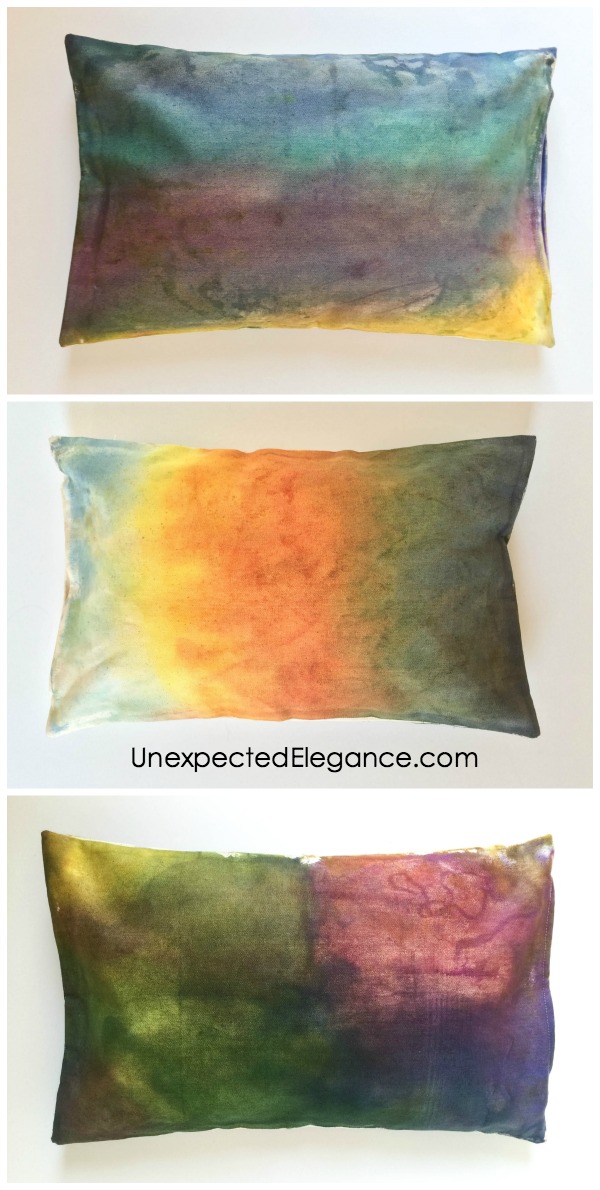
When I finished the design, I put it outside in the sun to dry. To make sure the colors set, I also threw in in the dryer for about 20 minutes on the hottest setting.


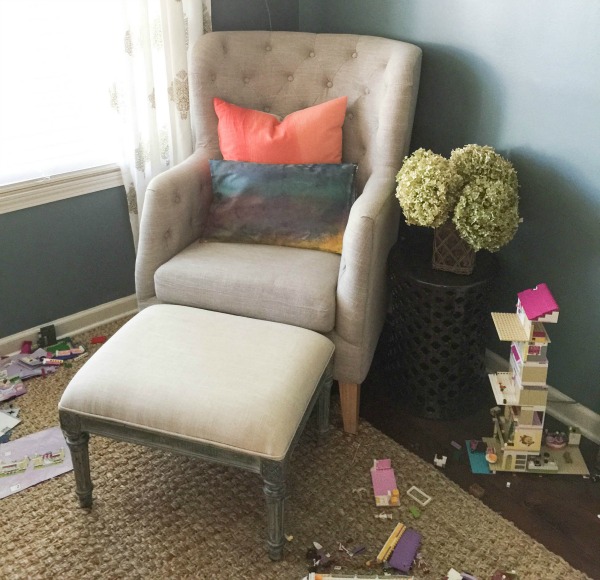
AND to keep it real, here’s what the un-cropped photos look like! 😉 This room is always covered in Legos. My youngest loves to create!!

This is real cool! Where can I find those curtains in this room? I love them!
Thanks Stephanie
I love how this turned out. They are very pretty. I did something similar recently. You can check out my tutorial here: http://www.craftylittlegnome.com/2016/01/15/how-to-ice-dye/
Thanks for keeping it real with the legos! My daughter is the same way with her play doh. It’s everywhere!