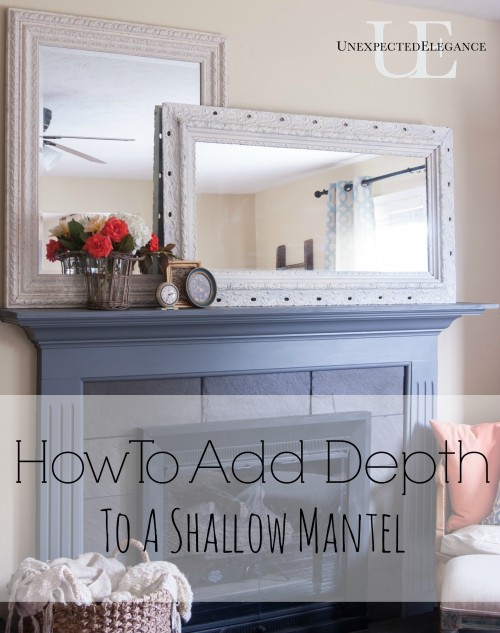
I’ve been saying for years that I needed to do something about our mantel. It was super shallow…
Only 7 inches deep, to be exact! If you are someone who likes to decorate your mantel with each season, then you understand why this is such a problem. You can’t put much on only 7 inches! I knew that this could easily be fixed but it’s taken me a while to get my act together.
Why do I procrastinate on things I know will be quick fixes!?!?!
So, here’s the before…
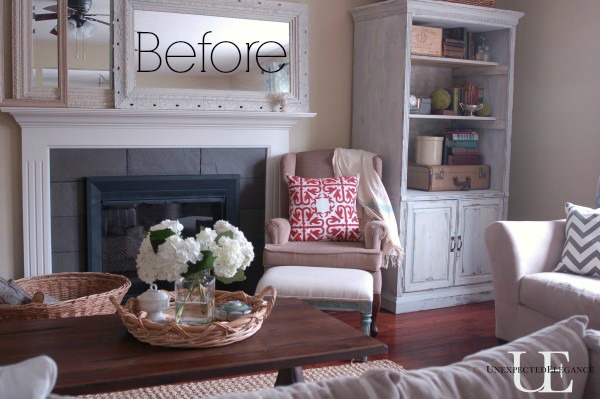
I stacked the mirrors two Fall’s ago. (I know because I blogged about it! 😉 ) I like how they add height, but I didn’t have much room to put anything else.
They have stayed in the same same place for almost two years…without moving. And when I finally took them down, I found all kinds of a mess!
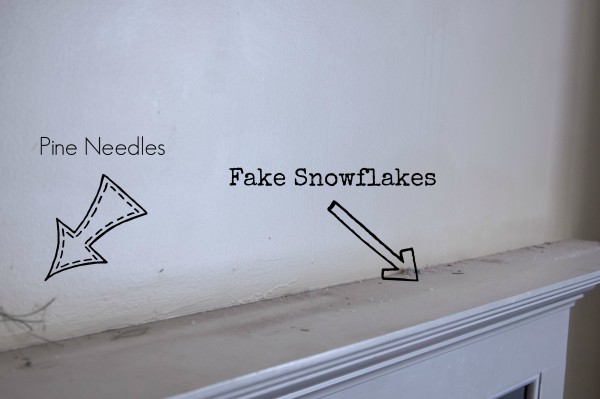
There was dust mixed with leftover Christmas “items”. So, let me show you how I fixed my little problem:
1. Measure the existing mantel. I added two inches to the front and an extra inch to each end. Don’t go much farther than 2″ or your proportions will look funny.
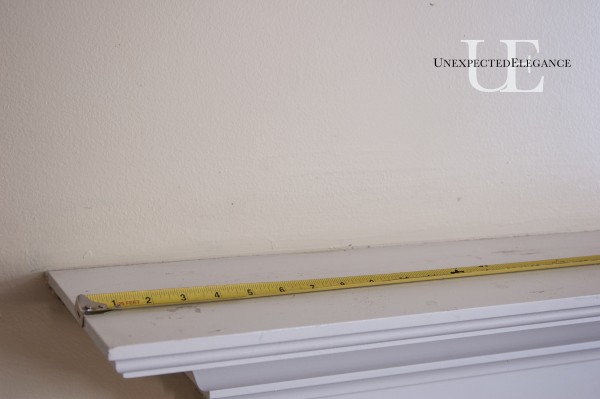
2. Cut a piece of wood to fit the desired dimensions. If you don’t have saw, just measure everything before you go to the hardware store and have them cut it for you.
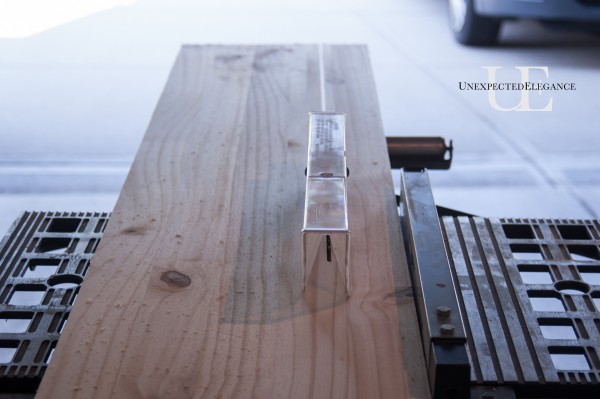
3. Place the newly cut board on top of the existing mantel, measuring to make sure the two ends have equal proportions.
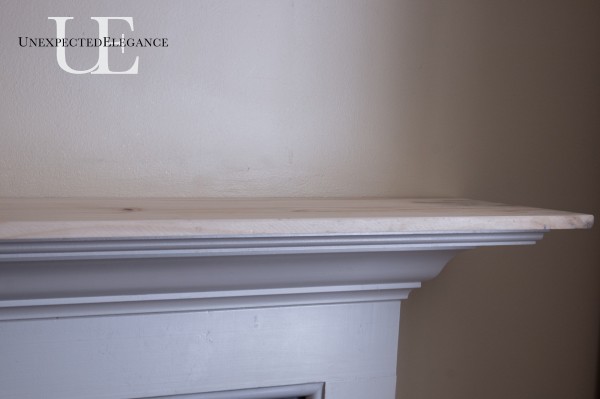
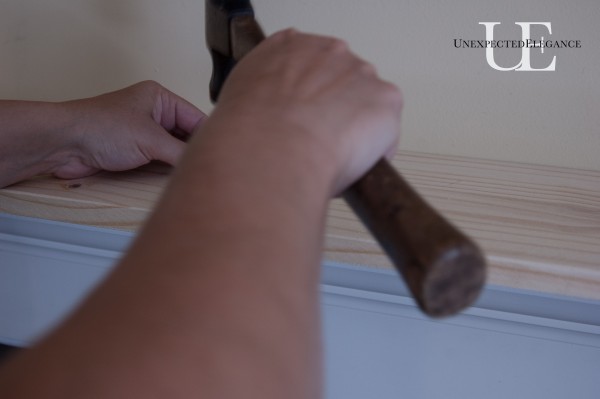
4. Secure it using a few finishing nails. You might need to add some filler to the holes on this step.
5. Tape off all wall surface and paint. The easiest way to tape around an uneven surface (like molding) is to tear the tape into small pieces.
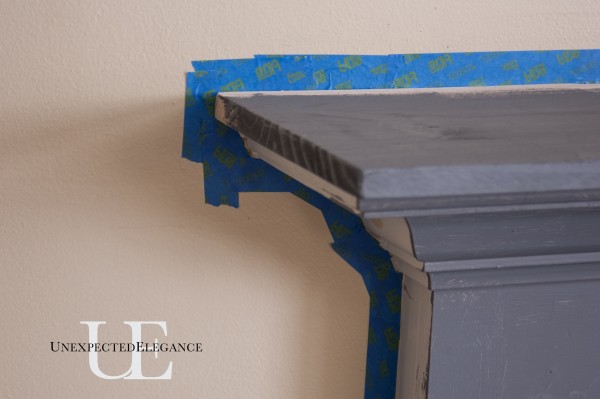
I decided to go with a darker color, this time around. I have plans for the walls in this room and I think once everything is finished they will complement each other. At least I HOPE…if not it’s ONLY paint!
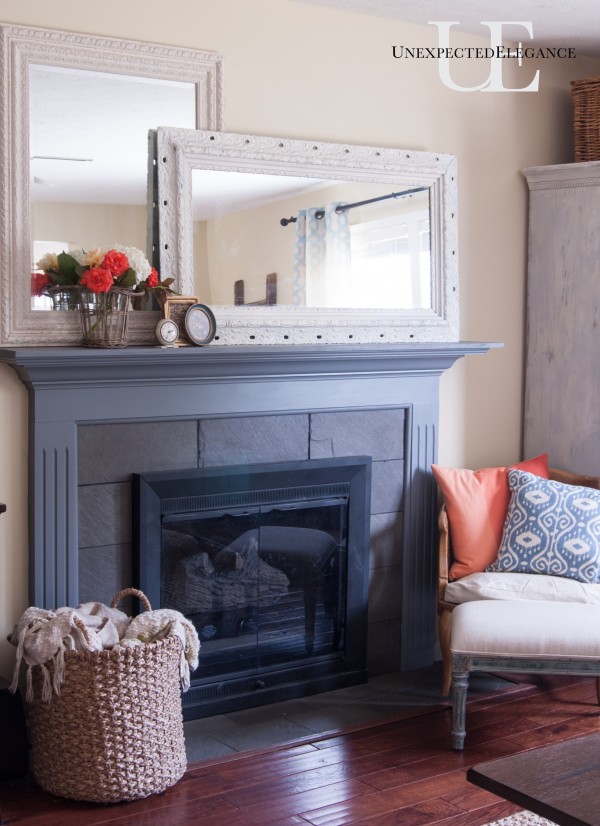
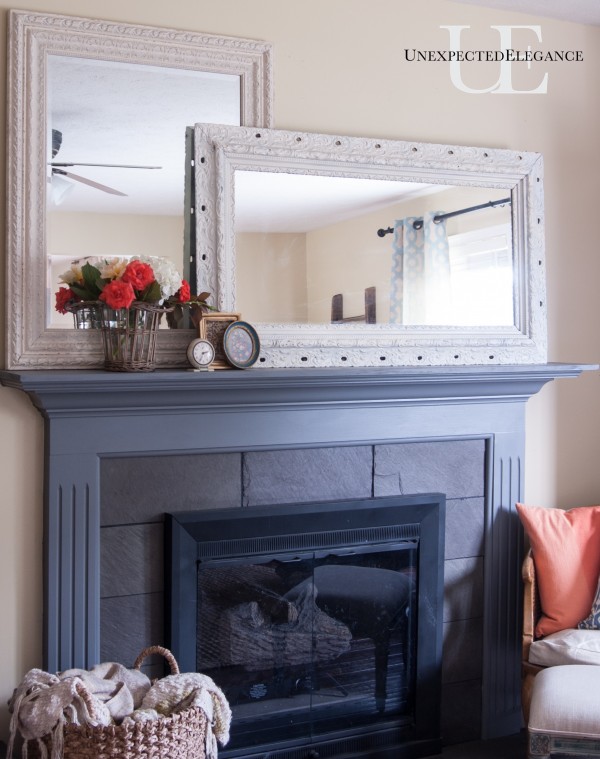
Do you see all that room!?! What a difference two inches can make. 🙂
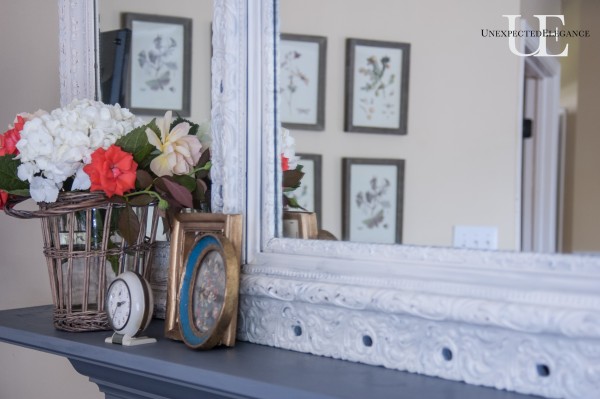
This project cost me around $15 for the wood (I had all the other supplies), and took maybe two hours to complete. I say two hours only because of having to paint and wait in-between coats. The actual construction only took about 30 minutes.
***
And to keep it real, here’s how my house looks when I’m in the middle of project…A MESS!
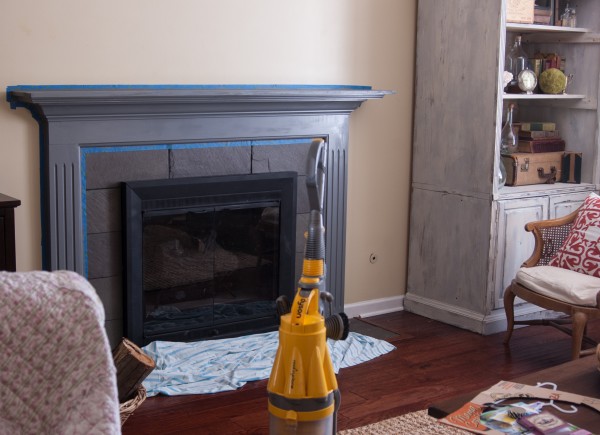
The upside: A finished project makes me want to keep my house extra clean for at least a few days! 😉
~Angela

Size really does matter! When we had our mantel built, I made sure it was extra deep so I could show off my too many collections! Looks great!
Kelly
It looks so much better! Great job!
We did the same thing a couple years ago. Looks great.
Great job!! My present mantel is deep.. very deep 🙂 cuz the fireplace is an electric one. I lucked out .
Luv the idea though… and the darker paint.
Hugs, Gee
Now that is a great project!
Size does matter. You just proved, and yes a couple of more inches does make a big difference. Lol
For some reason my pc won’t show the last few photos so I had to imagine by the comments your description. Do know what you mean tho as we have a shutter shelf I use for a mantel. No fireplace in our l/r. Hubs made me a shutter shelf with shutter being the background foundation, a shelf on it supported by couple metal brackets I’d been dragging around for years thru all our moves. It’s a nice depth, approx. 14″ deep. Wanted it deep enuf to be able to arrange things at will. I mean if you have a mantel you want to be able to put your pretties on it. It hangs over our couch right now.
I’ll look forward to seeing your deeper mantel in another post. Will be fun to see what you put on it. Just think of all the great Fall decos you can use on it, that time is coming up v;ery soon. enjoy, you’re pretty smart gal to do that yourself.
JaneEllen, 14′ is AWESOME! Mine is only 9″ now, but still much better than before. I was thinking ahead for Fall and Christmas and wanted to be able to use my mantel without things barely hanging on! 😉
thanks for motivating me to paint my mantel! .. like you said it’s only paint:) plus added some new wall color
I’m glad!! (I’m sure Chad will thank me!! 😉 )
Just wanted to note that this is not adding depth per se, but rather extending the mantel
Thank you so much for this post! My husband bought me a new, larger tv and was getting ready to take the whole mantle down and build a new one, when I found your post. Awesome!!!
I’m so glad I could help!!
What kind of lumber did you use for your mantle extension? My existing mantle is stained honey oak , but I am painting it white.
Thank you!
Jen Sweeney
I can’t remember put my guess is that it was either pine or poplar. Good luck!
mahaligaThe best and most popular online games in the world are the best sellers
nice, very amazed with your page, please come to visit my site MAINLIGA
I couldn’t agree more with your message. Your insights are spot-on and really made me reflect on my own experiences. Keep sharing!King PH Casino
I couldn’t agree more with your message. Your insights are spot-on and really made me reflect on my own experiences. Keep sharing!King PH Casino..
Thank you for sharing this. It’s really helpful king casino games
Such a stunning shot! You’ve got a great eye for detail. king ph casino games
Your attention to detail here is impressive. Well done! king ph app download
WOW, this was incredible! Your editing skills have leveled up, and the content was so engaging from start to finish. You really know how to keep us hooked. I’m learning so much from your vlogs. Keep up the amazing work!
piso game app
Your videos always bring such positive energy! I really appreciate the effort you put into each one, and it’s clear that you love what you do. Keep killing it! ❤️
dragon tiger
this is a such a nice article, thank you. it helps me for my next project – 24kbet
This is such an interesting read! It’s always great to discover new perspectives and insights. For those looking for more ways to stay entertained online, check out Lodi646 for an exciting experience!
Fantastic article! I’m excited to explore more of your writing. If you’re curious, feel free to check out my work as well—I’d be delighted to hear your thoughts. Thank you so much! – 24kbet
This is such an interesting read! It’s always great to discover new perspectives and insights. For those looking for more ways to stay entertained online, check out Lodi646 for an exciting experience!
I just wanted to say thank you for writing such a comprehensive post! I’ve been trying to learn more about this topic, and your clear explanations and w ell-organized structure made it so much easier to understand. Keep up the great work!
casino ranking ph
This article is so great, waiting for the next update of your contents. it enjoy reading it, thank you – k11bet sportsbook
Great article! I just read this and really enjoyed it. You may visit k11bet guide for more related blogs.
Great article! I just read this and really enjoyed it. You may visit k11bet latest games for more related blogs.