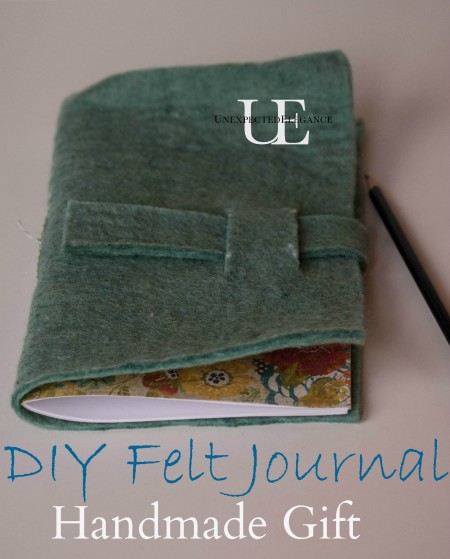
I think I’ve just found my FAVORITE thing to craft with (at least for the moment)!!! It’s felt…and the possibilities are endless! It’s just so much fun!
This felt journal took a little longer than the other gifts, but it’s still worth your time. It look about 20 minutes from start to finish.
Supplies: piece of felted wool (you can make your own from an old sweater or purchase a piece from the craft store), twine, scissors, large needle, paper (with lines or without) (Optional: piece of craft paper, wool roving, lettered cookie cutters, felting needle, and sponge or brush)
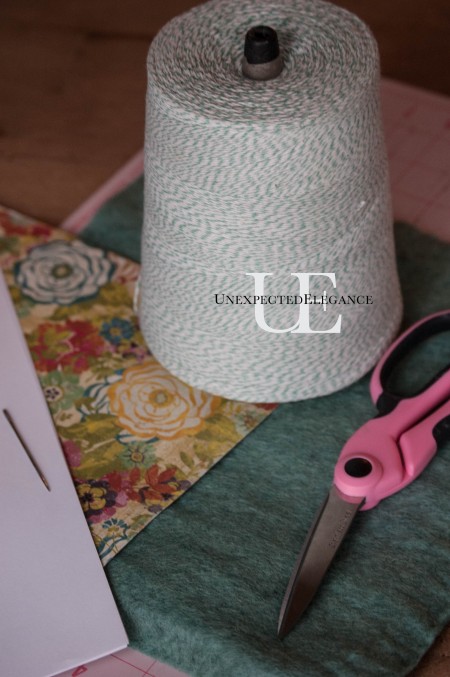
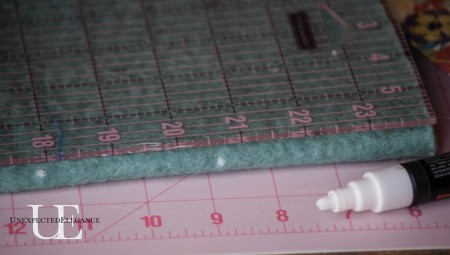
Fold your paper in half to make a booklet. Then lay it out on your felt as a pattern. It will be the cover of your journal so you want the felt to be slightly larger than the paper. I like to use chalk or a chalk pin to make all my marks.
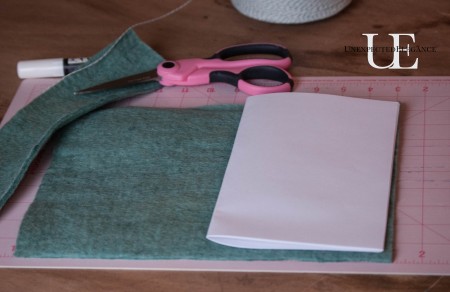
If you want to add a little more color and design, do the same thing with the scrapbook paper. It will go in between the booklet and felt.
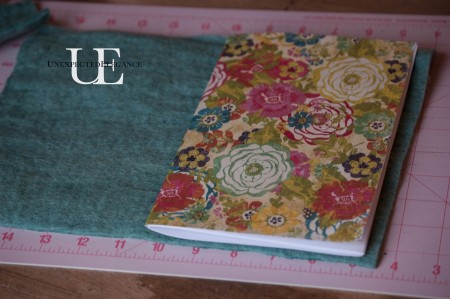
Next, fold the felt (with the booklet) in half and make some rough marks on the spine for the binding (twine in our case). I made mine a little too close together. It’s better to have them further apart.
Cut a long piece of twine and put it through the eye of the needle. You don’t need to make any knots. If you look at the picture below you can see that I pulled the twine threw and left a little strand.
Start from the outside of the spine, going into and through the booklet. Depending on how big the journal is, you might need three holes for better stability? Do this at least twice. The final strings should be outside the spine. Just tie a small knot to secure it.
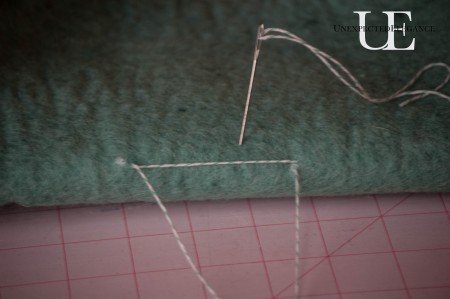
The inside should look like this:
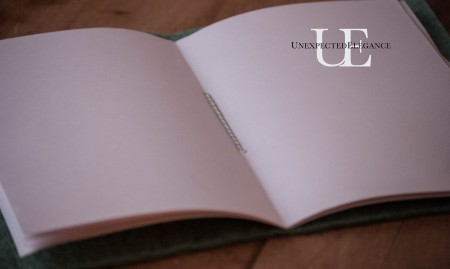
Now take a leftover scrap of felt and cut it into a long rectangle. On the back of the journal, use the same stitching method to secure it close to the end. Try to get it centered.
It will look similar to this: (remember this the the BACK)
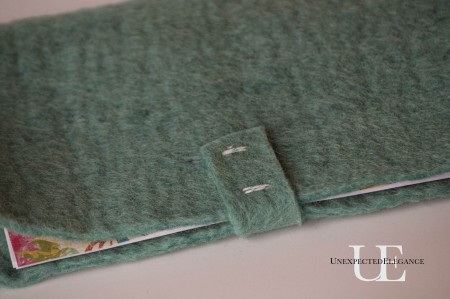
This piece will work as the strap to keep the journal closed. Use the strap as a guide to mark the front.
We will be making slits for the strap so you will need to make a few marks to know where to cut.
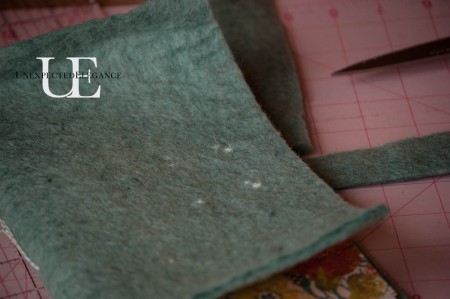
The easiest way to make the slits is to fold the felt in half and make a little hole for your scissors. Using the points you marked as a guide, cut the slits slightly larger than the width of the strap. If you have an craft knife it would the easiest. Just make sure you use a ruler or something straight as your guide.
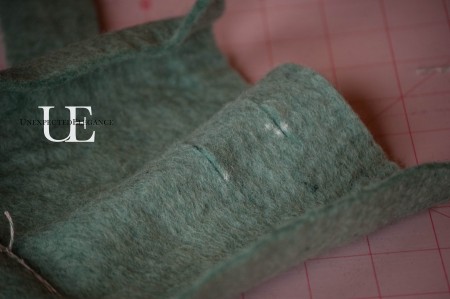
You can also embellish the front with wool roving. To get a tutorial: click HERE.
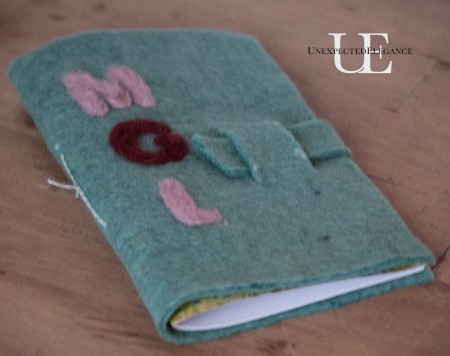
I used letter cookie cutters to make the initials of the gift recipient. 🙂
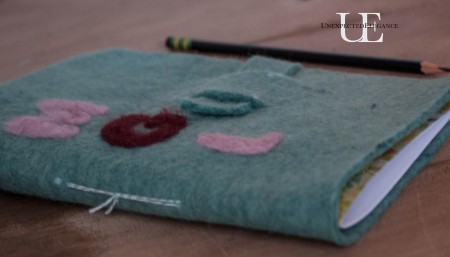
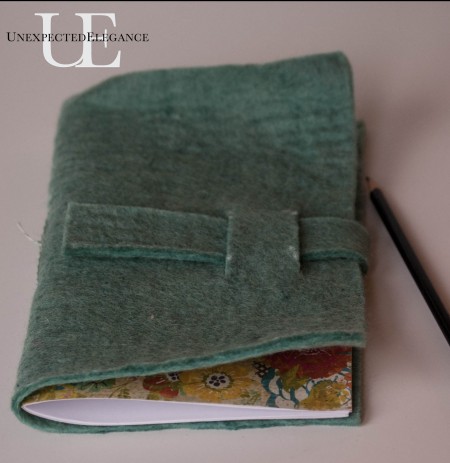
My oldest daughter is 7 and loves journals, so this will make the perfect stocking stuffer! (She’ll love it even more because it has her initials! 😉 )
~Angela

I love this project and post. I think your tutorial is great, I can actually see myself doing this.
I love look of the felt and the personal initials are an added embellishment to the gift.
I’d like to make different gifts depending on the person. I take so much pleasure trying things I’ve never attempted before to give my gifts an even more heart felt spirit. Since we’re two older people without ready cash for buying gifts I love to make them. Most of the time it cost me more to ship them than it does to buy the supplies or make them. Most of our family and even friends live in other states. Even our other grand kids know they’ll get a home made gift.
So glad you shared this. I’ve been looking for things I’d want to make.
JaneEllen, let me know if you try this and how it comes out!!! 🙂