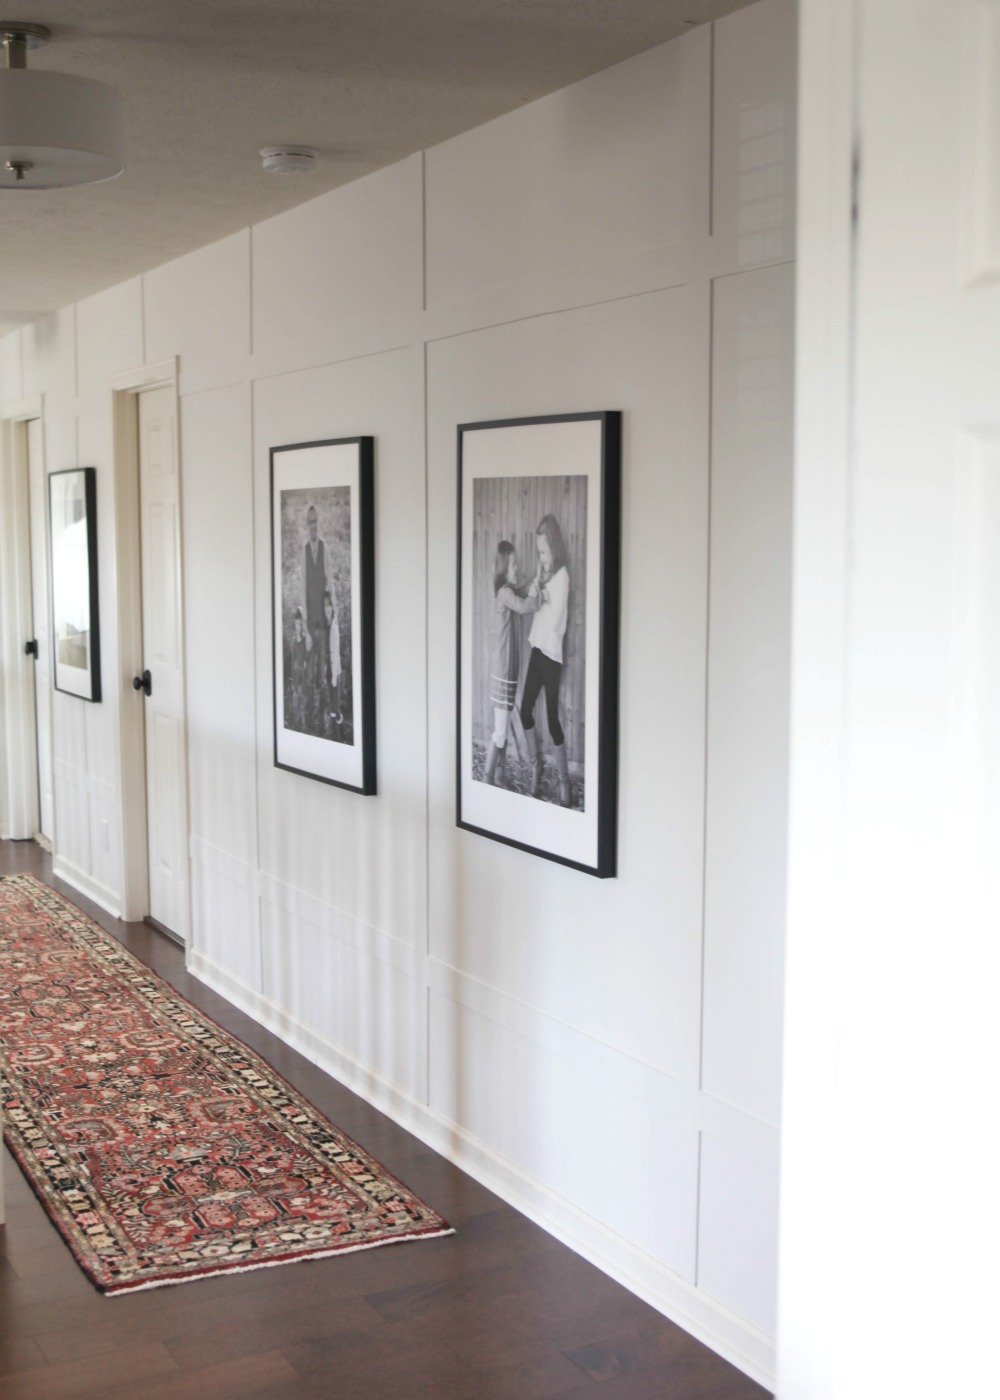
This hall makeover is a great way to get a high end look for less than $100!
This post has been sponsored by KILZ. All thoughts and opinions are my own.
Is there a project that you have been putting off for a while? My upstairs hall was one of “those” projects, and I’m kicking myself that I waited so long! I didn’t want to spend a lot of money on the makeover, so I came up with a wall treatment that cost less than $100 and only took a couple of days for me to complete on my own (if you had someone helping you, this could easily be done in a day!).
Here is what it looked like BEFORE the makeover…
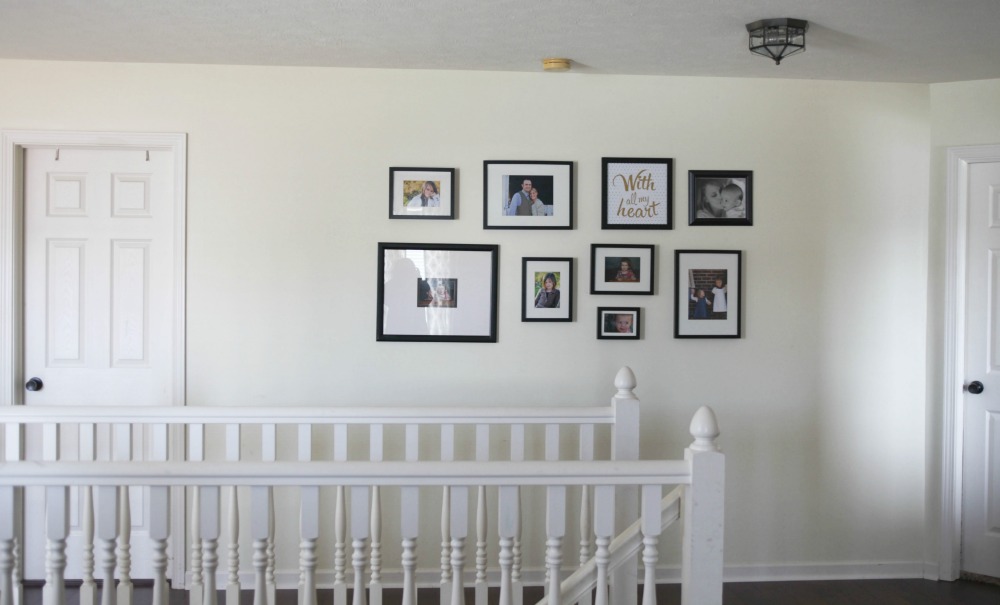
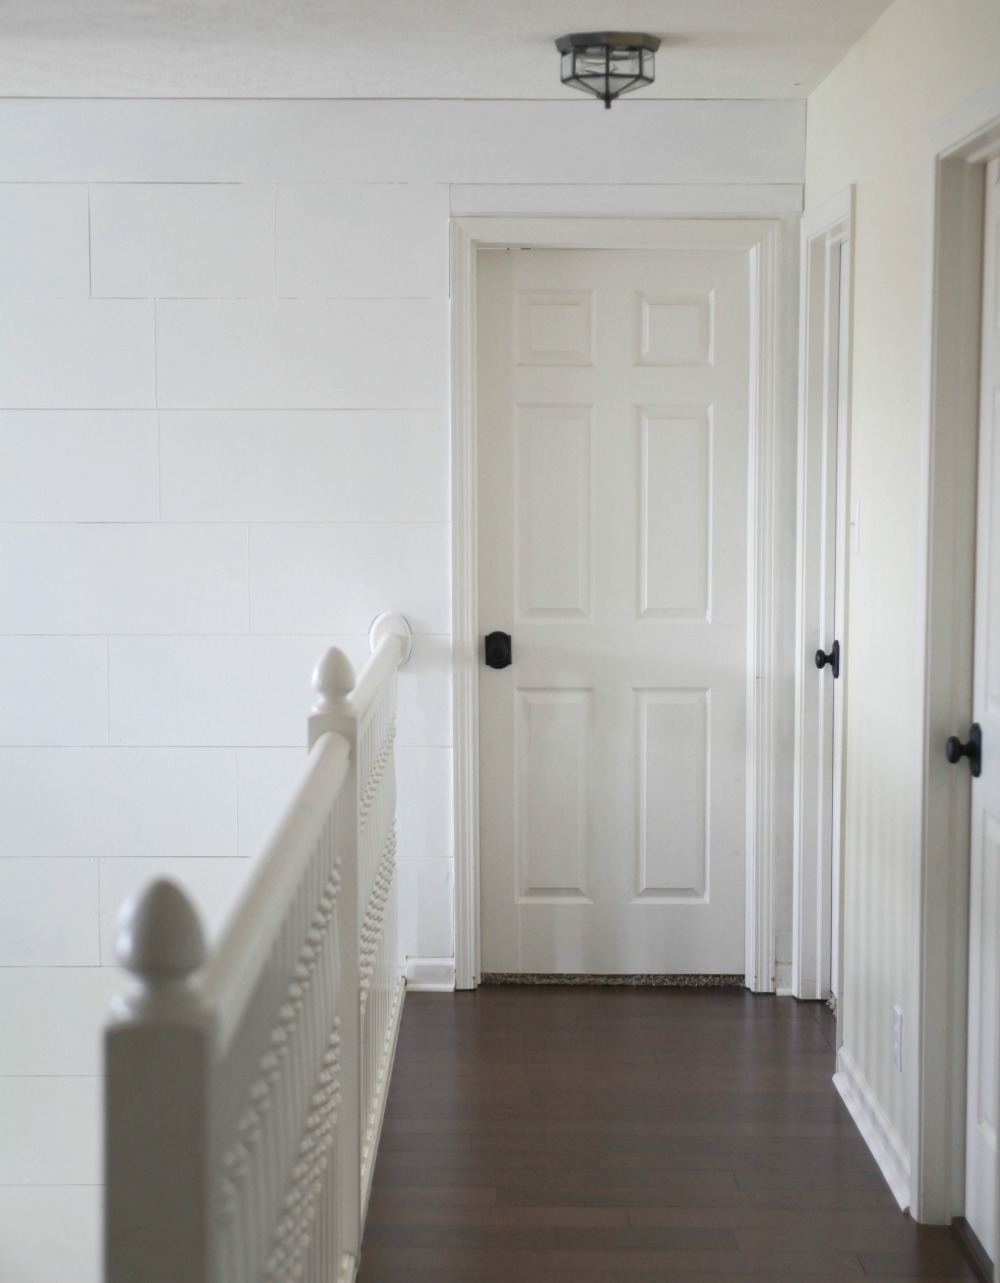
I only had to buy one piece of plywood and a gallon of paint, I had everything else I needed. So for around $75, I got a lot of bang for my buck.
Hall Makeover for LESS than $100
Supplies:
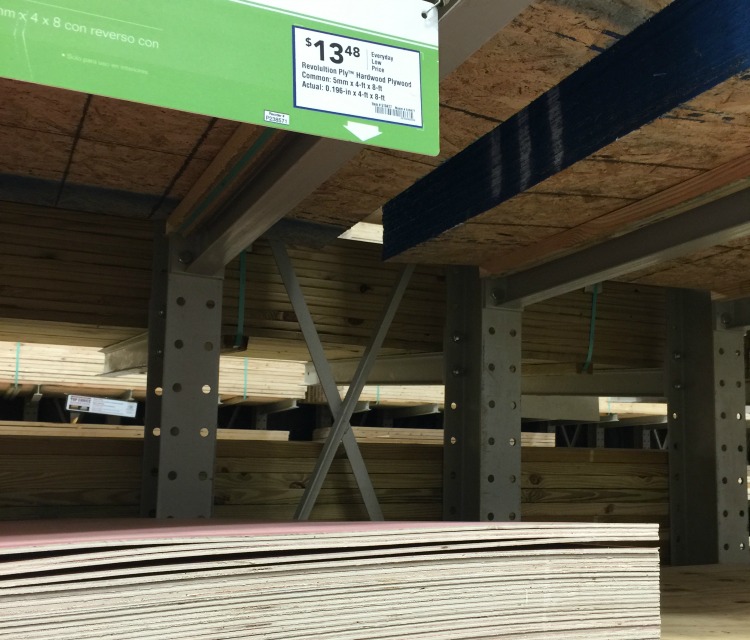
- 5mm plywood cut into 3″ strips
- nails
- hammer or nail gun
- paintable caulk
- stud finder
- level
- paint
- saw
I used this plywood pictured below and had the hardware store cut it into 3″ strips horizontally…
1. I started by locating all the studs. I used a stud finder and tested with a nail to verify the exact location.
2. Then I played around with a grid pattern by drawing it up on the wall, making sure that each section of 3″ plywood would intersect a stud. ( I wanted to add some large pictures inside each grid, so I needed to make sure they would also work with the pattern.)
3. Once I had the pattern figured out, I started attaching the boards to the wall using a nail gun. (You could also use finishing nails and a hammer.)
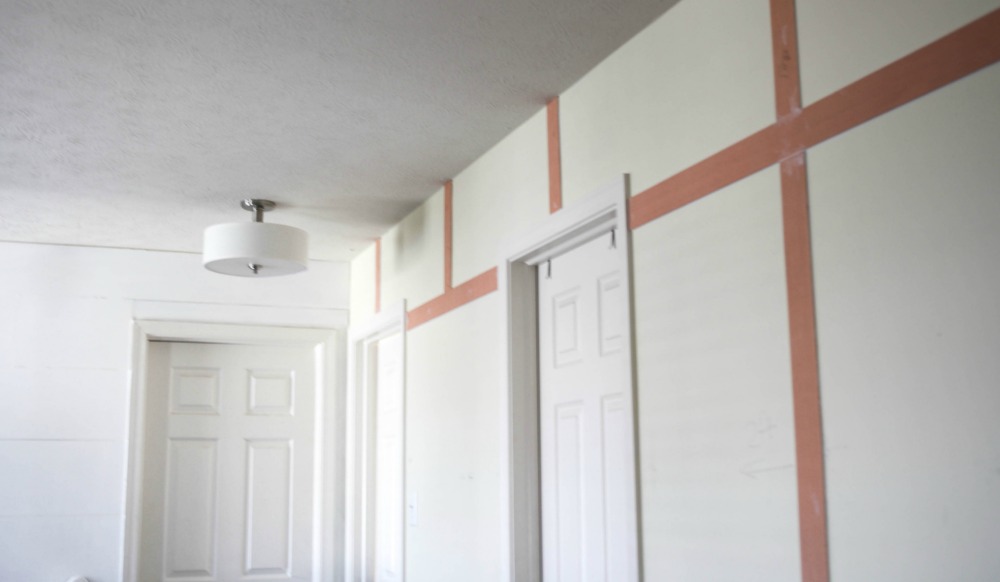
Because of the stud placement, I decided to have the horizontal pieces span the wall and cut the vertical pieces. This is completely your preference, but you want each piece attached to a stud.
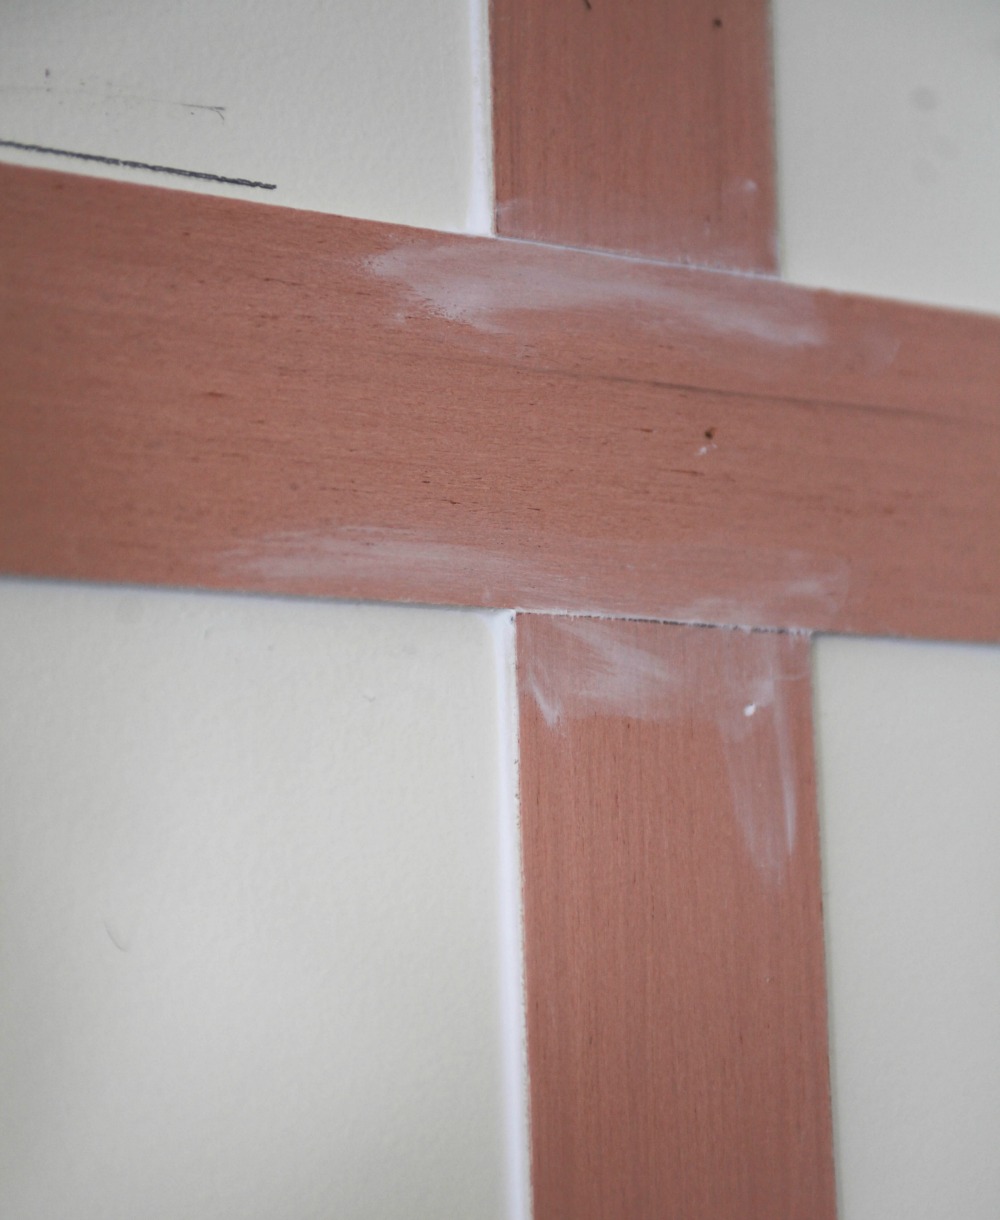
After all the grids were installed, I used caulk to fill in the nail holes/gaps and around each piece of wood.
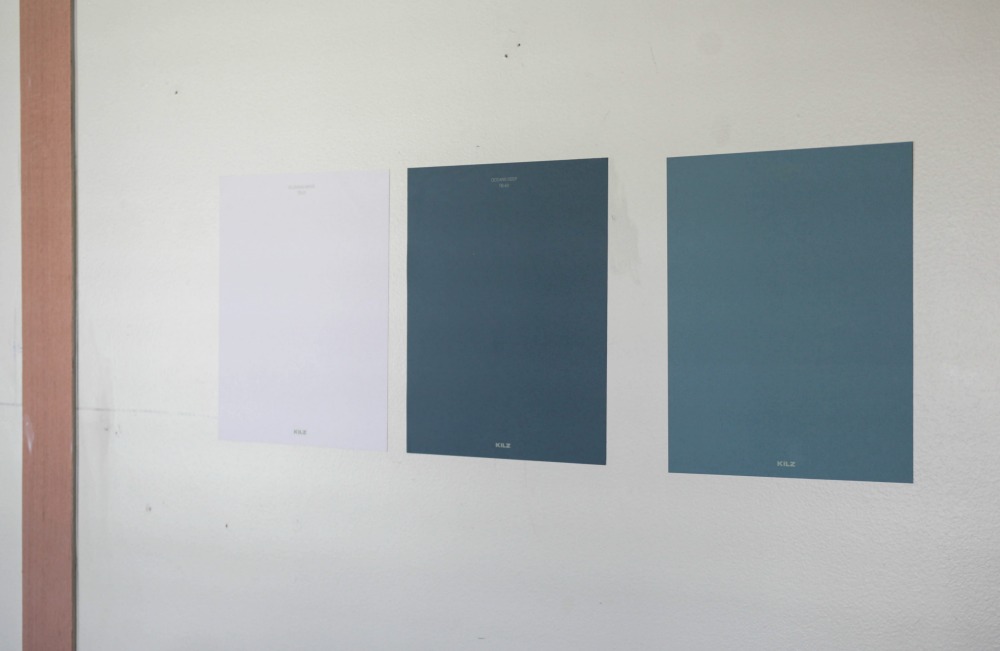
I kept going back and forth about the color of the walls. I wasn’t sure if I wanted to do a bold (fun) color or stick to a white. I love the look of darker colors, but I also wanted to keep this area of the house open and airy.
Thankfully I found these KILZ Peel and Stick Samples. I was able to try out a few different colors on the wall without even getting a paint brush out! It was great to see the different colors at different times of the day, and I decided that a version of white was the way to go.
I chose Collector’s White from KILZ TRIBUTE Interior Matte Paint and Primer in One. It’s a greige-tinted white shade and pairs great with other neutral colors, mid-toned flooring and polished metal.
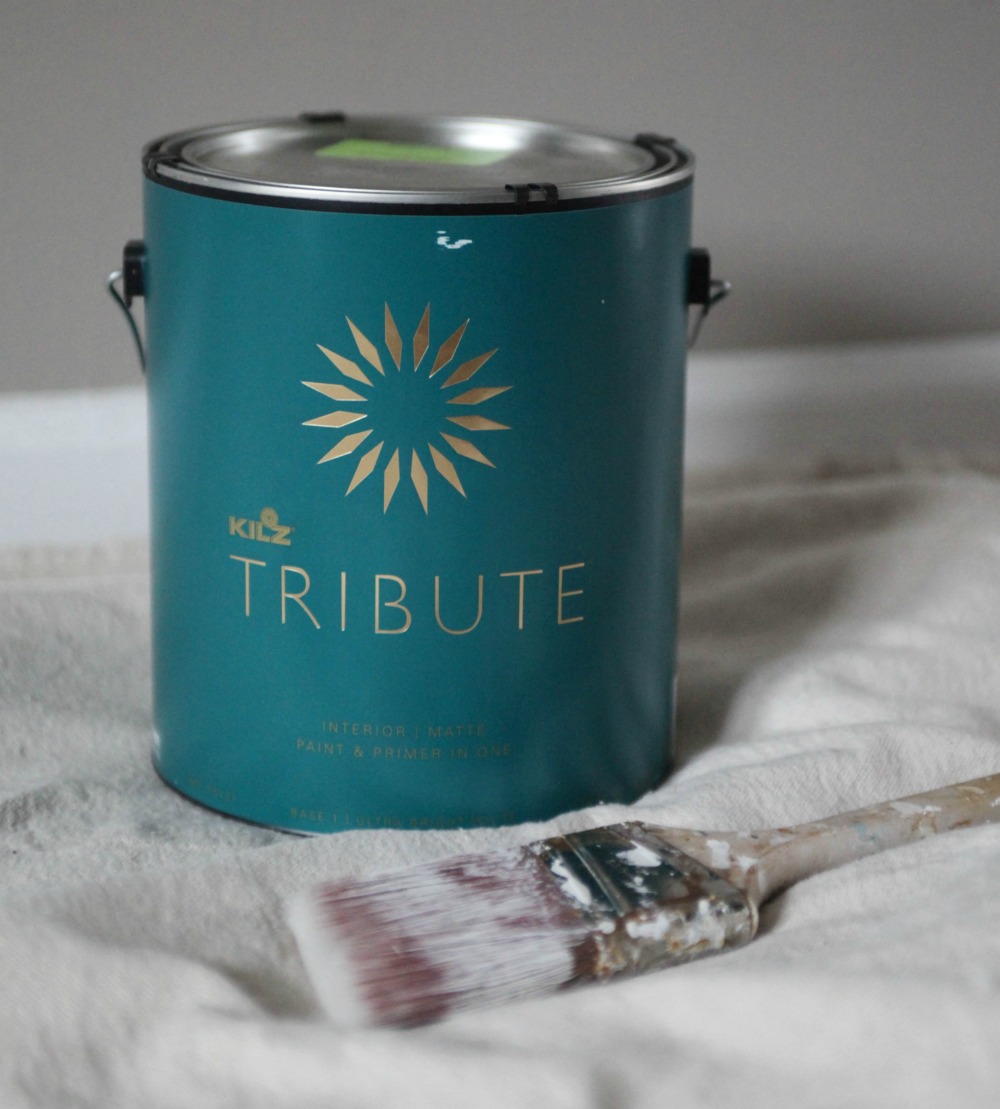
There were a couple of reasons I decided on this specific paint for the hall. 1.) I wanted a matte finish because the wall has a lot of imperfections and a shinier finish would highlight the flaws. 2.) The KILZ Tribute matte sheen resists dirt with a scrubbable film for easy cleaning and is highly durable. (I did a kid test by writing on the wall with crayons and markers…with a little scrubbing the marks came off but the paint stayed!!)
Here’s the AFTER…
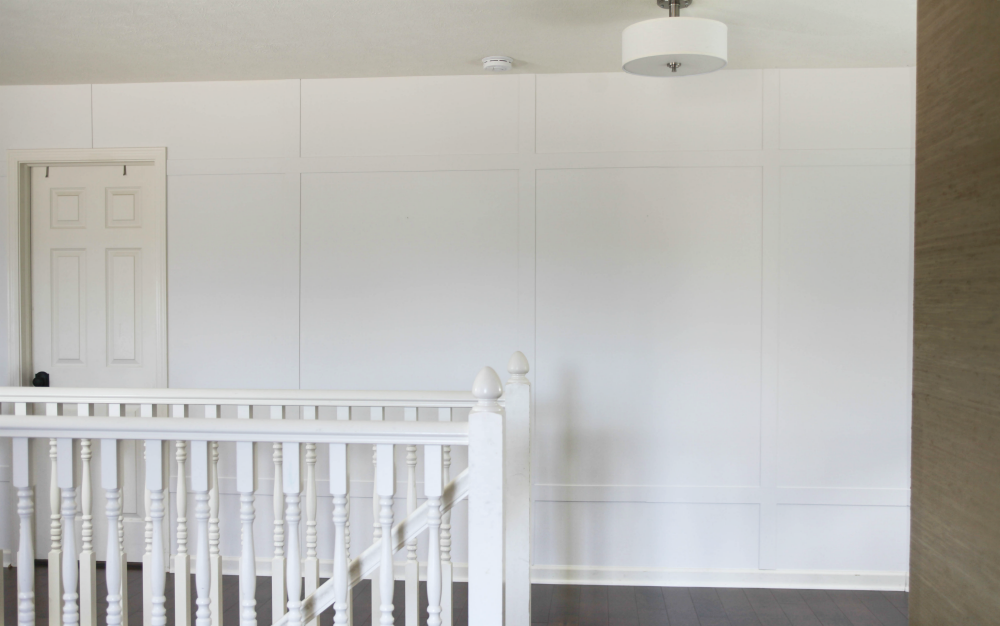
I’m still a little in awe that I was able to get such dramatic results for less than $100!
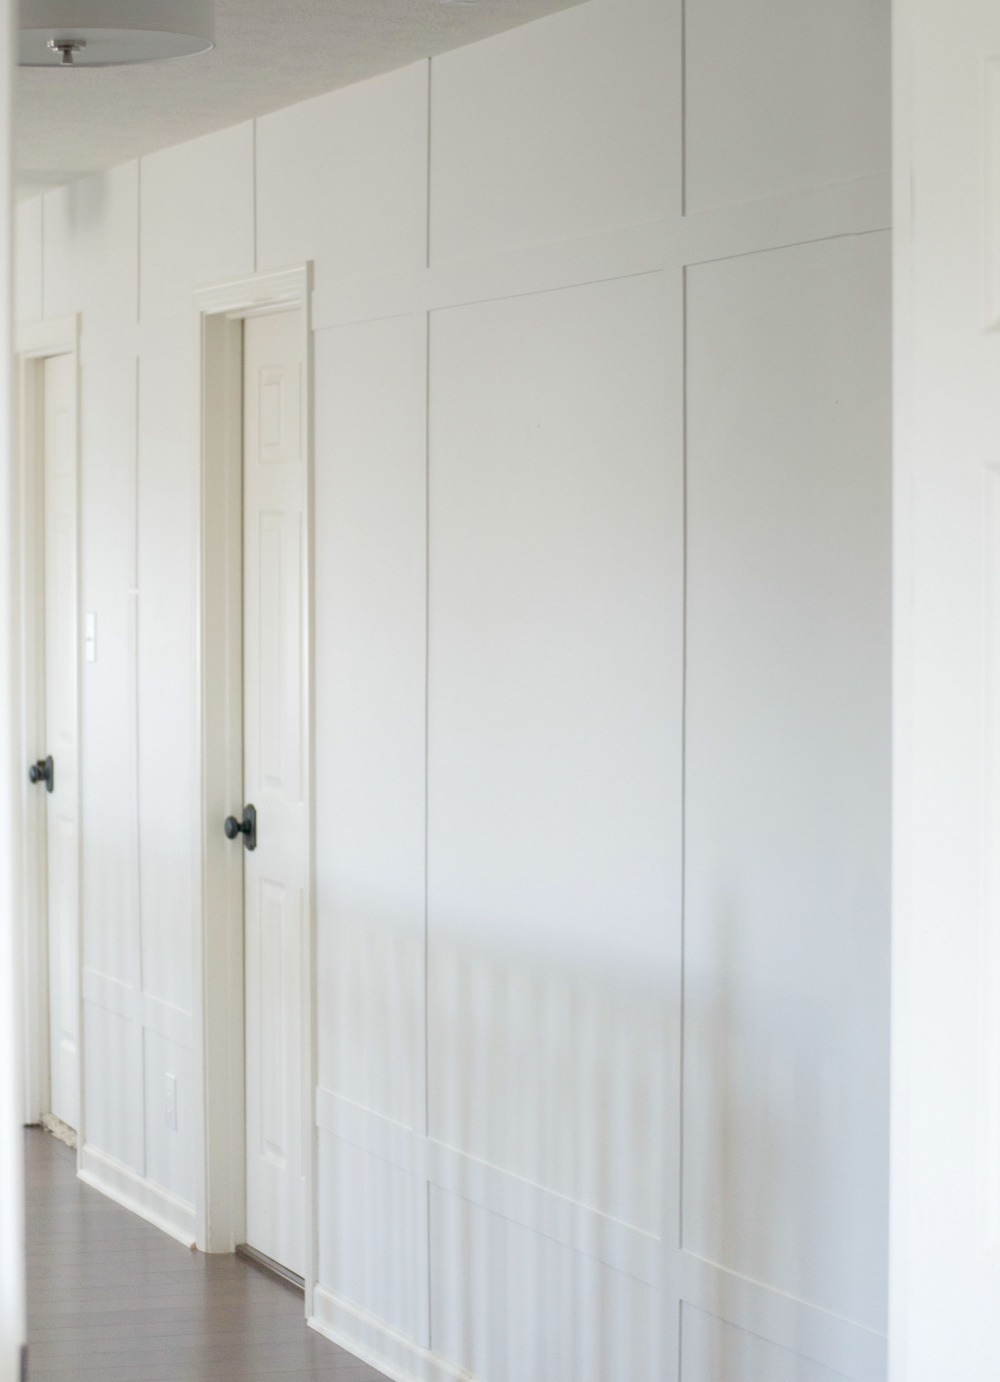
Of course you know the drill, now I need to repaint the doors and baseboards. However, that will have to wait.
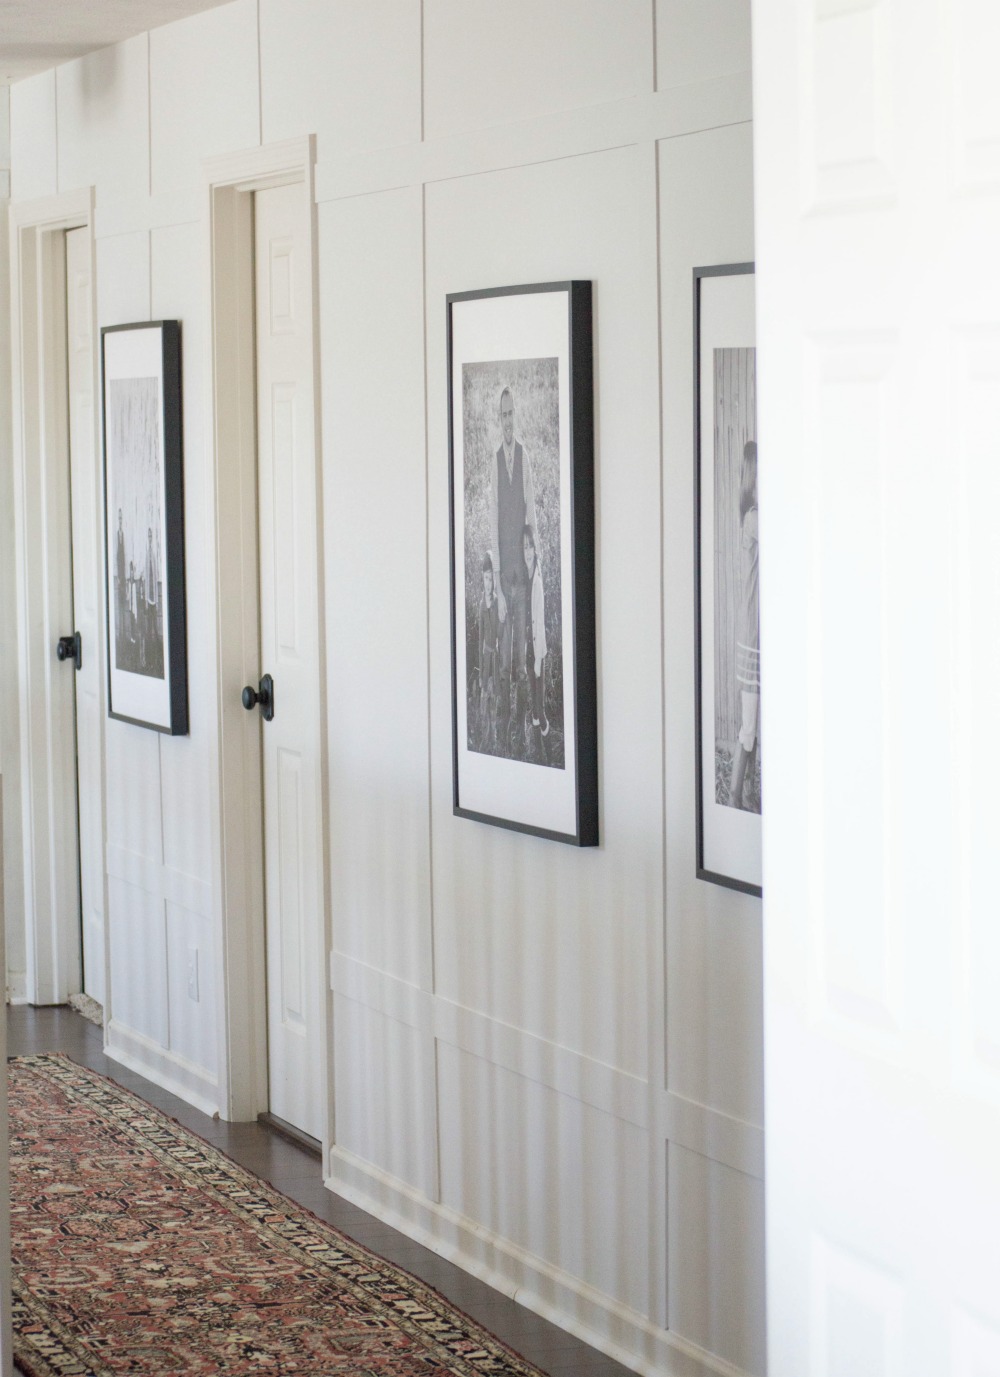
KILZ Tribute Paint is available to purchase online at both Amazon.com and Build.com.
What do you think? Is this a project you want to tackle?
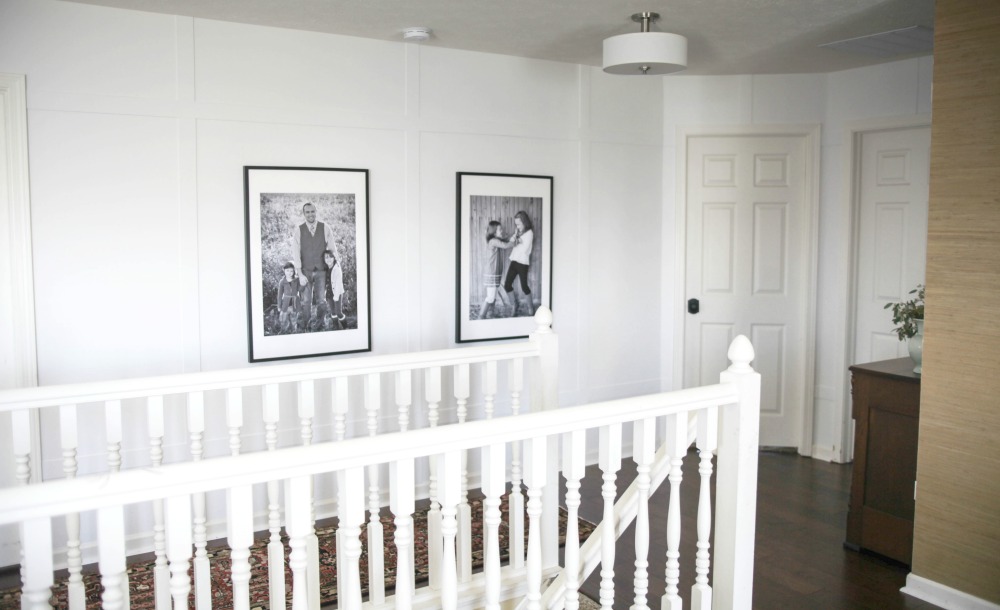
Be sure to check out my Dining Room Wall Treatment for more inspiration!

Fantastic !
This is awesome! Love it. Thanks for sharing all the great tips, too! 🙂
Can you tell me about the frames and photo prints?
I got the large frames at Ikea for around $15 each and then I had the pictures printed at Sam’s Club, but they are a standard size so most photo printers can do them. 🙂
Hosting a charity event requires a lot of planning, and I needed to find affordable supplies that still looked professional. While searching, I stumbled upon https://mcdonaldpaper.com/safepro-dnap-v-15×17-inch-violet-dinner-napkin-1000-cs/ . The website had exactly what I needed, with great bulk purchase options and special deals that helped me stay within my budget. The ordering process was simple, and the delivery was quick. The napkins were soft, absorbent, and added a nice touch to our event. I’m glad I found this site because it made organizing the event so much easier.