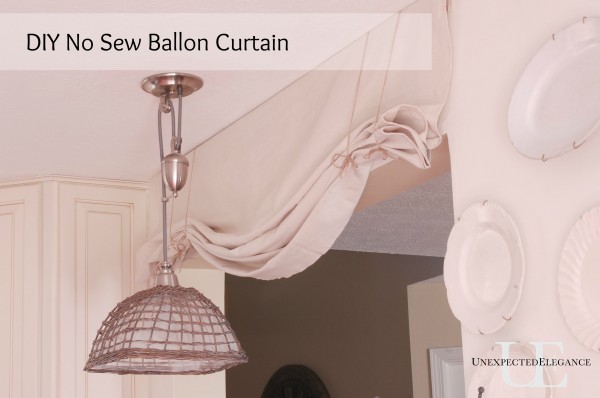

Ok. so I SAY it’s a no-sew project, but I did sew the edges of mine. But it’s easy to do it either way!
1. Hem the edges or use an iron-on adhesive to give a finished seam on three sides. (The top will be stapled, so there’s no reason to hem it.)
2. Cut a thin piece of wood, mine was about 1″x2″. If you have a piece of scrap wood, use it…it won’t show! You want the wood to be slightly shorter than the top of the fabric. I just laid the sewed fabric down and marked the wood about half an inch from the outside of the fabric on each side.
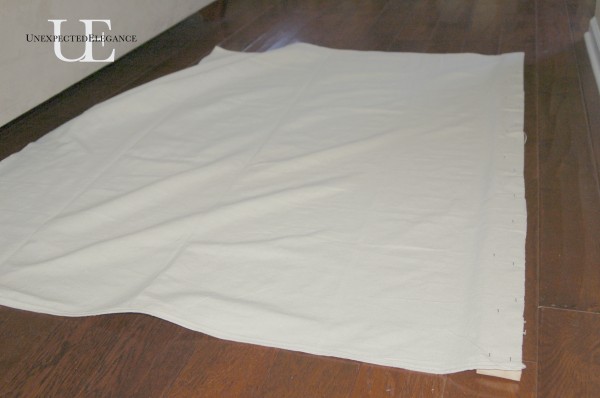 3. Once the wood is cut, lay the fabric down on top of it with the finished edge facing UP. Staple the fabric in place using a staple gun. {Disregard how my fabric is facing in the next picture…I had to take all the staples out and re-staple it. 😉 }
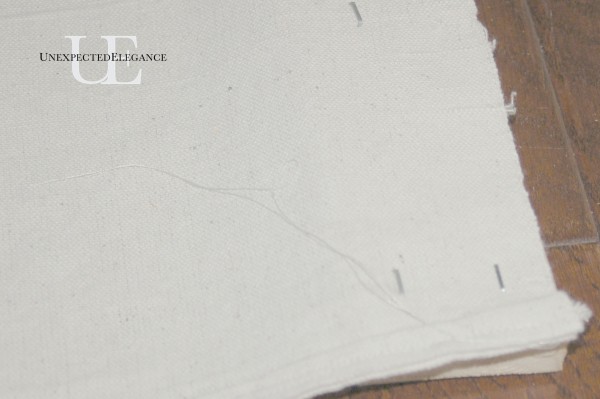 4. For the ties you can use any kind of string or ribbon. I chose a twine, because I wanted it a bit more rustic in feel. Figure out how far in you would like the “balloon” to start and staple the ties to the wood on each side.
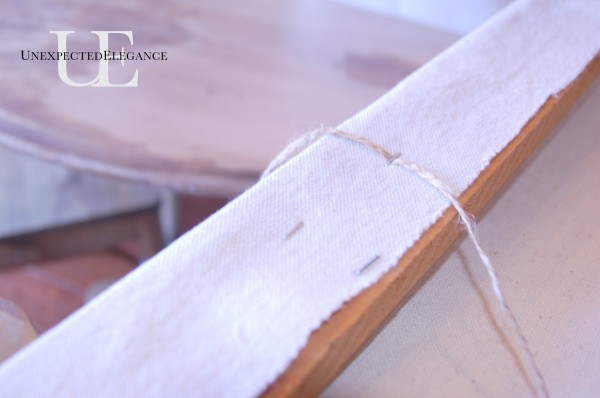 5. Flip the fabric and ties over the the wood and screw the wood into the wall.
6. Then tie up the sides and you’re done!
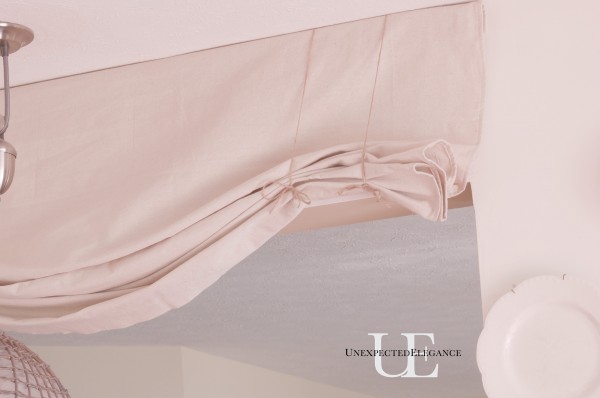 This project probably took me about an hour from start to finish. I love the extra layer of texture it adds to my kitchen.
Speaking of my kitchen, did you notice the new paint color?!? I’ve been working hard on painting and changing a few things. If you follow me on Facebook, you have probably already seen some of them. I’ll share more of what’s going on next week! 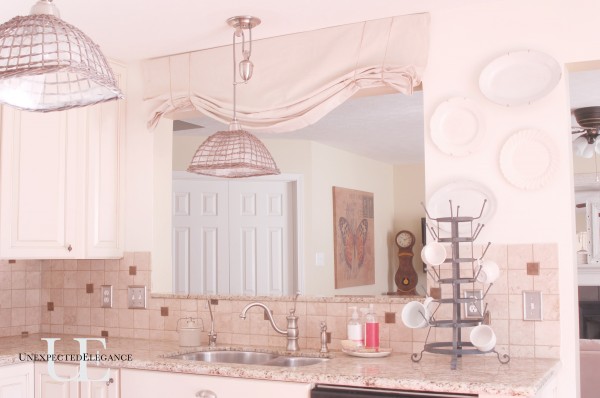
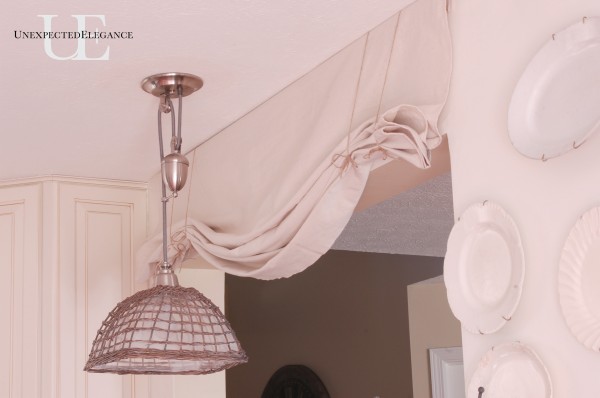
I have so many exciting things going on right now and can’t wait to share them. Tomorrow I’m going back to Horton’s to tweak my space and I will share some pictures with you.
Have a great rest of your week!
~Angela
I’m joining the party @:

Hi Angela. I’m your newest follower – saw you on Hometalk – your awesome laundry room makeover hooked me.
This roman blind project is right up my “alley” with the no sewing part….
Also, LOVE your light fixture. Did you make that?!
Thanks, Ally!! Yes, I made the light out of an existing fixture and used wicker “food saver/keeper”, not sure what it is exactly called!?
WELCOME!
This is awesome and it makes such a difference in that opening. Pretty easy too. I’m over from Hometalk and think your blog is a delight!
Thanks, Ann! I love your blog too! Glad you stopped by.
Just found your blog , beautiful kitchen! Have a great day…great name by the way..:) Angela
Thanks, Angela. Hope to see you again!
Love this so much…..I agree with Ally and Ann….you are amazing! So awesome to see you over on Hometalk and I love that light fixture!
Have a wonderful and blessed day!
karianne
Thanks, Karianne! You’re pretty great yourself. I’m loving getting to know everyone!
Angela,
I saw your no sew blinds on Hometalk site. I have the same set up (open space between the kitchen /living room) in my condo. Always wanted to do something in this space, it is so bare & unattractive. My original idea was to find a rectangular framed “stained glass” window to hang , but narrow so that it doesn’t block the view between rooms. I have been searching, most things were too large/too expensive. This may be my best solution. Hope you don’t mind if I borrow your idea. I’ll be following for further inspiration!
Linda, I’m glad I could help! And of course you can borrow my idea! 🙂
Love this. Your home is quite beautiful, Angela! xo Jami
Thanks, Jami!!! I’m so glad you stopped by!
Well, that is smart! I can sew a straight line for curtains, but really a staple gun seems much faster and easier! Thanks for sharing it with me!
No problem! 😉