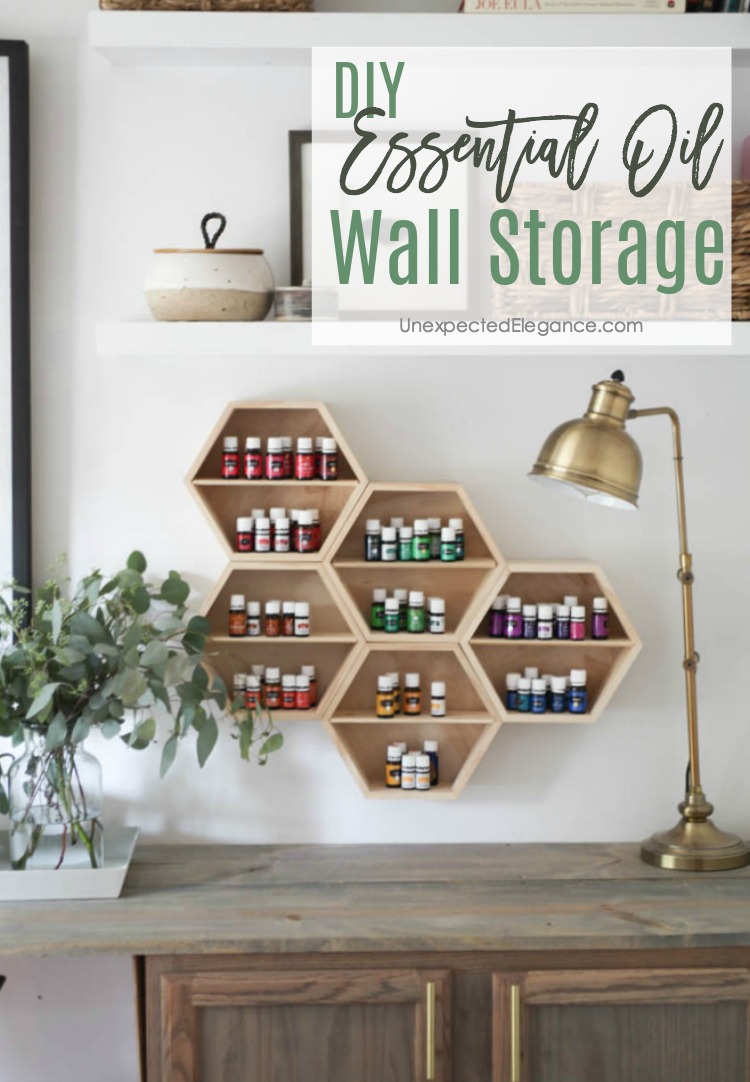
Need an organization system for your oils? I’ll show you how to make this DIY essential oil wall storage system. It’s not only functional but it’s also pretty!
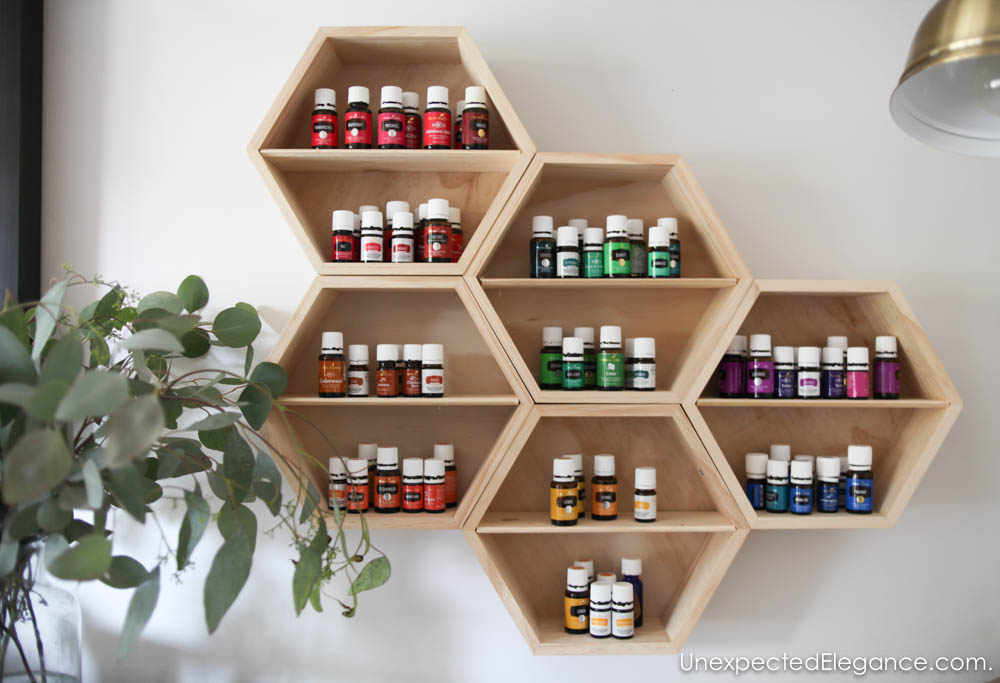
About a month ago, I posted a story on Instagram about my office and I got a ton of questions about my essential oil storage. I thought since I had so much interest, I would just share how I made them with you. This is a very quick an easy project!
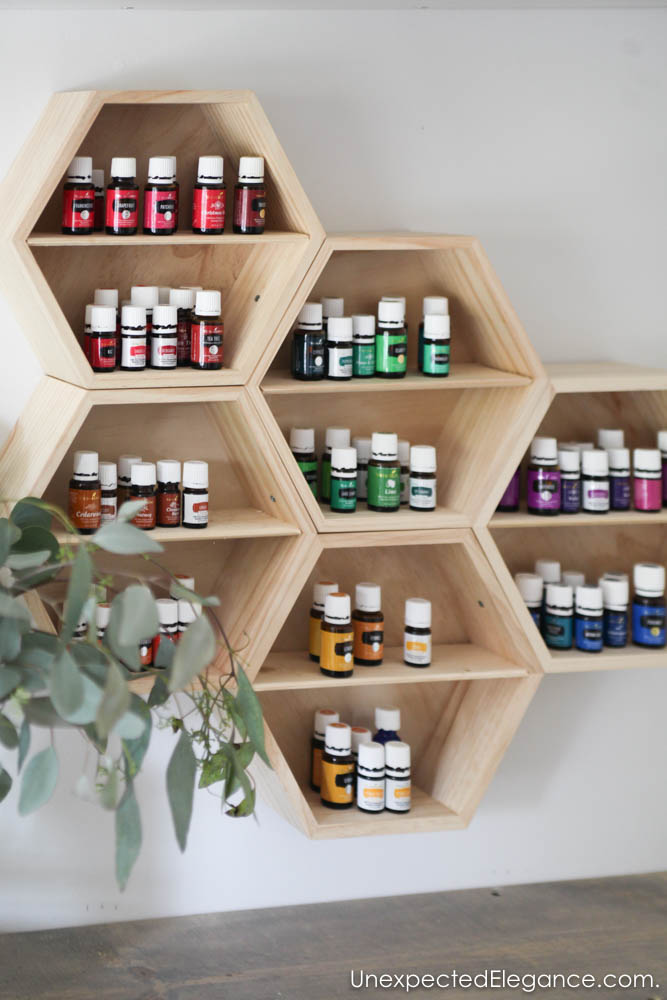
Supplies for DIY Essential Oil Wall Storage:
- hexagon shadow box(If the one I used isn’t available, this one is similar.)
- thin scrap wood (I used leftover wood from my office ceiling project: HERE),
- approx. 3/4″ screws
- saw
- drill
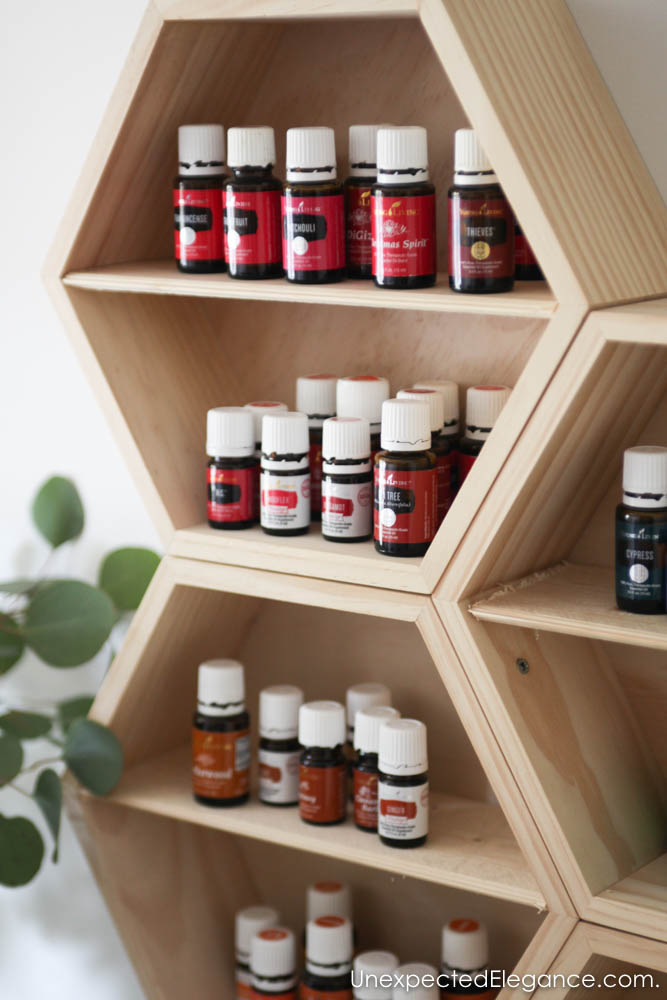
All of the hexagons shapes are from Target for around $7 each. I wanted 5 for the shape I was making, but you can choose to use more or less, depending on your wall space.
To create the DIY Essential Oil Wall Storage:
- I laid out the configuration I wanted on the floor.
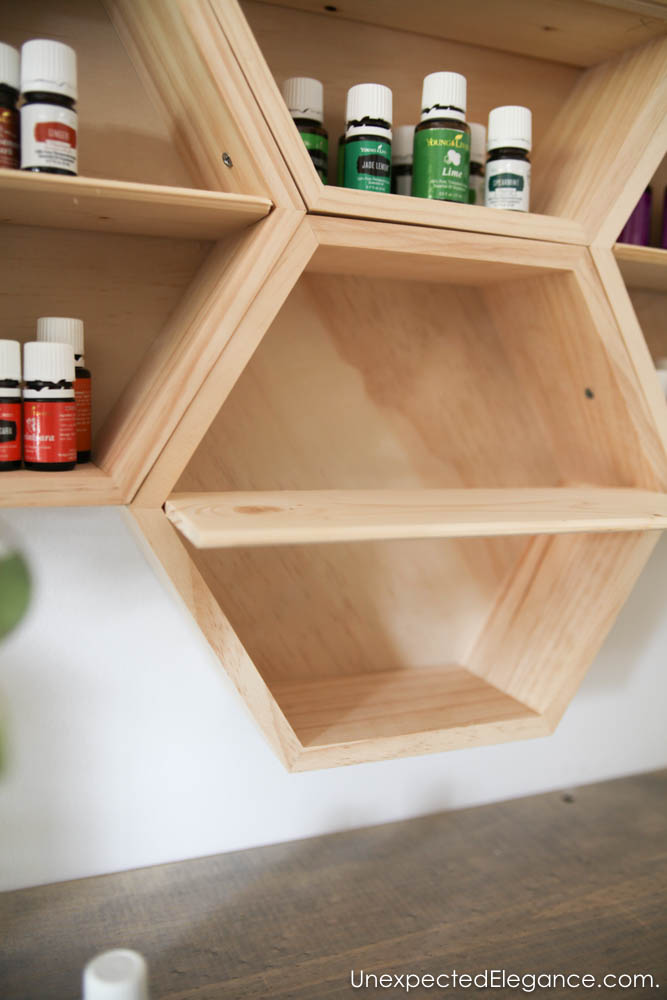
- Then I attached them all together with short screws. You can see in the photo below where the screws are attached to hold all of them together. I chose not to paint my shelves so the screws are more noticeable. However, if you choose to paint your shelves the screws will be a lot less visible.
- Next, I made a template out of cardboard for the middle shelf, then cut my scrap wood. The cardboard makes it a lot easier to adjust all the measurement before you cut the wood.
- I found the studs in the wall using my stud finder and hung the whole unit. I just drilled through the back of a few hexagons, right into the studs.
- Finally, I added the middle shelves and organized all my oils by color.
I love how it turned out and makes it so much easier to find an oil when I need it…that is unless one of my kids has taken it to their room!! 😉
If you would like to see some of my favorite oils for fall, check out this post: 5 FALL ESSENTIAL OILS FOR YOUR HOME

Amazing idea! I don’t have that many essential oils. Where is this available.
I found them at Target! 🙂