Need a specific colored ornament for your tree this year, but having trouble finding the right ones? Find out how to make these DIY custom colored ornaments!
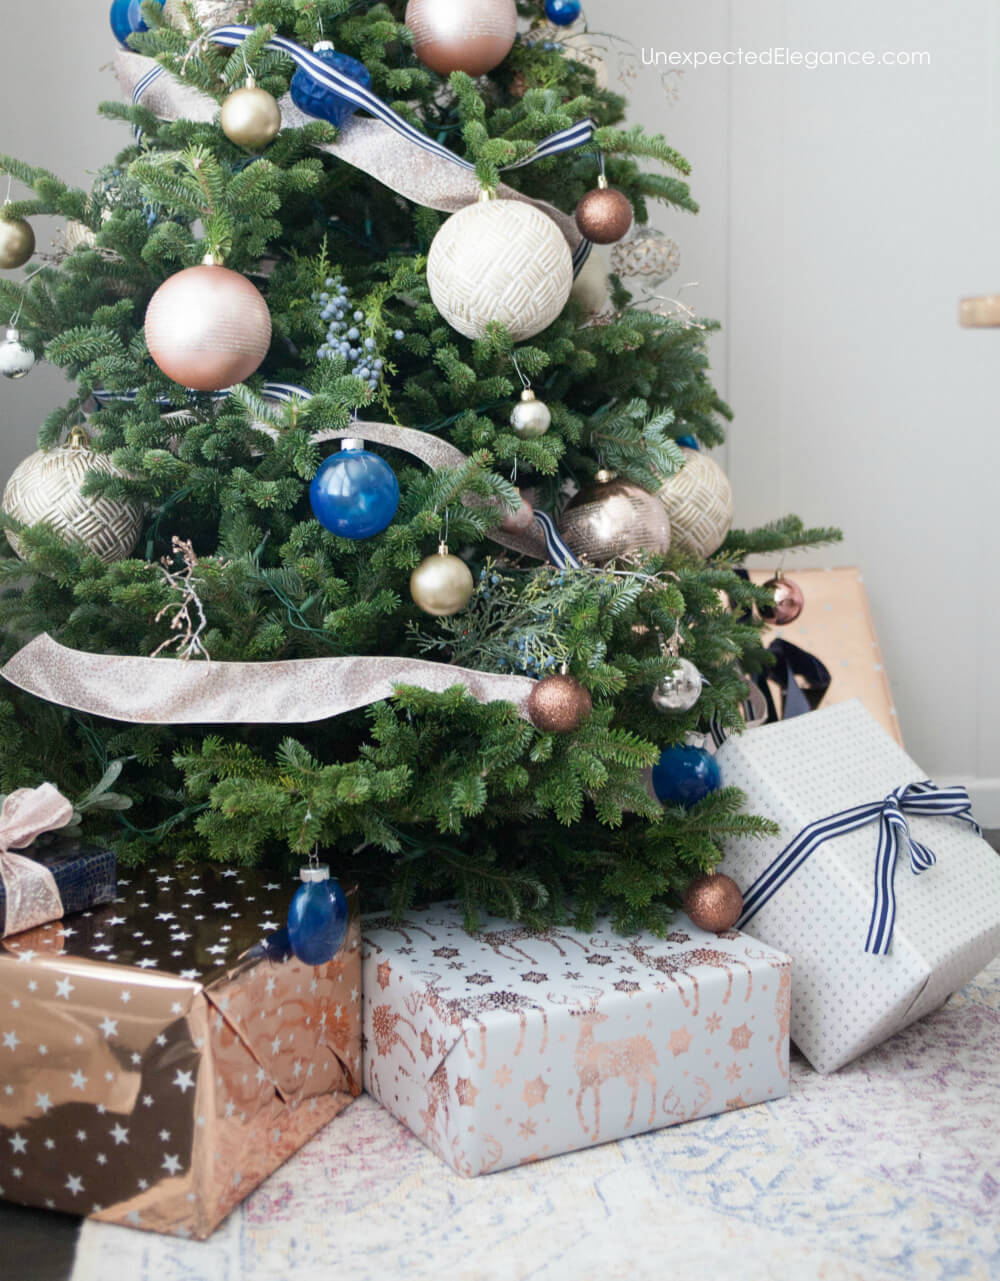
This year I decided to add a full tree in our dining room. I love decorating the dining room during the holidays. It makes mealtime so much more special! (You can see my dining room table post here.)
We still have our traditional tree in the living room, but it isn’t near a window…and I wanted it to be visible from the street. There’s something so pretty about seeing the silhouette of a lit up Christmas tree as you pass a house.
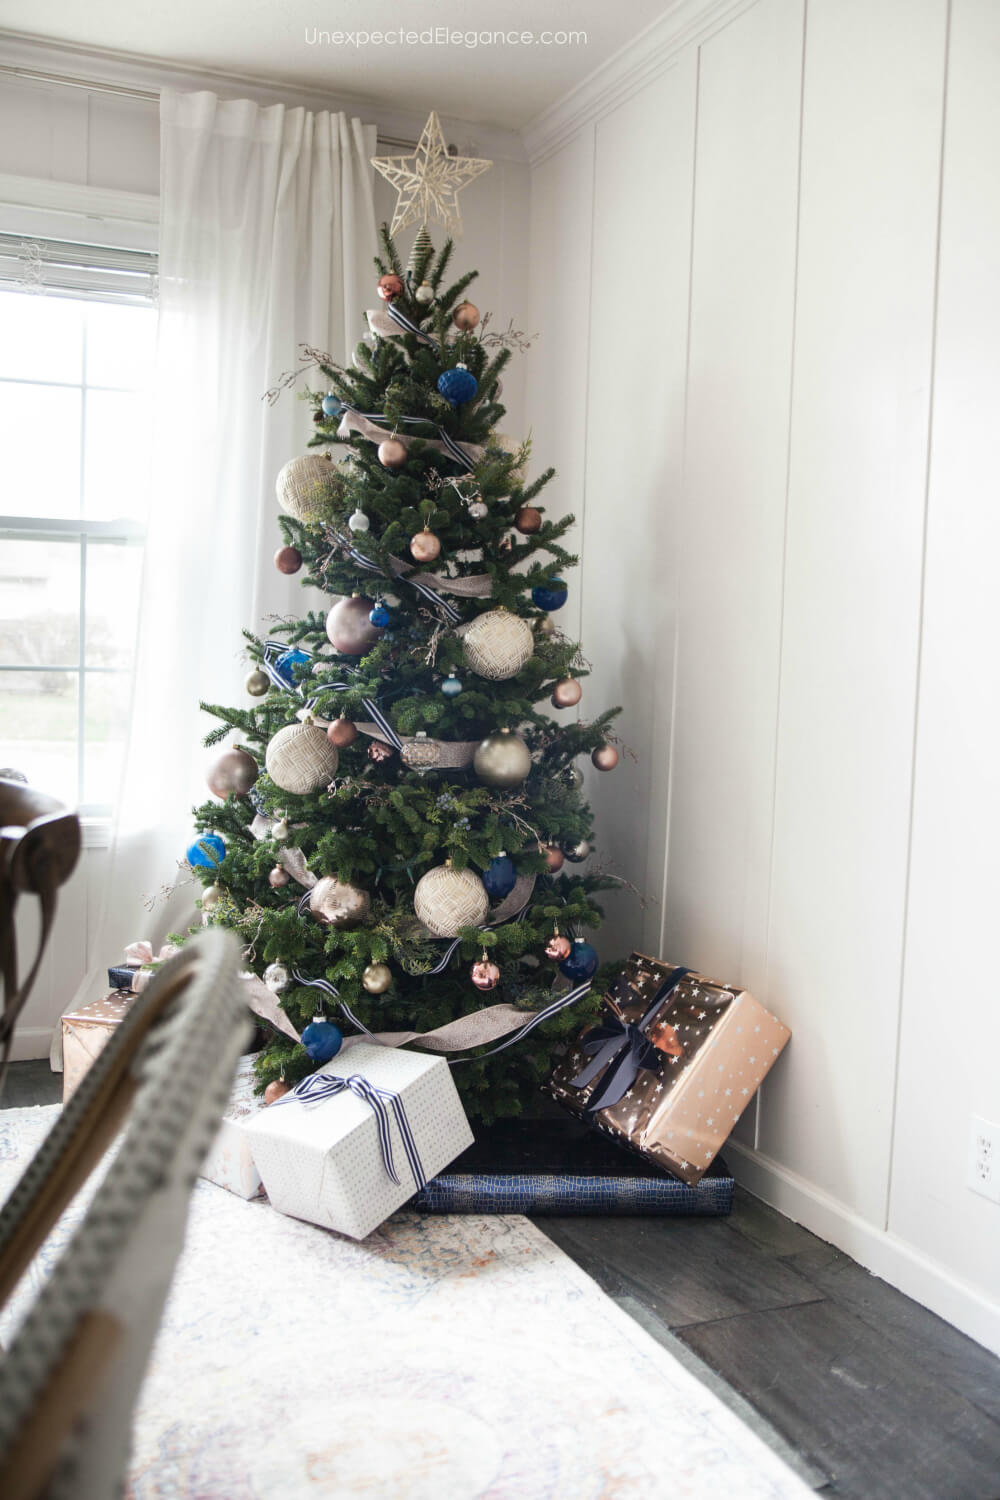
The tree is right behind our dining table, so I wanted to make sure all the ornaments were shatterproof. There’s always a chance of someone forgetting it’s there and hitting it!
This year I partnered with JOANN for my dining room Christmas tree and I found a great selection of beautiful ornaments that won’t shatter into a million pieces if knocked-off the tree.
They are perfect if you have small kids, pets, or just a not-so-careful adult in your house!
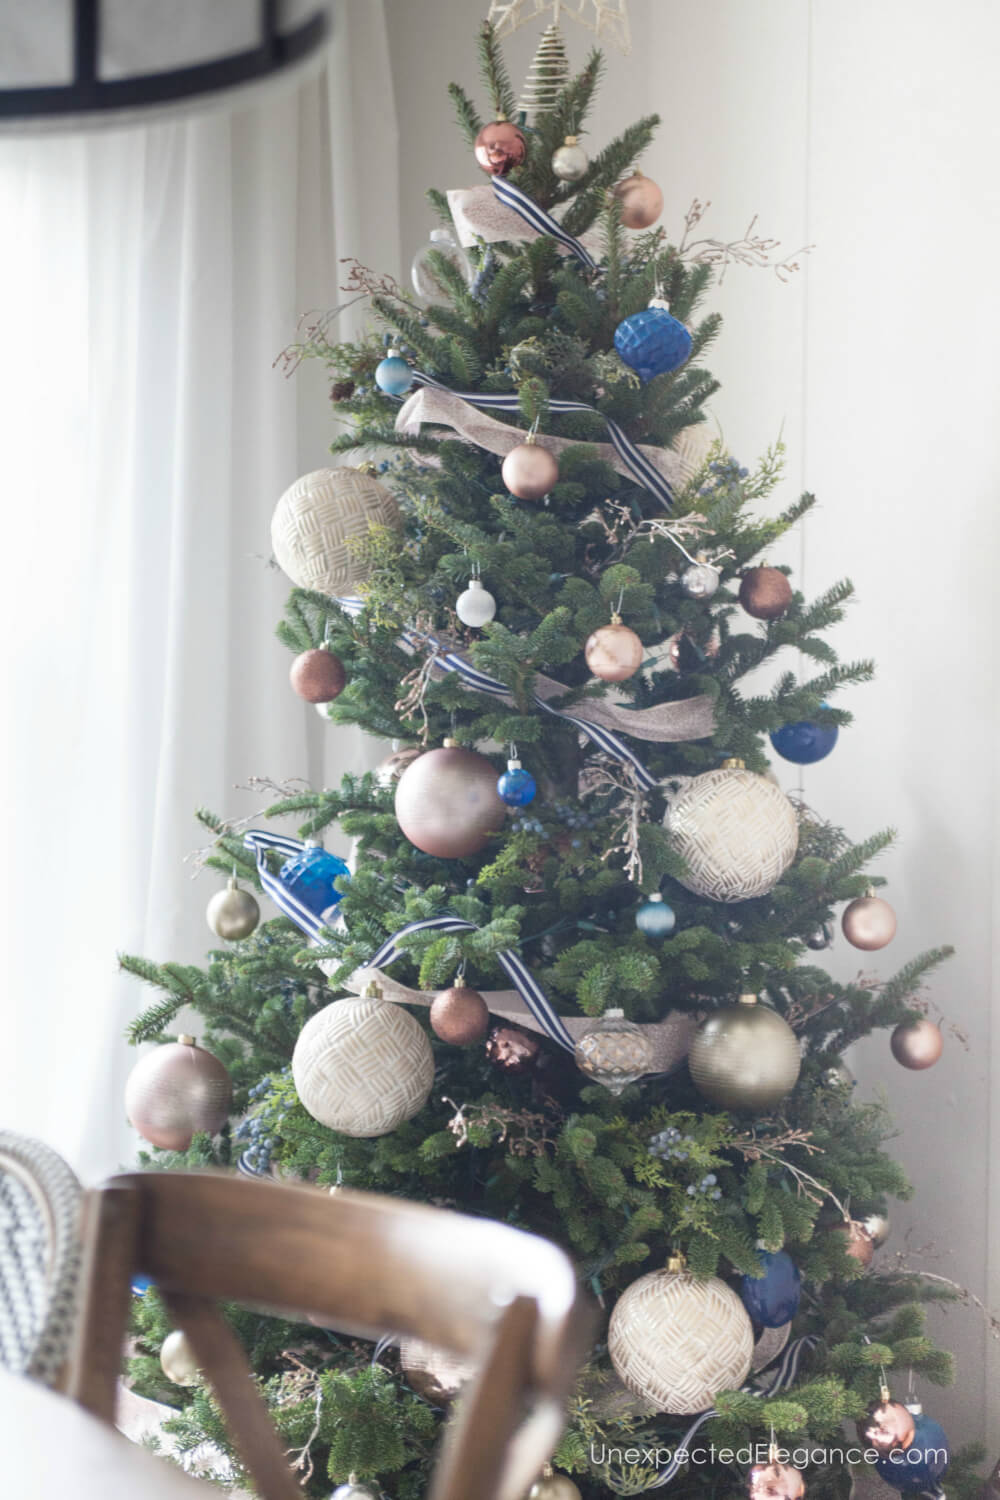
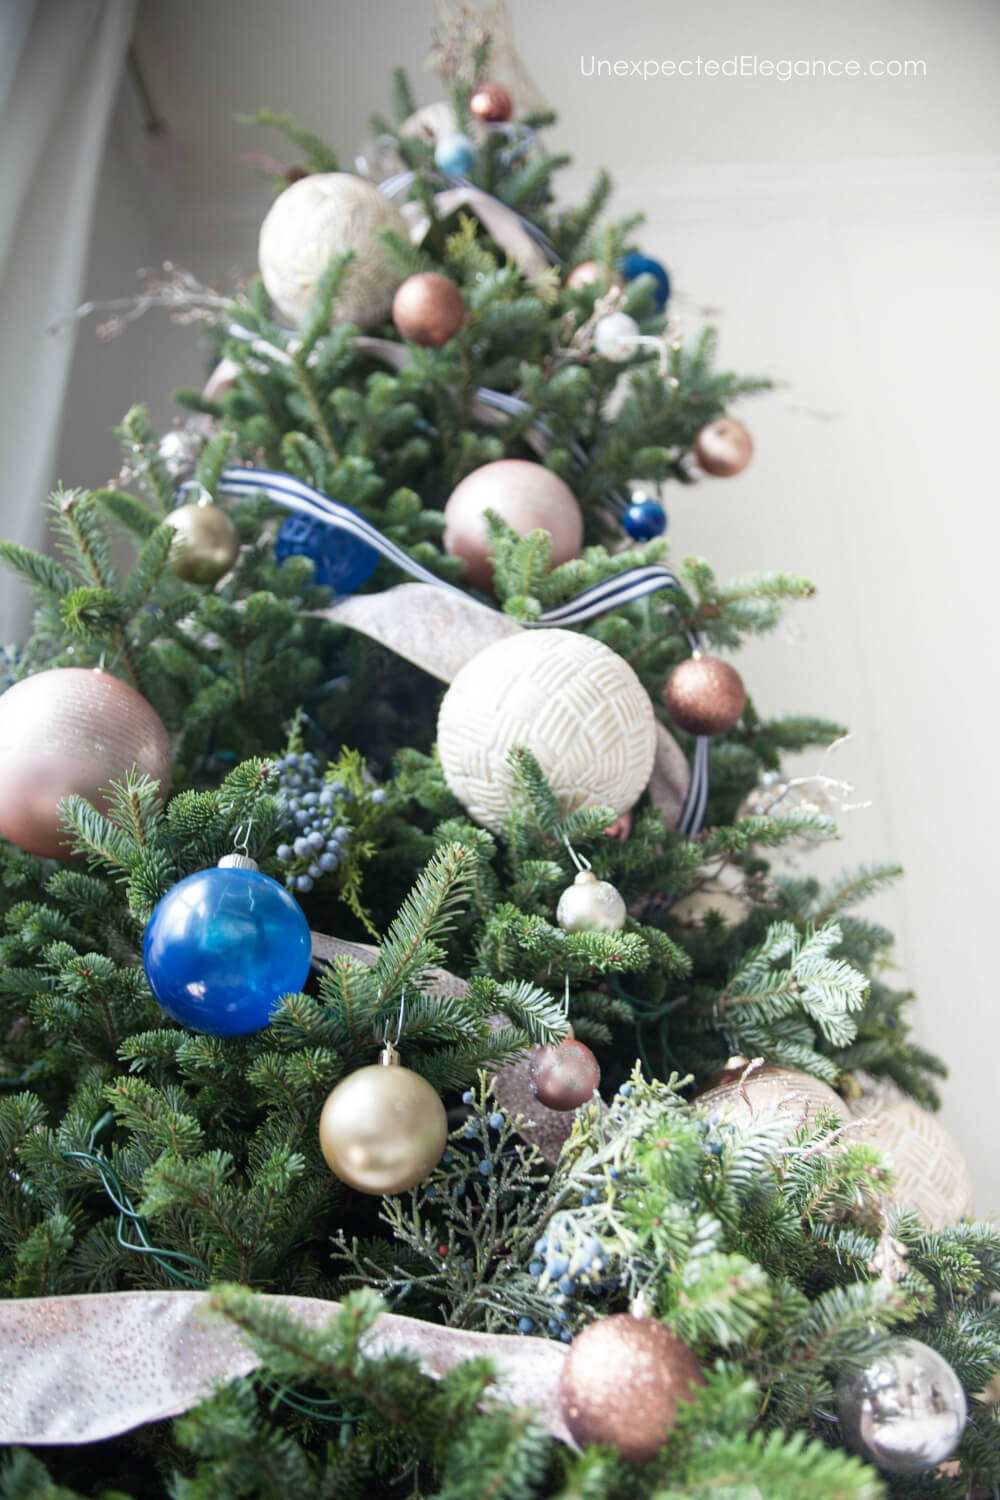
To decorate, I started by wrapping the tree in two kinds of ribbons.
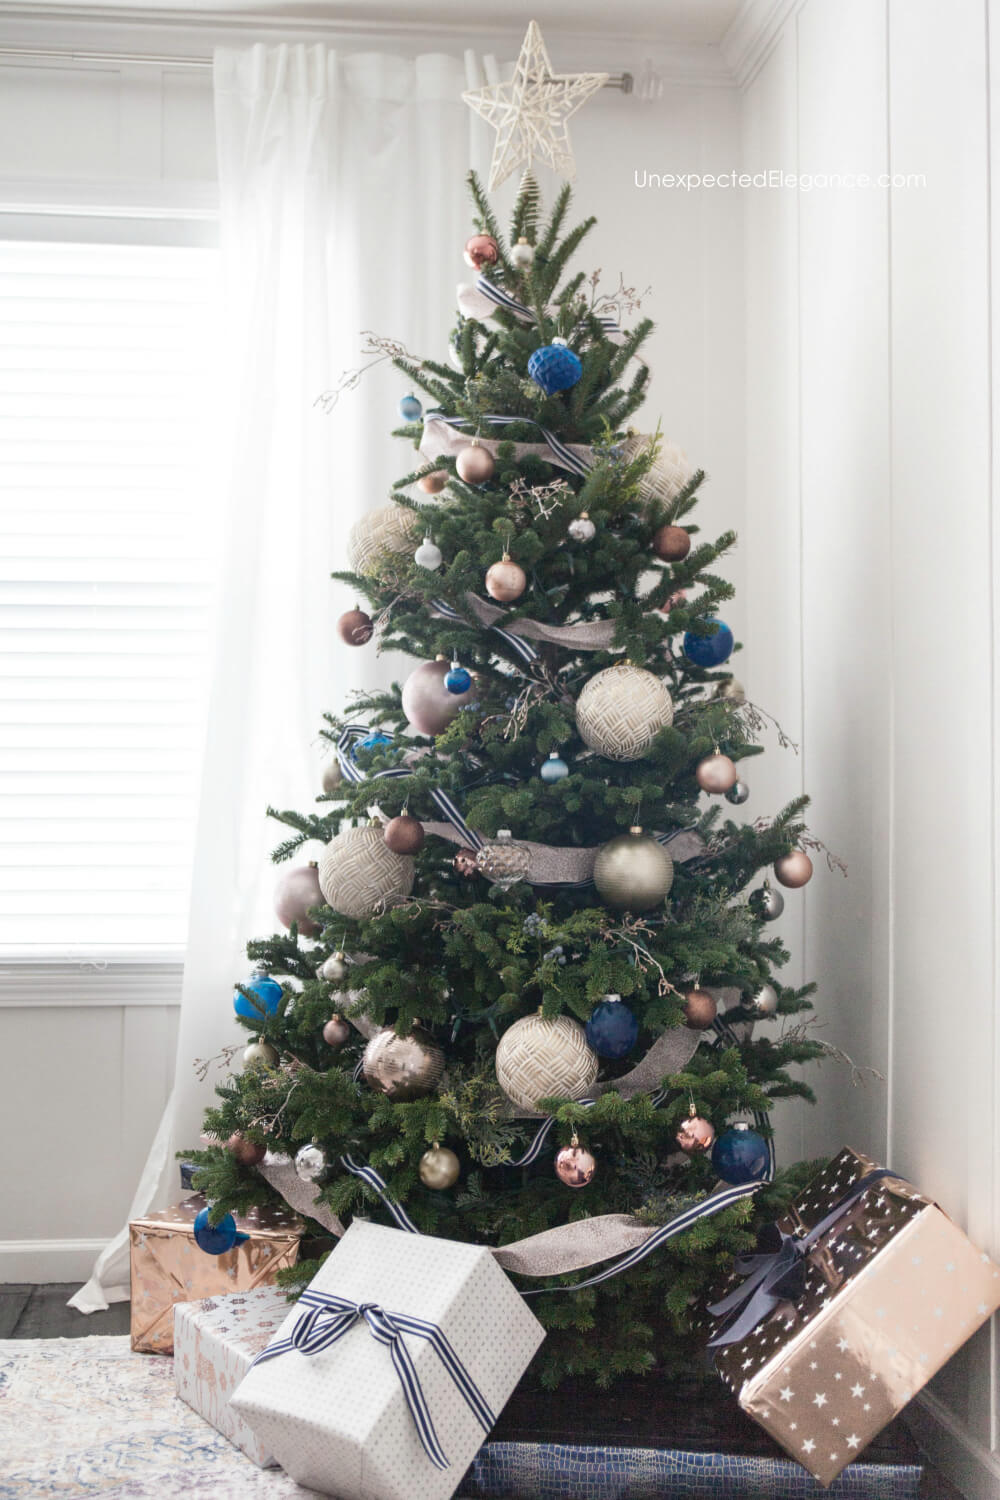
I started with the rose-colored ornaments and wanted to add in some pops of navy. I had some trouble finding simple blue ones, so I decided to just create my own.
Here’s how to make DIY custom colored ornaments:
Supplies:
- clear, plastic ornaments from JOANN
- blue spray paint
- box
- styrofoam (old packing materials)
- old pencils (best if it has a point on one end)
Using a box and some styrofoam as a base, I poked old pencils into the styrofoam to hold the ornaments as I painted them.
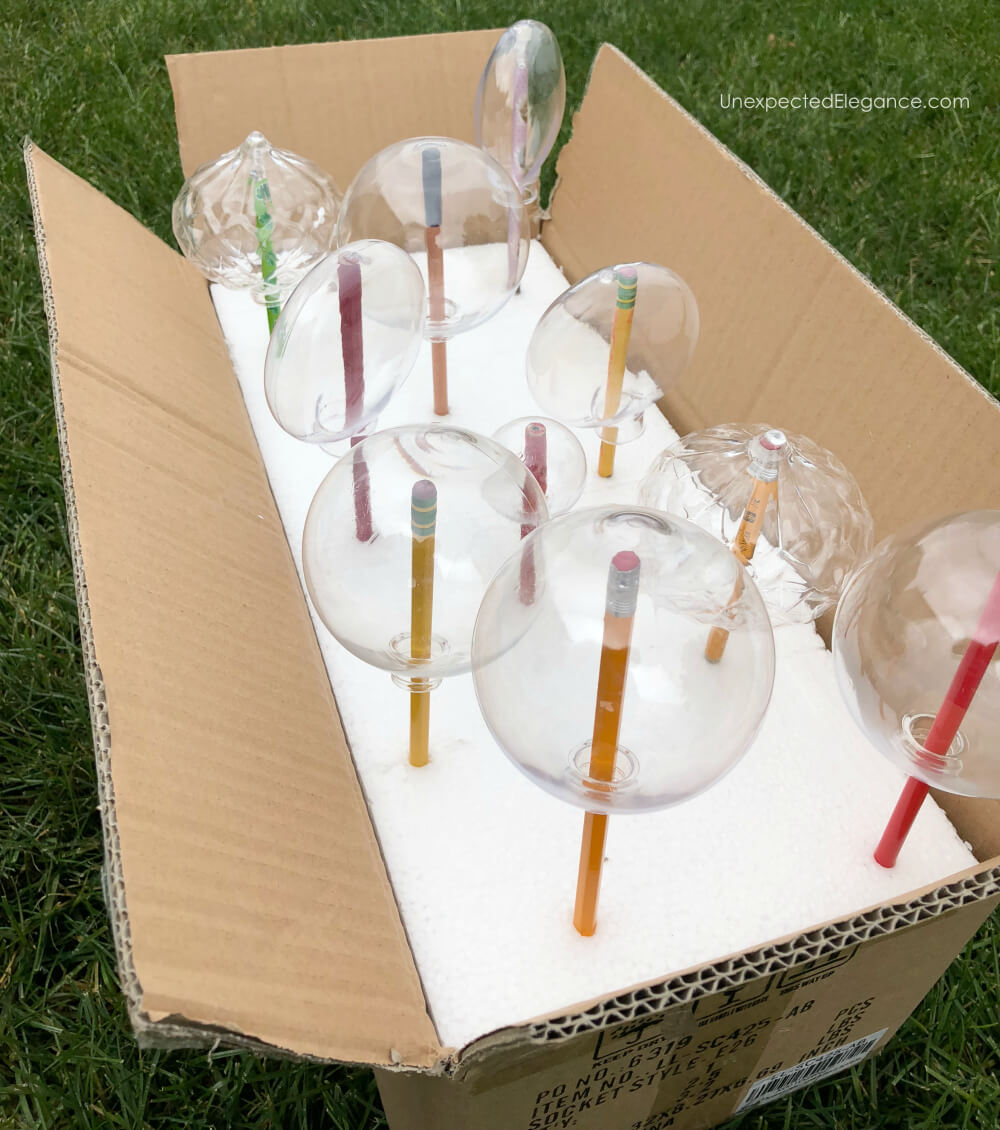
I removed the metal hooks from each ornament and put the bulbs upside down on the pencils. This method made it super easy to spray paint them and keep them from rolling around.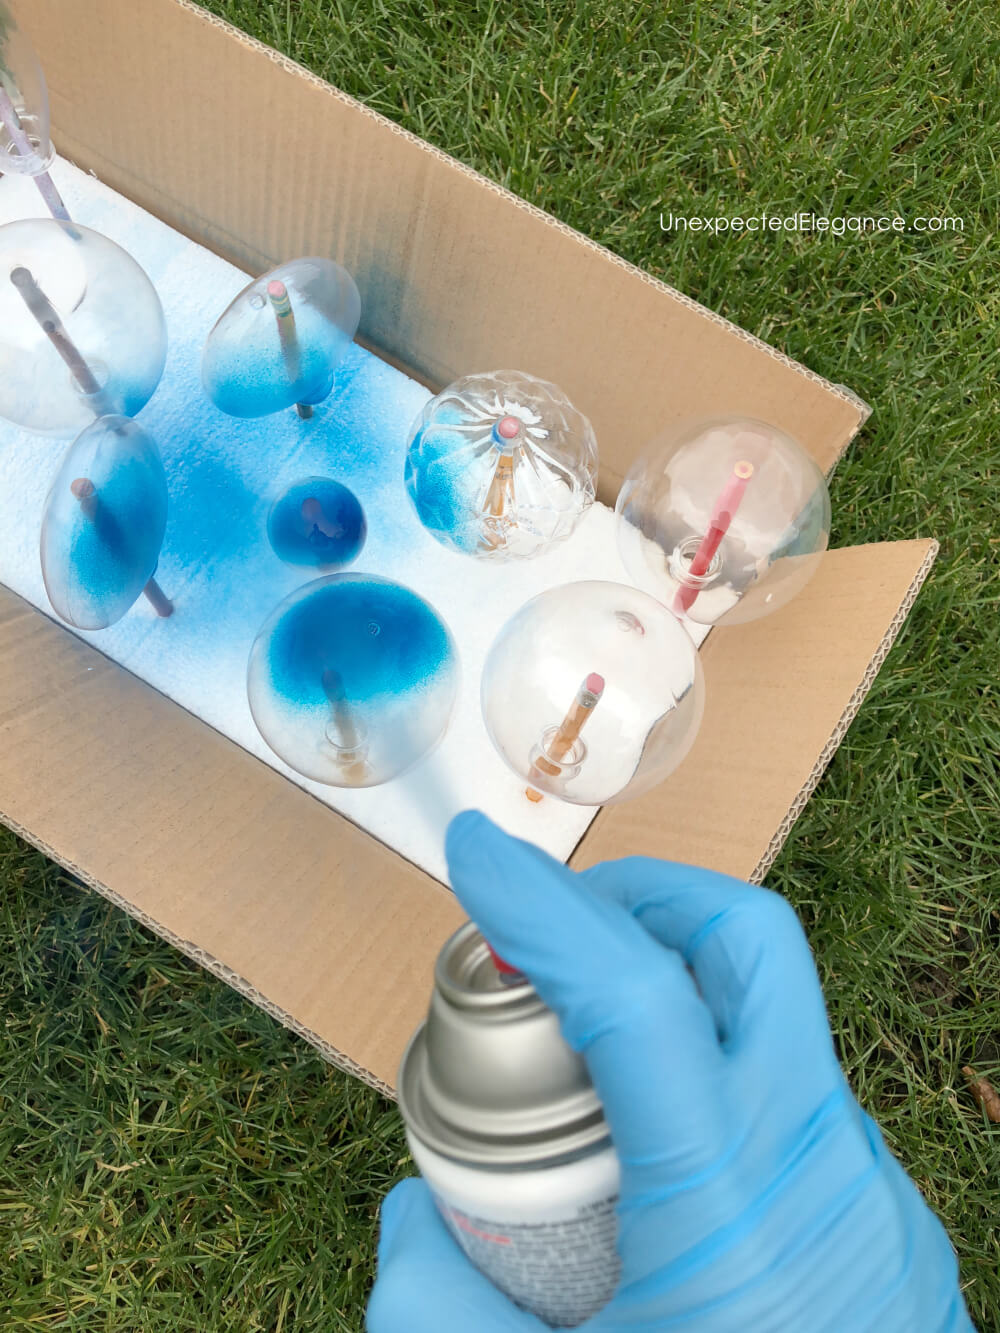
On some of the ornaments, I purposely didn’t spray the entire thing. It gave them almost an ombre effect. (And pooling paint is good for this effect too!)

I left a few of them clear and embellished them and a few of the rose ones with a gold paint pen.
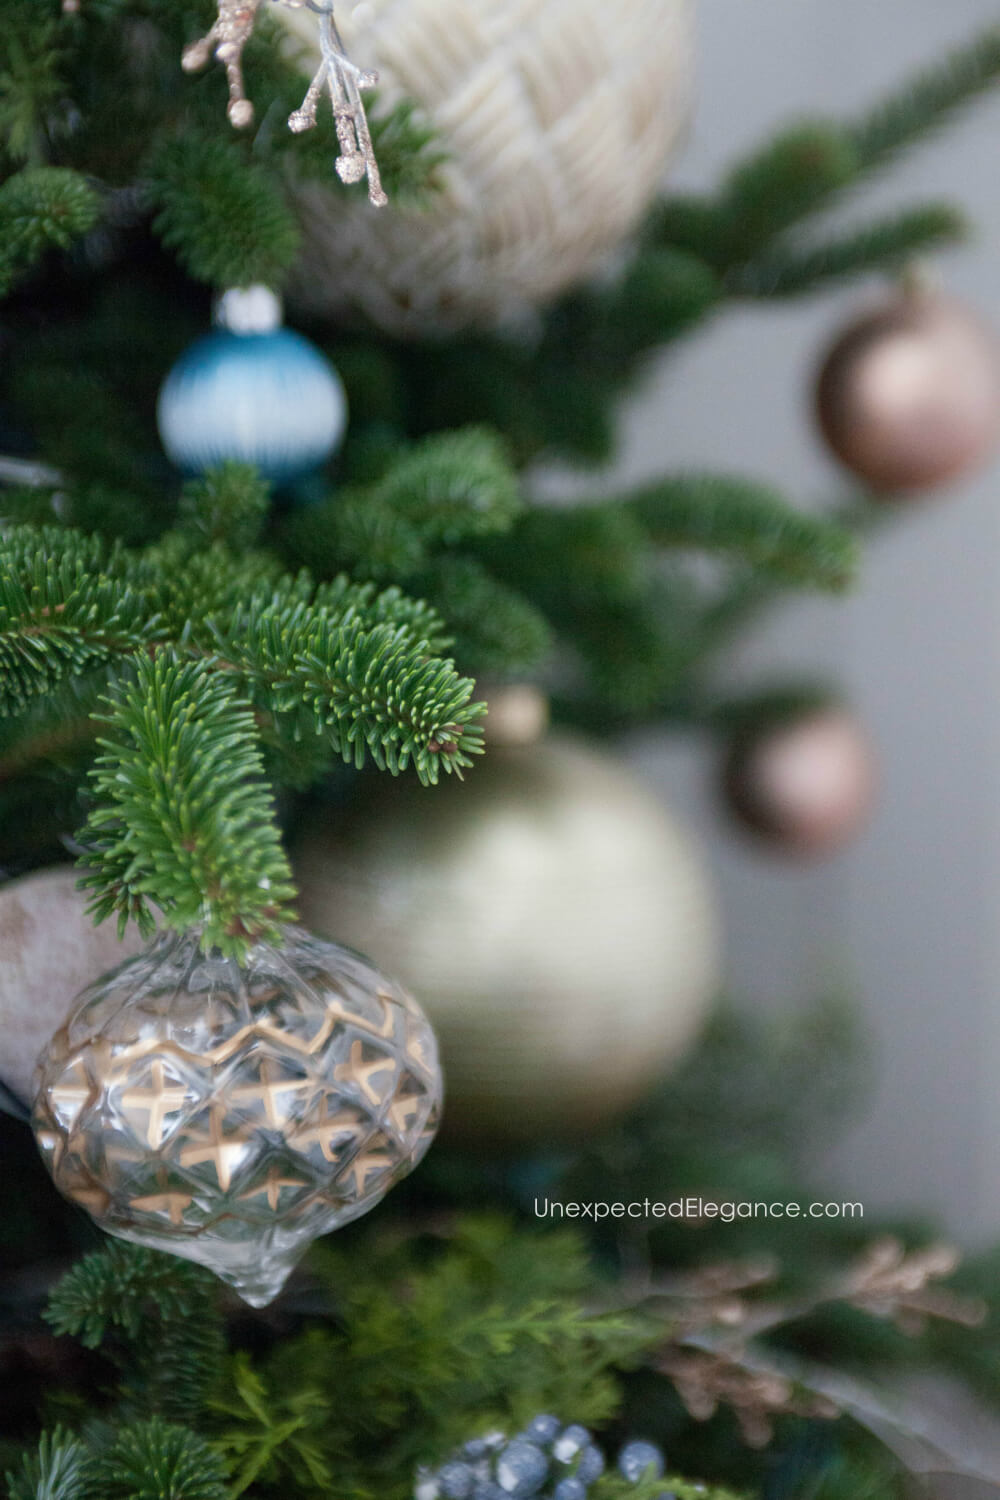
I drew super simple designs that only took a minute to create, but the extra details are so pretty!
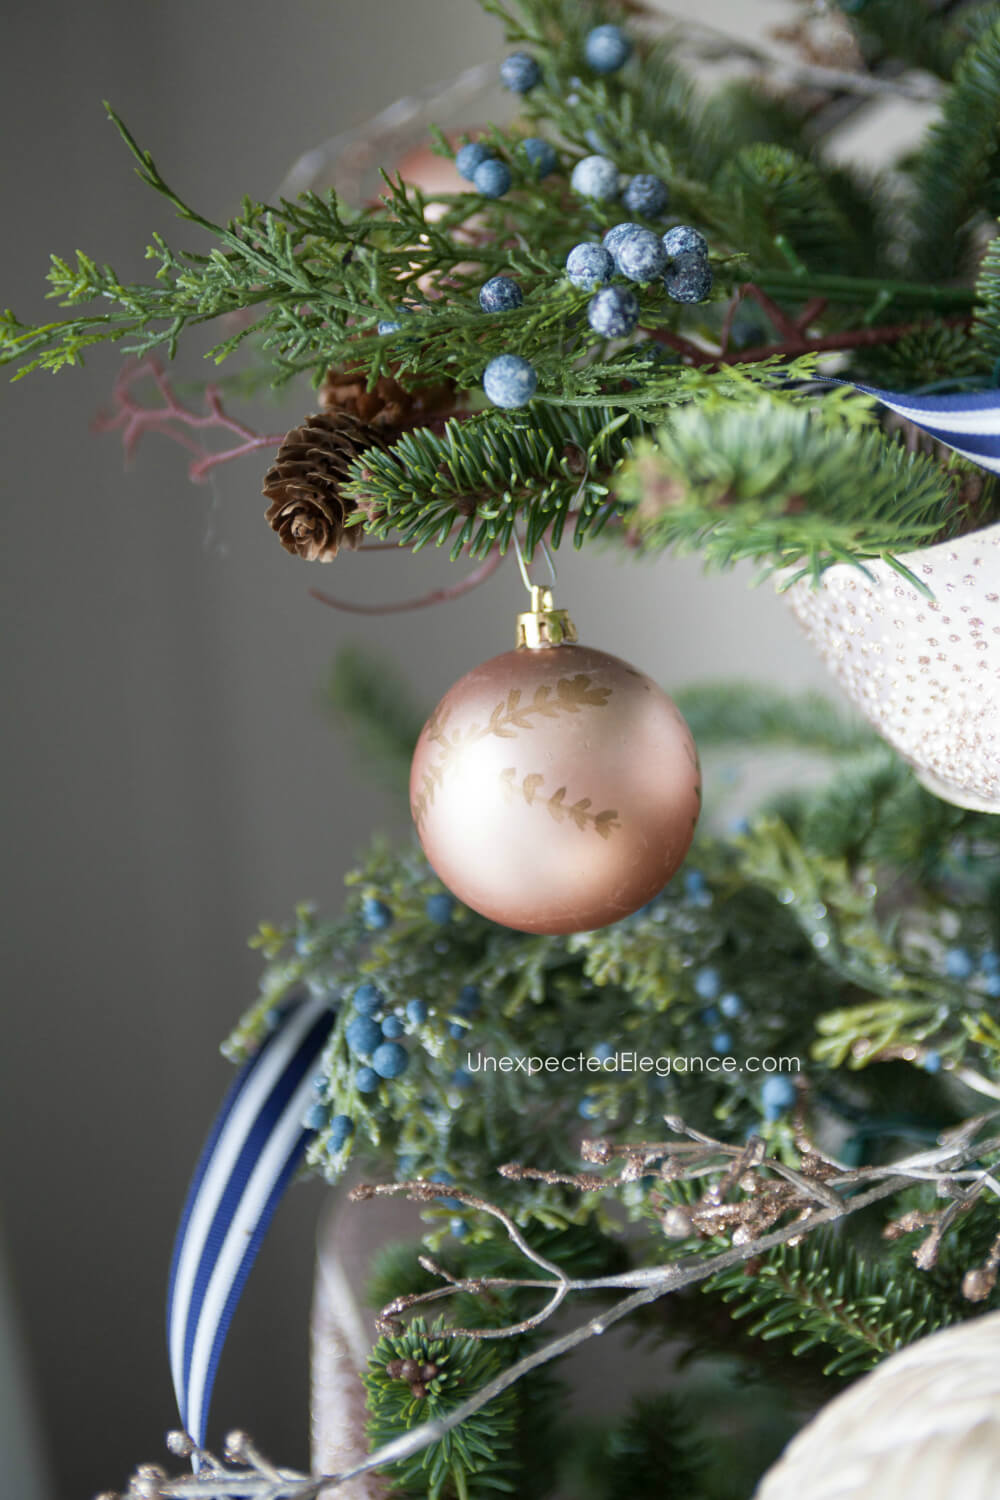
To fill in the tree a little more, I stuck some gold colored twigs and berry bushes throughout the tree.

I love the extra pops of blue that the berries add.
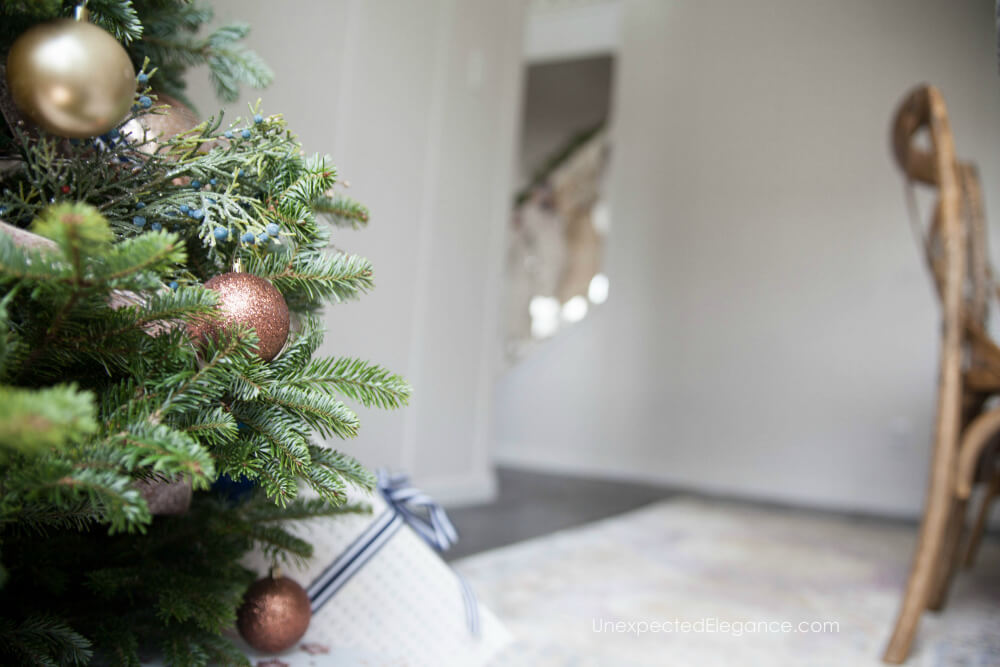
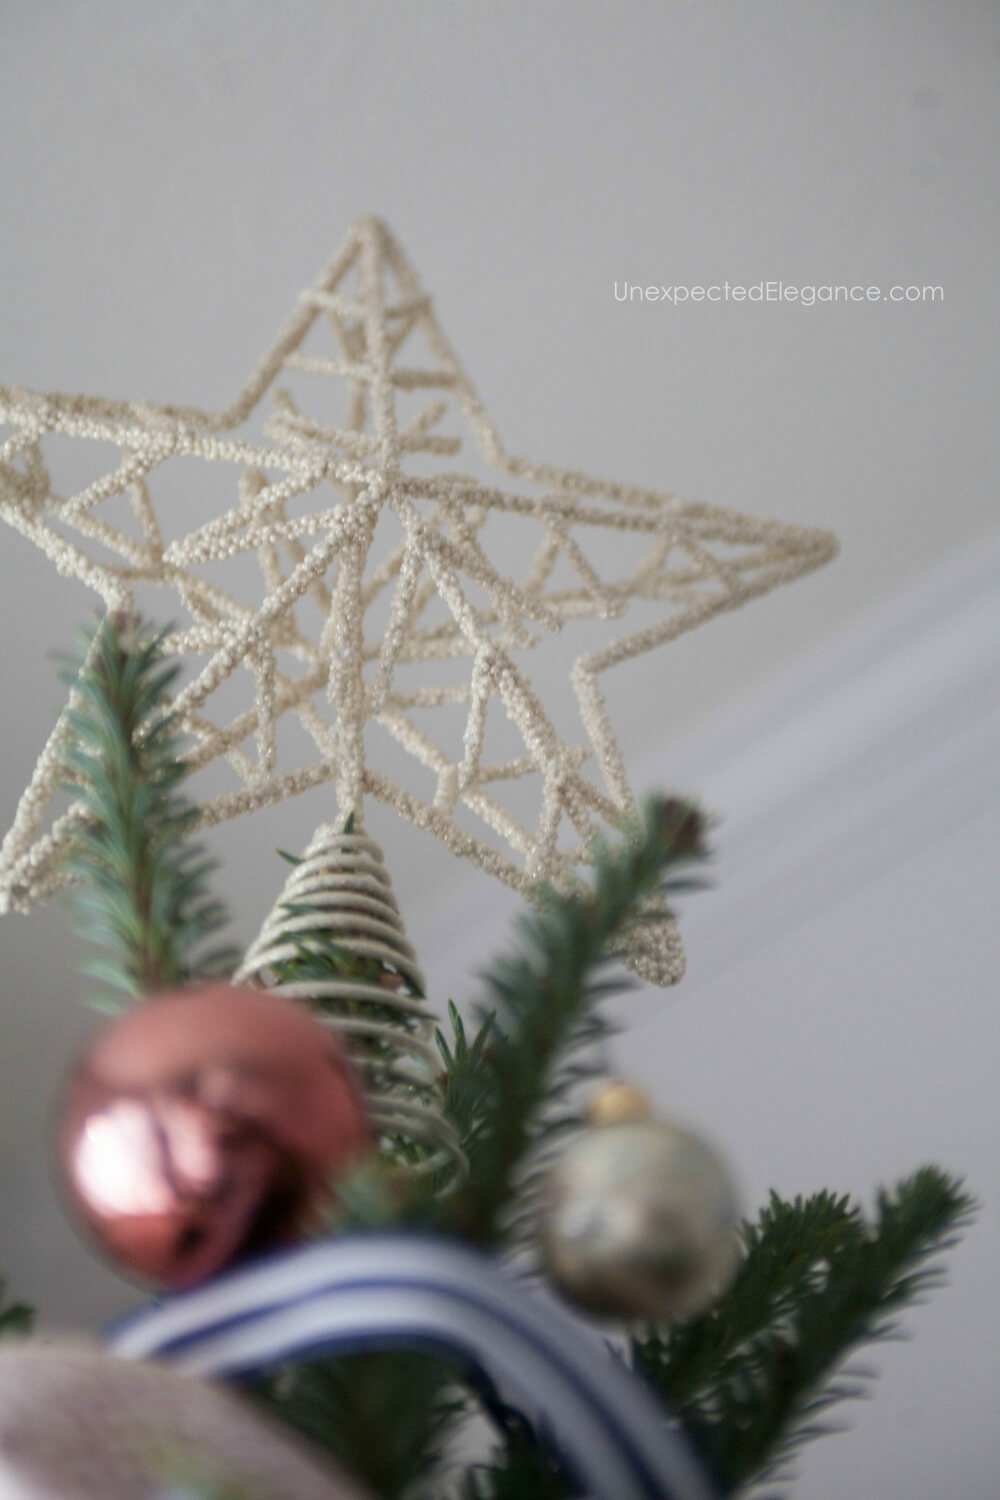
Finally, to finish it off, I found this beautiful tree topper, star from Joann.
Here is the compiled list of tree decor, if you’d like any of the items from this post:
- tree topper
- clear shatterproof ornaments
- small rose gold ornaments
- large rose gold ornaments
- pink Ribbon
- navy and white ribbon
- silver branches
- spray paint
- gold pen
- berry sprigs
To see more of my home decorated for Christmas, check out this post HERE.

Thank You for the chance to win!
JoAnn’s is a great resource. You used pretty colors.
Love these! Super thank you gifts for anyone! Thinking can use as a bow on top of packages too!
Thanks for chance to win today!
Shared. Happy Holidays
Thanks for the chance to win the gift card from JoAnn’s. I love the look of the tree! The ornaments look beautiful but also like they would be easy to make. What a bonus to have shatterproof ornaments (especially with kids, dogs and cats around). I saved the idea to Pinterest.
This is a beautiful tree! I love the subtle colors!
Gorgeous! Pinned:
https://www.pinterest.com/pin/39828777941322811/
Lovely tree! What a great idea to customize the colors!
I am not a crafty person, but this looks like a lot of fun and your tree is beautiful!
https://www.pinterest.com/pin/278941770656989084/
pinned
So pretty, I love the color choices!
Pinned it!
Will look so festive from the street, too. Nice job! Shared to my FB page.
Oh, my! Your beautiful, full tree is magical! I, like you, put my tree by the window so it can be seen from outside!! You know what they say about great minds!!
Your blue ornaments intrigue me and I was terribly impressed with how you spray painted them! I would never thought of it! The blue berry twigs are very unusual and they add a lovely dimension to your tree!
Thanks for such a fun post and I shall return!!
Merry Christmas to you and yours!❤️❤️
I love the addition of the gold colored twigs and berry bushes! I’ll have to try that one on my own tree. These custom colored ornaments are gorgeous, especially the textured one with the drawn on design. These ornaments look like glass…you’d never know they were plastic! Fantastic job <3
Enjoy your great ideas.
Your pencil tip for painting the clear bulbs is awesome!
pinned https://www.pinterest.com/pin/115264071699085518/
What a gorgeous tree! I, too, put a tree in my dining room window so that it shows through the front window. I want to use these ideas next year for that tree. Thanks for the drawing!
Thanks for the opportunity to win a gift card!
So very pretty . I like the idea of making the ornaments.i think it can be a fun family time. Thank you for doing a give away. Good luck everyone.
These are SO FUN! I love that you can make different snowflake shapes too. Pinned. I cut some of my sticks to be shorter for more variety. Once you are all glued together, paint and decorate any way you want. We used paint, glitter, and snowflakes. Here are the front and back views of my two snowflakes.
What GORGEOUS ornaments! Thank you SOOO much…these will be on my tree next year!!! (And I subscribed right away!
What a brilliant post, Your insights were not only thoughtful but also highly actionable.
The thoroughness and precision of your analysis make it a standout piece.
Keep up the outstanding work!
we have some great resources and articles that align well with your interests.
Get back on the road quickly with our reliable and efficient trailer repair service in Arlington.
trailer repair