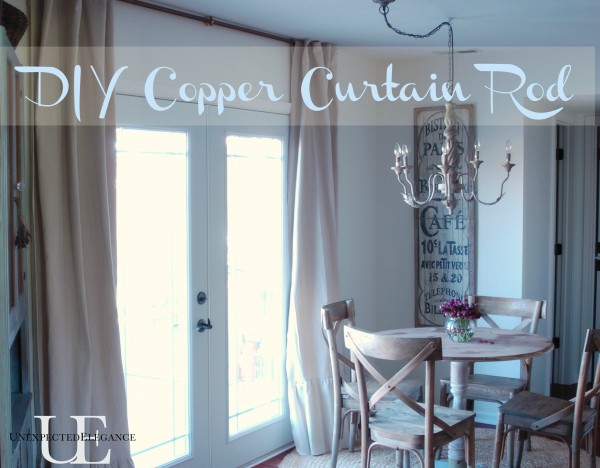
Alright, so this will be the last post about my French doors I promise (maybe)! I showed you on Monday my new curtains but only mentioned the curtain rod, because I thought I would do a tutorial on just how easy it was to make this!
What you will need:
3/4″ copper pipe (I used a 10′ type M and it was around $14)
(3) 3/4″ copper bell hangers
(2) 3/4″ copper tube caps
hacksaw
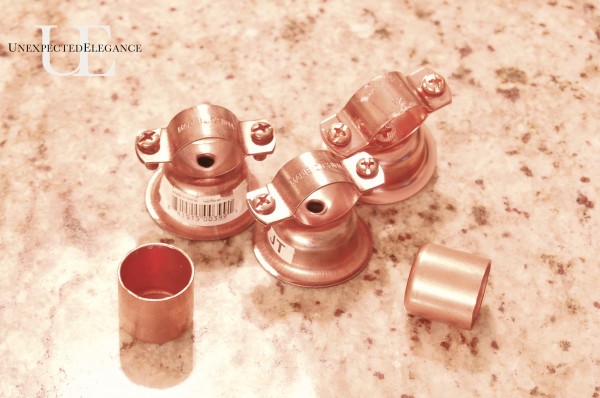
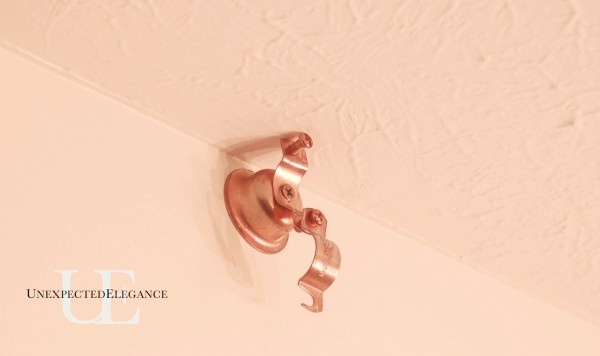
Install the three bell hangers at the height you prefer. I wanted my curtains to be floor-to-ceiling so I installed them as close to the ceiling as possible. Next measure the exact length you need the rod and mark it. Using a hacksaw cut off the excess. You can find a hacksaw at a hardware store or even big stores that have a small hardware centers (like Walmart). They run about $12 from what I can remember?
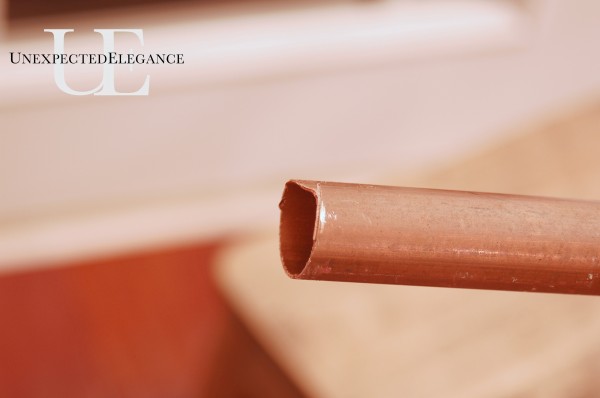
Don’t worry if your cut isn’t straight! After you have it to the length you want add the caps. These will fit very snug and you might have to use a rubber mallet or strong husband, just so you know.
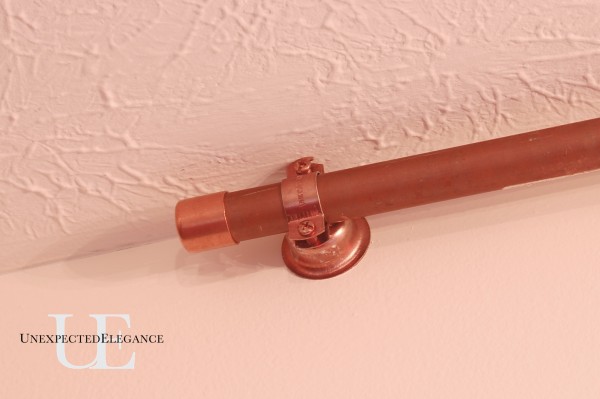 Put the curtains on the rod and hand it! You might have to take both screws out of the bell hangers if they are too close to the ceiling…speaking from experience.
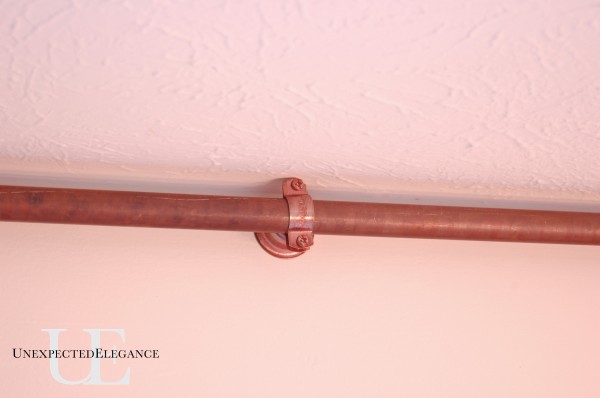 I did NOT want my copper shiny, so I found the most “patina-ed” at the hardware store. Just look through all the materials at the store and find the most weathered ones.
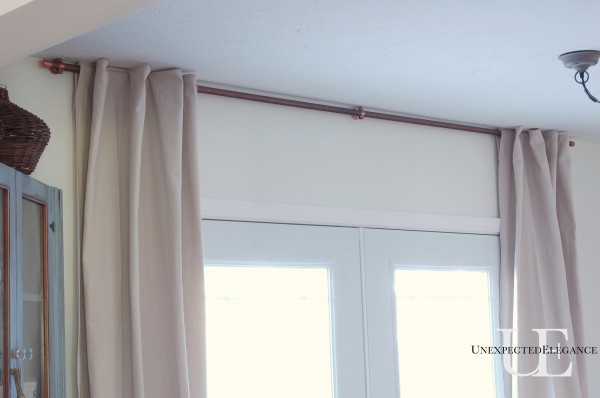 So there you have it. A REALLY long curtain rod that cost around $22.
**I do want to warn you, this will not be as far away from the wall as a store bought rod. You will need to make sure your curtains are not too bulky up top, because it could make it a little difficult to slide.**
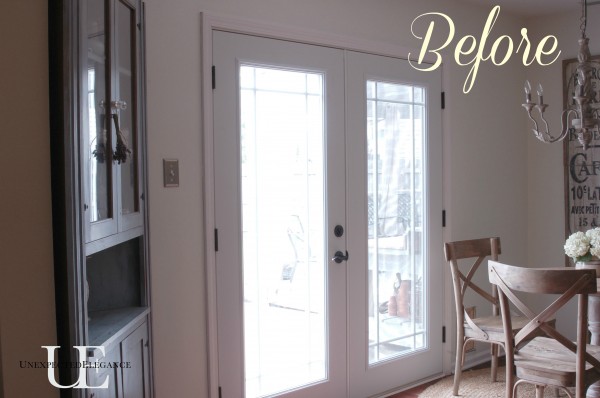
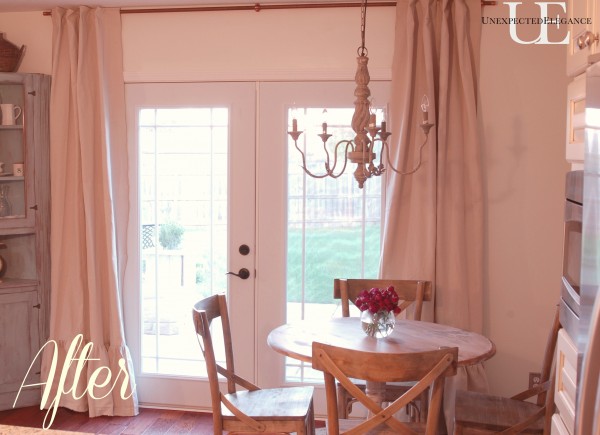
Yay, one more thing is checked off in my kitchen. Now to finish the hardware that I started in MAY! It will all get done when I slow down, right? Just not sure when that will be! Here’s my schedule for the month of September, I’d love to see some you.
Sept. 14-15 attending Country Living Fair
Sept. 22 vendor at Horton’s Autumn Market
Sept. 27-29 vendor at ReStyled’s Barn Sale
It’s going to be a very busy few weeks but it is going to be a lot of fun too! 🙂
Hugs for the rest of the week!
~Angela

Copper piping is the BEST for stuff like this! we did almost the same idea for a curtain I hung in our upstairs bathroom – the curtain hides the shower!
This curtain rod idea is genius and super creative and thrifty. I LOVE it!
Can you share where you sourced your curtains? They look like they loop completely over the rod, but also have a pleated look. Are they hand made? I have left over copper pipe, but finding the curtains is the challenge for me. Thank you!
Maria, I made them. 🙂 I just used a drop cloth from the hardware store for the fabric. I will try to put together a tutorial for next month about how I made the tabs on the back.
Does the patina on the copper pipes come off on your curtains?
The patina does rub off a little, but it’s inside the tabs of my curtains. If you have expensive curtains that you are worried about, you might want to go with a different option.
Where did you find copper pipe for $14?! That is selling for $14/foot where I live in Texas!
Angela your DIY curtain rod idea is brilliant. The copper piping gives it a stylish industrial look. I appreciate the tip about choosing weathered materials for that perfect patina. Can not wait to give it a try in my own home.
Garden Installation in Lansdale PA