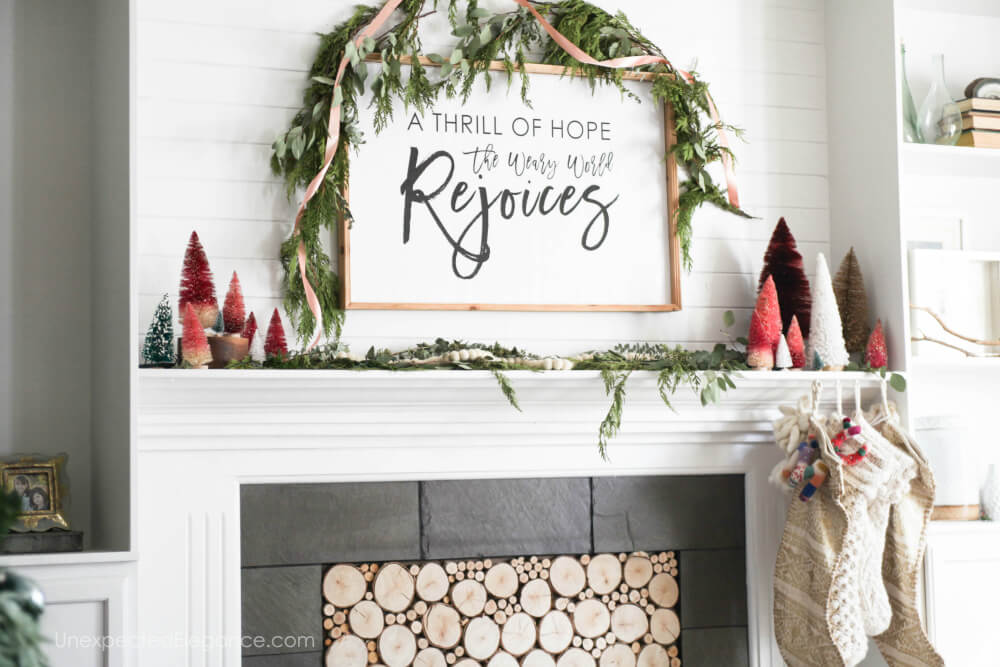
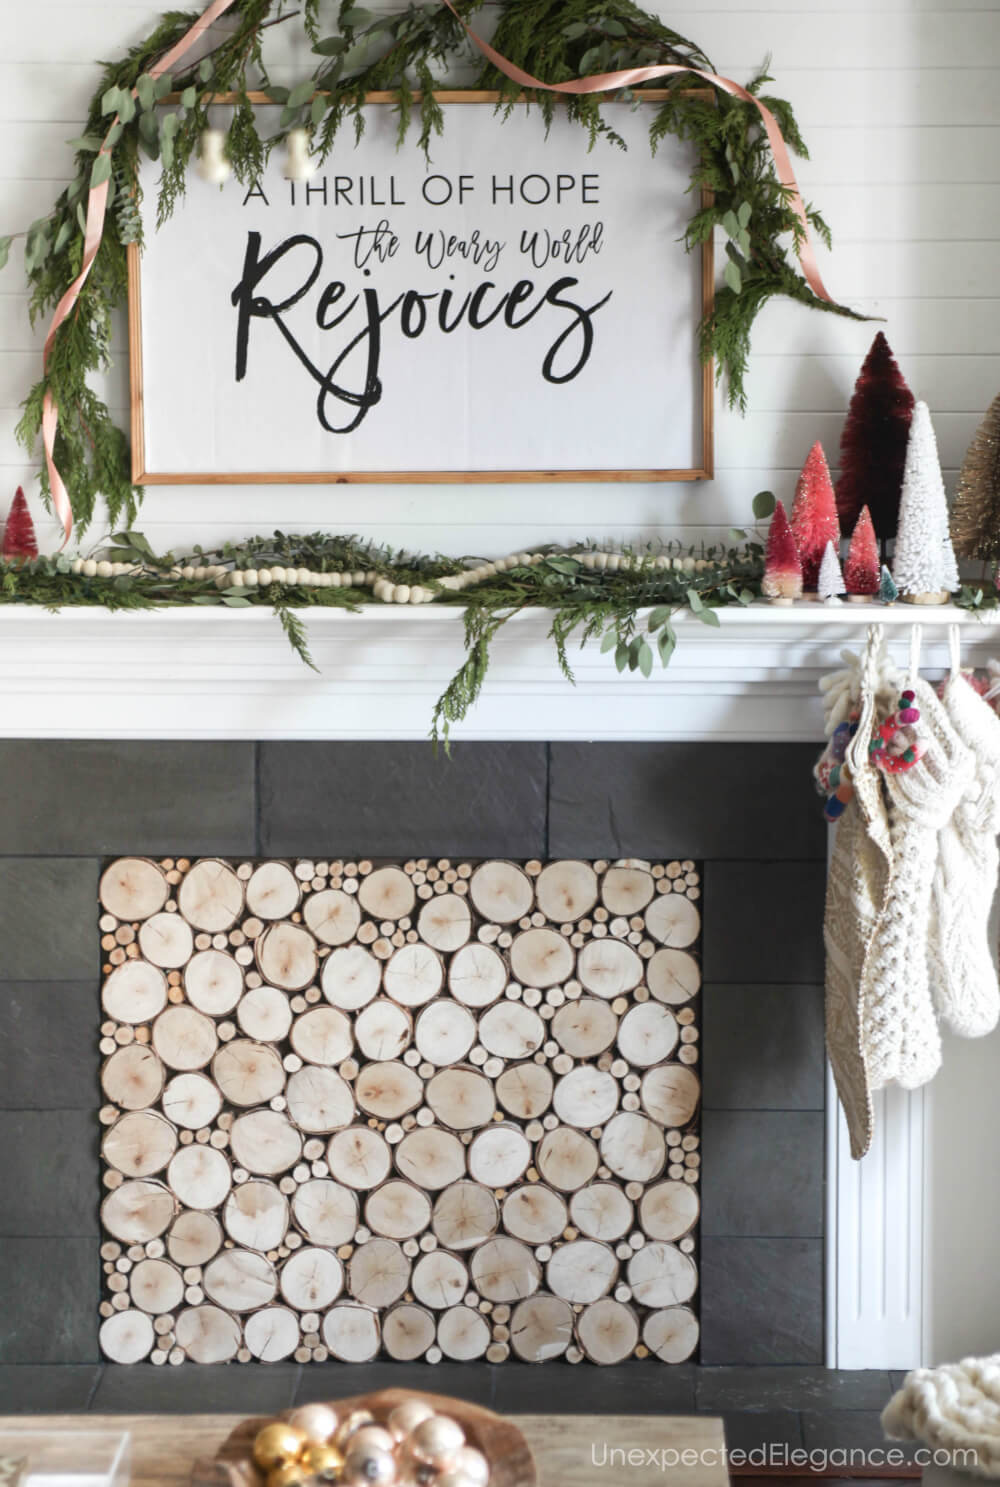
Check out this easy DIY holiday art. You can change it out seasonally to fit the holiday or just for fun throughout the year!
 If you are anything like me, you probably love to change up your decor throughout the year. I tend to only decorate seasonally for fall and Christmas, but that doesn’t mean I keep things the same for long…I’m constantly making tweaks.
I also have this “thing” for signs. Every time I see one with a great saying on Pinterest or Instagram I think I need it. So, since I can’t afford and wouldn’t have a place for all the signs, I decided to come up with a solution.
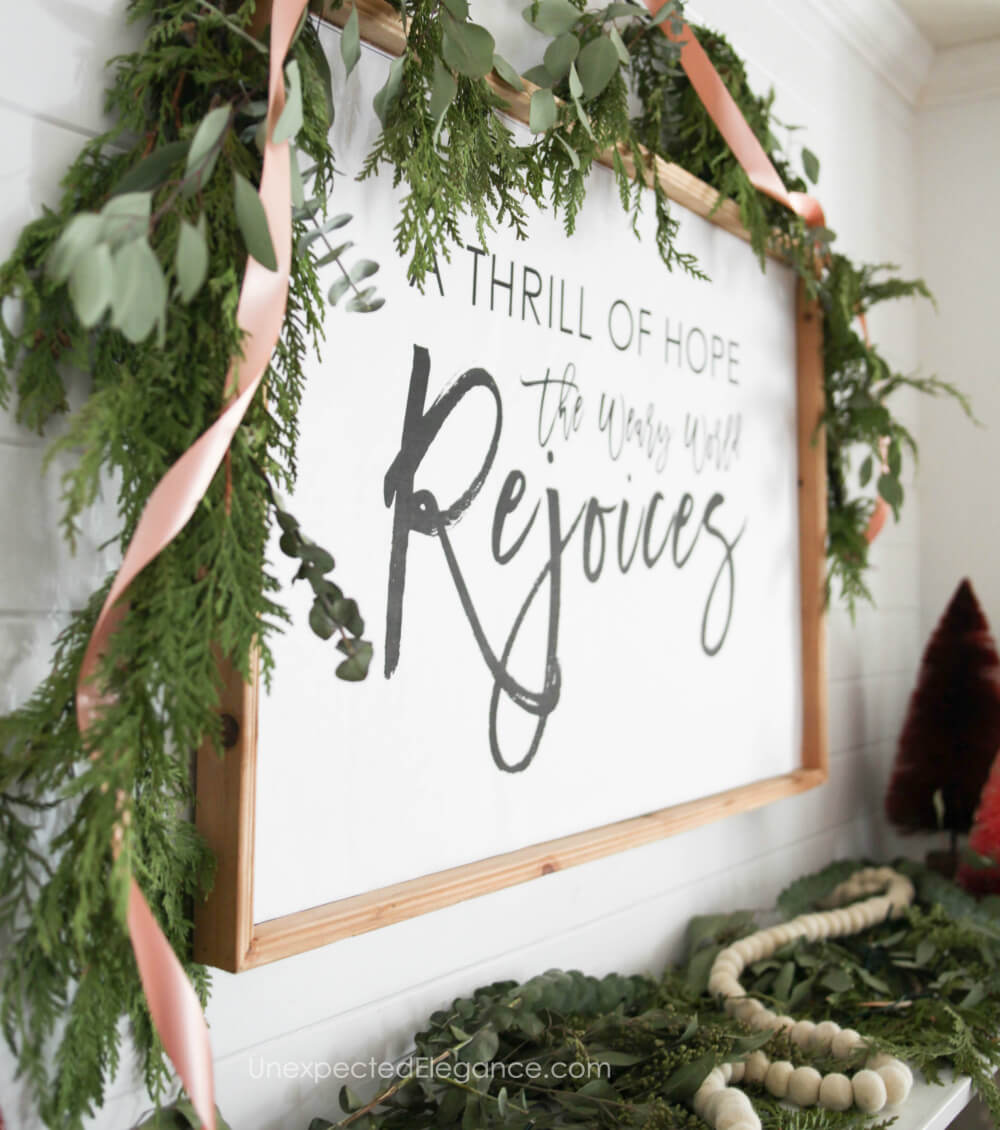
This easily changeable sign was less than $5 to make. I had the base of the sign already, but they are simple to make. The key is to make sure the frame sticks out from the back an inch or two. Making your own is also the best way to get the exact size you want!
If you want to make the base for your sign, check out this tutorial HERE.
Once you have a base, you can change it up as often as you’d like. Here’s what you will need.
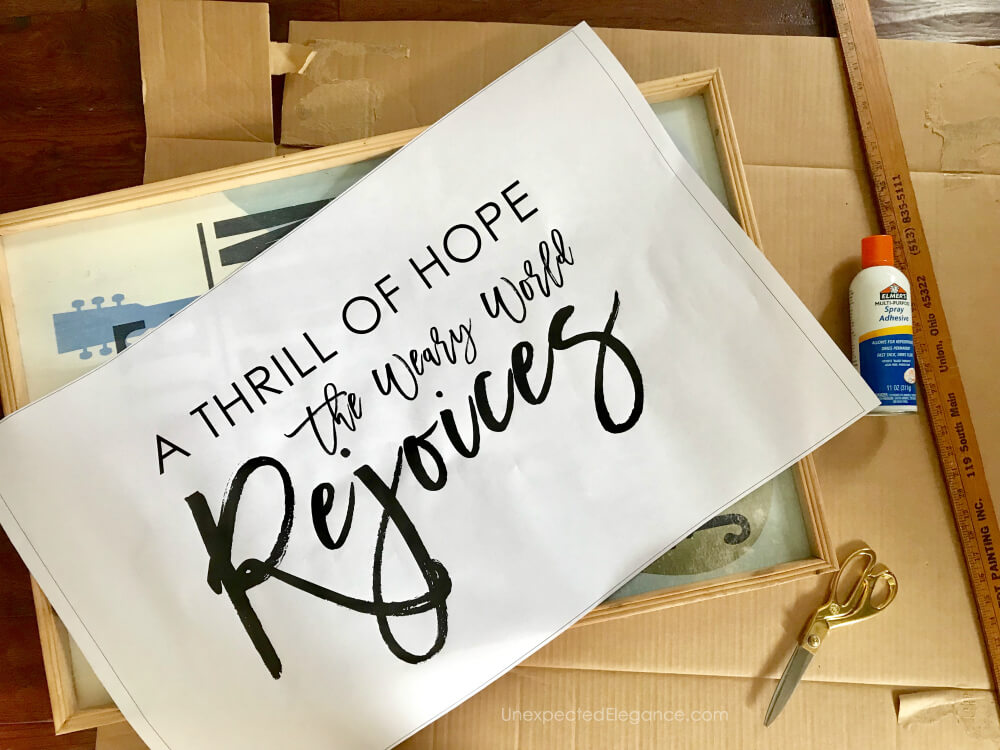
Supplies for DIY Holiday Art:
- sturdy cardboard
- engineer print
- spray adhesive
- straight edge
- scissors
I get my engineer prints at Staples for around $4, but most print shops should have this option. As far as I know, you can only get the prints in black or grey.

I designed my saying in PicMonkey. (If you’d like a tutorial on PicMonkey, check out my post on creating your own graphics and printable.) It’s important to save the print in the largest possible file so that when you take it to the printer they can adjust the size without losing the quality.
Also, be sure that you know the exact dimensions of the area inside the frame. You will need to give those measurements to the printer as well.
Once, you have all your supplies, this project will take you about 10 minutes to complete!

Directions:
- Cut out the cardboard to fit inside the frame. Make sure it is snug so it will stay in place without glue.
- Trim your engineer print to fit on the cardboard.
- Lightly spray the cardboard and back of the print with spray adhesive.
- Let the adhesive dry for a few minutes, then carefully attach the print to the glued side of the cardboard. Starting in the center, press the paper down to get out any bubbles.
- Pop the cardboard into the frame!

When you are ready to change it out, use something thin (like a butter knife) to pop the cardboard out. Then create your new sign and it to the frame!
For another great way to use an inexpensive engineer print, check out my DIY large wall art.
For a quick video tutorial, check out my Facebook Live below.

Happy Holidays! I love this idea, it’s very cute, and fun. Thanks for the tips, because you nailed this project.
Hi everyone! I heard about aviator-bet from a friend in Nairobi who was excited about how fun it is. .
Create unique DIY holiday art with custom designs for your festive season! Add personal touches and vibrant details to your decorations. Also, for an organized celebration, consider Kdv hesaplama to manage taxes and budgets efficiently.