It’s week 2 of the One Room Challenge and the backyard is starting to take shape. The construction began this week, but to kick it off I decided to paint the shed!
If you don’t remember what this area looked like before you can check it out below ↓ or read about the design plan from WEEK 1.
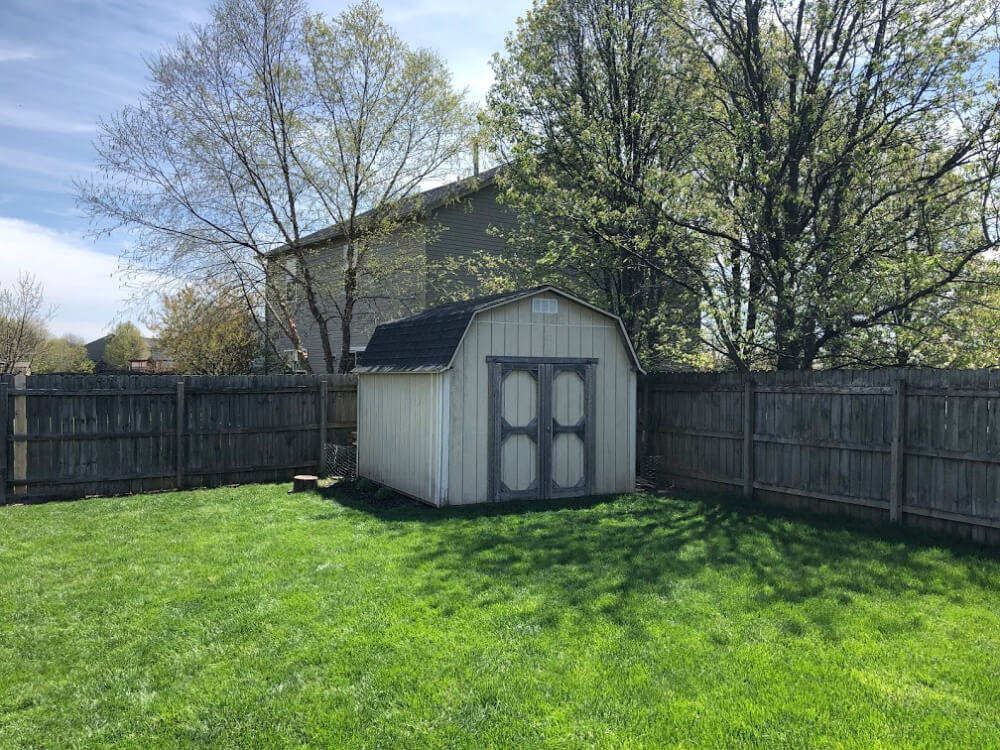
It needed to be cleaned well before we started painting, so I used a small pressure washer that I bought last fall and it worked GREAT!
If you want a compact and powerful washer that’s great for most tasks, I would suggest this one by Ryobi: HERE. (The one I bought was refurbished and works great.)
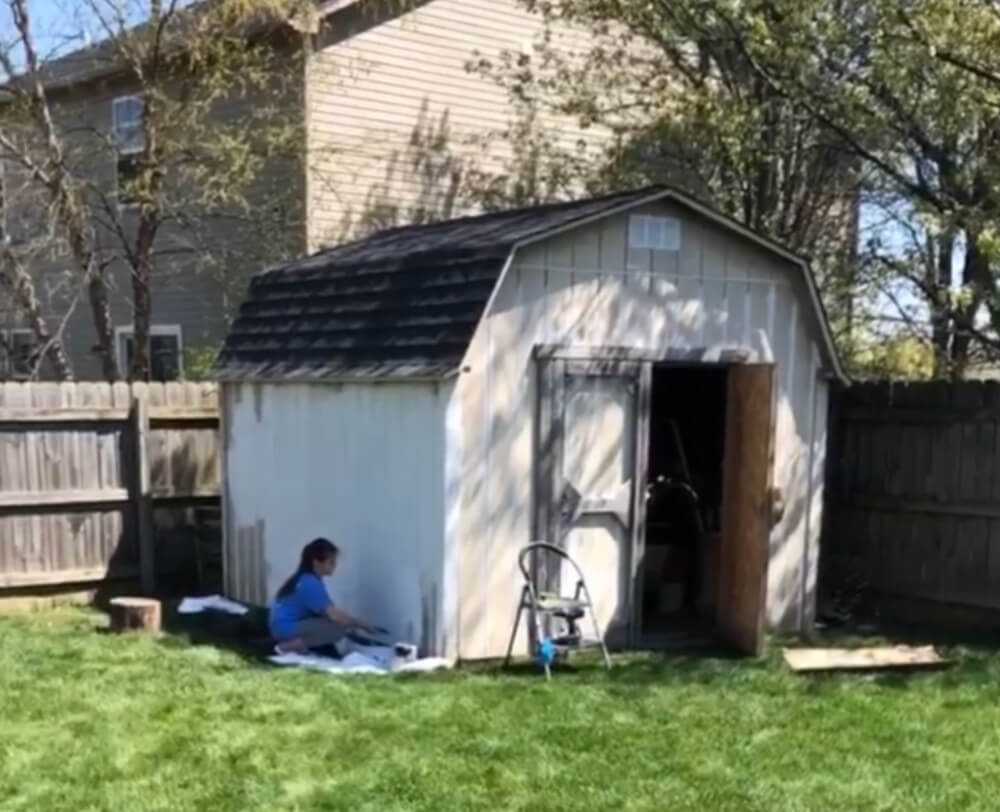
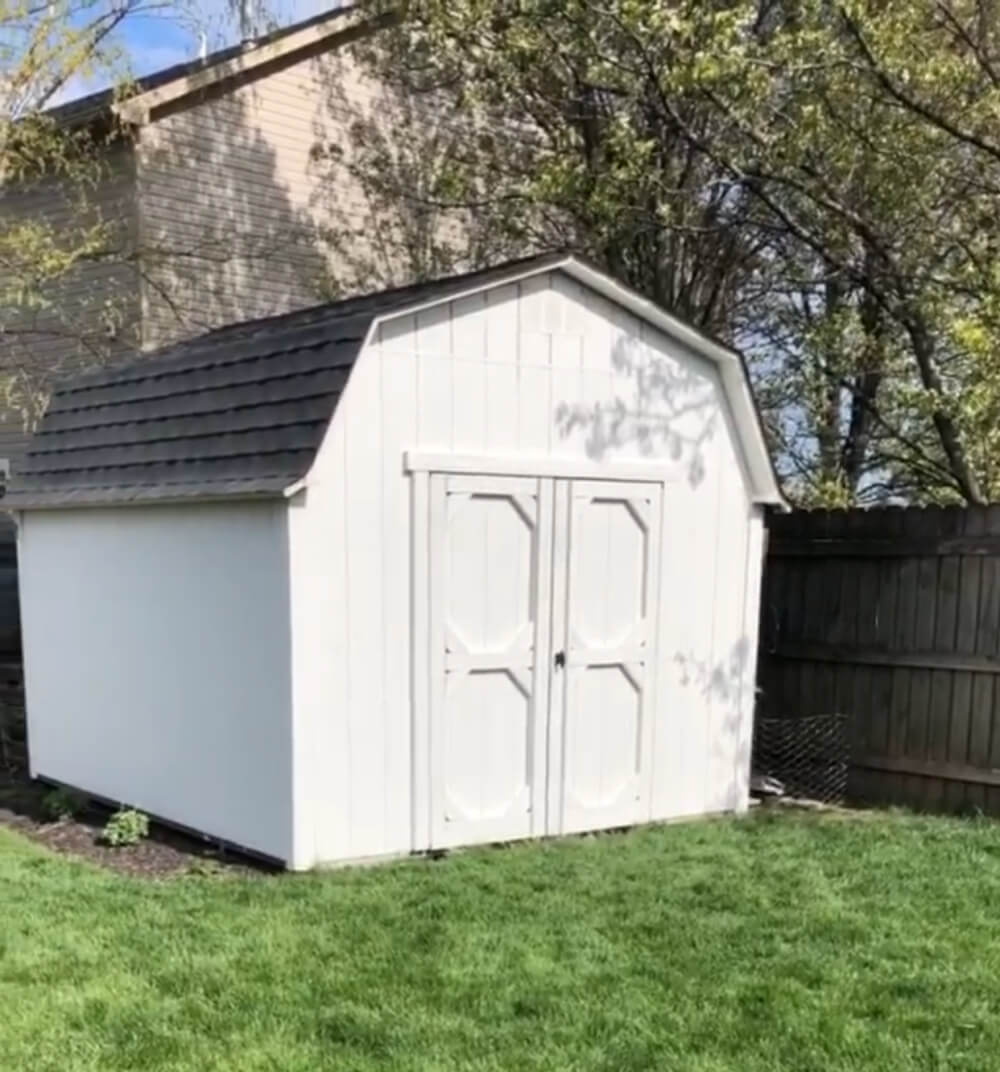
My daughter and I painted the entire shed a grayish-white (it’s hard to tell from the photos, but it has a gray undertone). I’m debating about adding an accent color to the doors and trim.
I also have plans to make a few additions to the shed and organize the inside…it’s a disaster and needs to be more functional. I ordered this light ↓almost a month ago and it still hasn’t arrived.
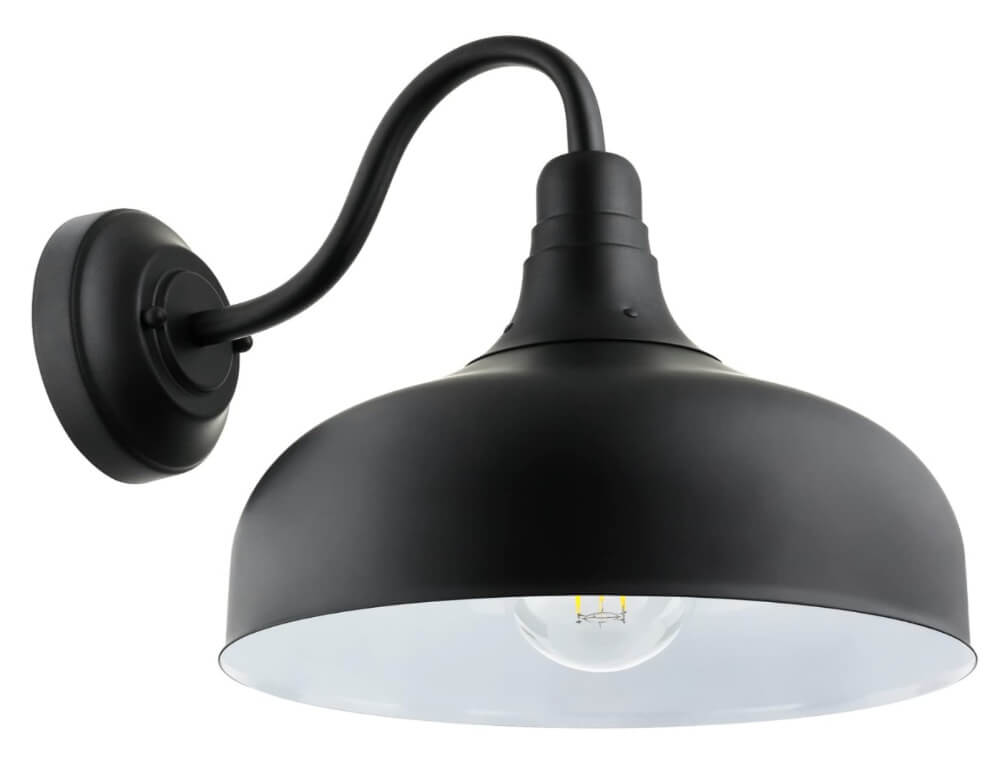
I’m hoping it is the right size and scale for the shed. There isn’t any electrical so I’ll be using a light hack. Stay tuned for this full transformation…this is just phase one!
We also started on the back-breaking work of removing the sod for the kitchen garden. If you’ve ever removed grass, you know how difficult it can be.
To make the job a little easier, I rented a sod cutter. It took an entire day to move it all after it was cut, but it was worth the cost of the rental!
I also built the bottoms of the raised beds, so we could fill them with the removed sod. (There will be a second layer on top of this that we will fill with soil and compost.)
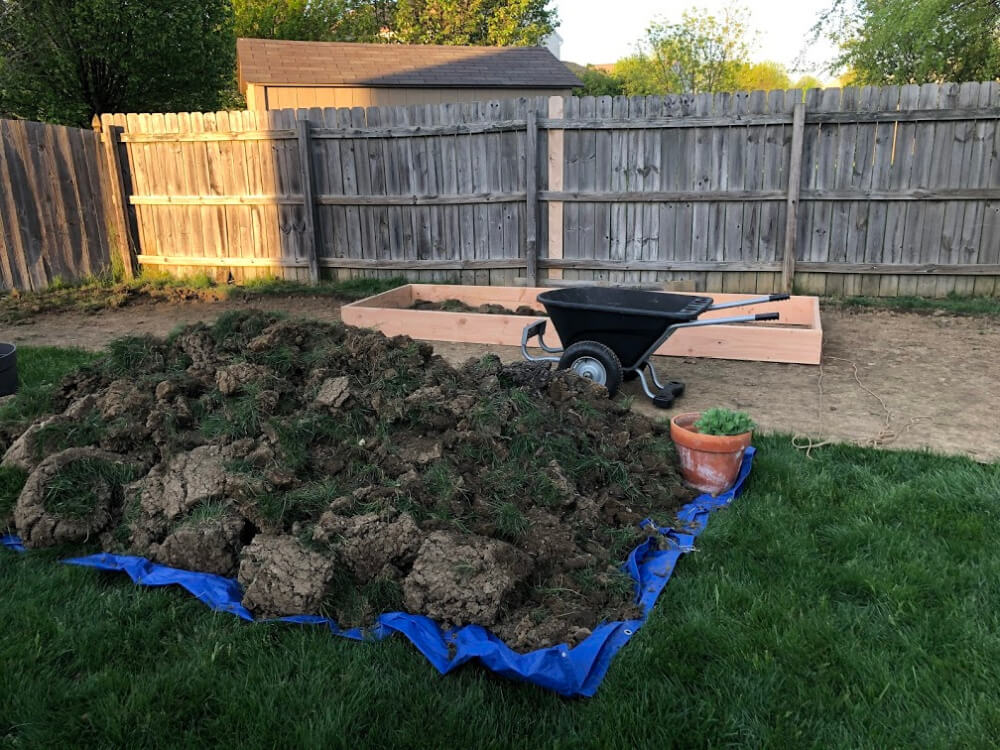
I did a lot of research and I found a few people that have done this in the past. We put the dirt side up and will fill it with more dirt, so all the grass should die and compost.
It’s starting to feel like a garden, but there’s still SO much to do!
You can find the following weeks here:
WEEK 3 | WEEK 4 | WEEK 5&6 | WEEK 7 | WEEK 8
Be sure to check all the other One Room Challenge participants and see their progress this week: HERE.


Way to go getting your seeds started! I bet that will save you tons of money! We are going to try to plan ours this week too. a much smaller scale, but I’m excited to get it going. it’s Holly from Bits of Everything again. We have had a huge harvest with our garden this year, did you? We have a garden that is about 30 ft by 60 ft, plus an orchard with 9 fruit.
This looks so great. In my early days I used to watch a show “backyard science” and I got some exceptional ideas from there as well. Nice. Keep up the good work.
Have you made it by yourself? This is fantastic
1 Go for a Total Yard Makeover. Before After. …
#2 Dump a Dying Deck for a Pretty Patio. …
#3 Swap Dying Grass for an Outdoor Room. …
#4 Turn a Tiny Condo Yard Into a Mini Escape. …
#5 Clear the Bramble and Make a Yard. …
#6 Upgrade Your Pool Patio. …
#7 Plant a Petite Patio in a Flower Bed
Thanks for another excellent post. Where else could anybody get that type of info in such an ideal way of writing? In my opinion, my seeking has ended now..
Using a fabrication shop allows for custom pieces to be created, which can perfectly fit the specific needs and style of the project. It’s also a great way to support local businesses and artisans who have the skills and tools to bring creative ideas to life. Overall, I think utilizing a fabrication shop is a smart and creative choice for any DIY or renovation project.
rfew18
A gym friend recommended that I look into semaglutide, so I decided to do some research on it. I came across https://valhallavitality.com/blog/medication-semaglutide-weight-management, and it turned out to be exactly what I needed. The blog goes into detail about semaglutide, explaining its benefits and how it supports weight management. It also offers insights on what to consider before using it.
Sprunki Incredibox is perfect for both newcomers and long-time fans of Incredibox. Ready to dive into a new musical journey? Play now and explore this fun mod!
Your gaming experience should be immersive and enjoyable, not ruined by discomfort and pain. CoreChair is redefining what a gaming chair should be, offering ergonomic excellence that supports your body while keeping you mobile. This chair is designed to reduce strain on your back, improve circulation, and enhance overall posture, making marathon gaming sessions pain-free and more enjoyable. Play smarter and healthier with CoreChair.
https://corechair.com/best-gaming-chairs-for-posture-why-corechair-is-a-top-choice/
I was putting together a gift for my aunt who loves fashion. Thought I’d find some fabric to make her a scarf. Checked out https://beglarianfabrics.com/ and it’s full of fancy leftovers. They have light fabrics and rich colors, with stuff like free shipping if you spend enough or a discount for first-timers, so it’s easy to get something nice without overpaying and you can feel good about the quality.
It’s wonderful to see you and your family have gone about transforming your backyard with such hard work and dedication — I’m so impressed with how you took advantage of every little detail, from repainting the shed to agario building your dream kitchen garden!