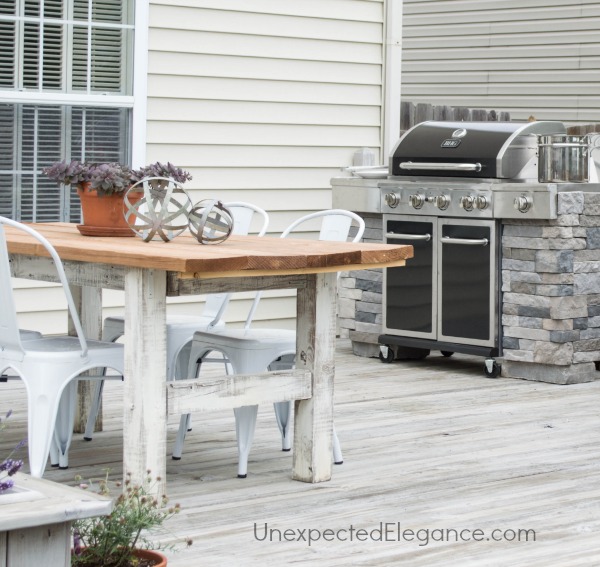
I have dreamed about having a fancy, stone-covered grilling station for years. The problem was the expensive price tag. So, I decided to make my own! I didn’t want something stationary because our grill is on our deck and needs to be moved. My solution was to attach the stone directly to our grill. 🙂
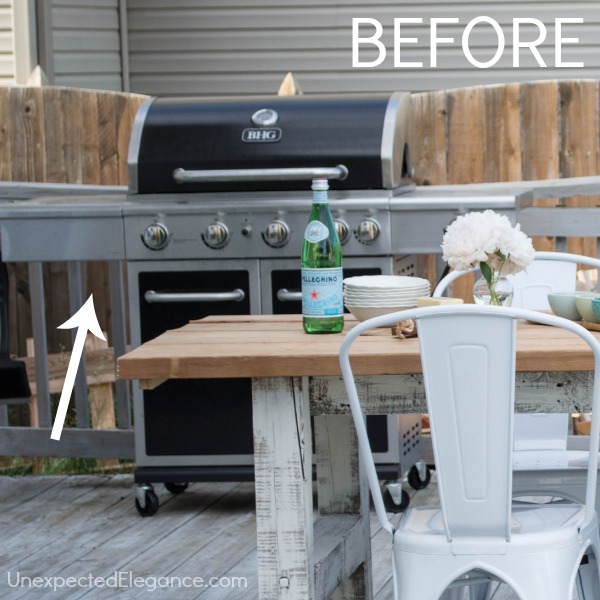
This is what it looked like last week.
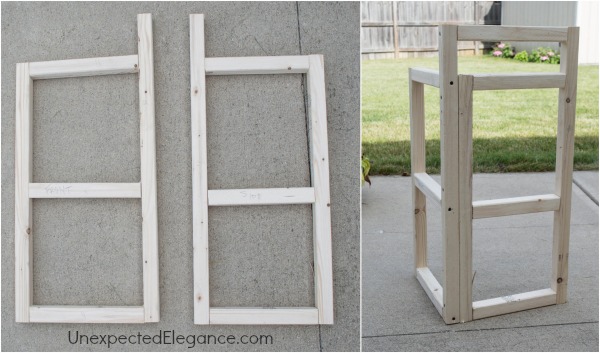
 I started by building a frame to fit under the grill’s “wings”. I used 1×2’s and 2″ screws to construct the frames.
If you are doing this yourself, just measure the dimensions carefully. Unfortunately, every grill is different so I can’t give you exact dimensions. Also make sure to add a middle support for more stability.
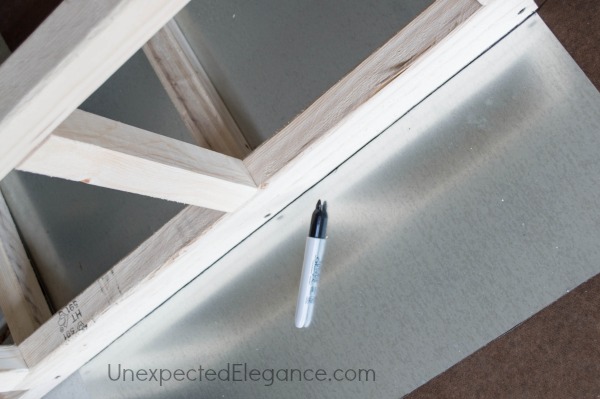
For the front and side I decided to use metal sheeting. I found this at the hardware store in the aisle with duct material. I laid the frame on top of the sheeting and used a sharpie to make my mark.
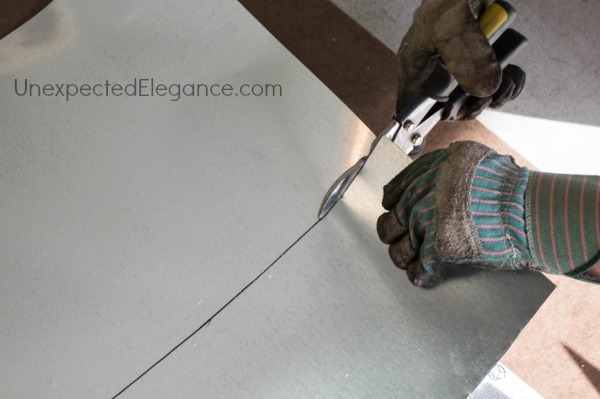
Tin snips cut the metal easily. Be sure to use gloves when cutting metal for safety.
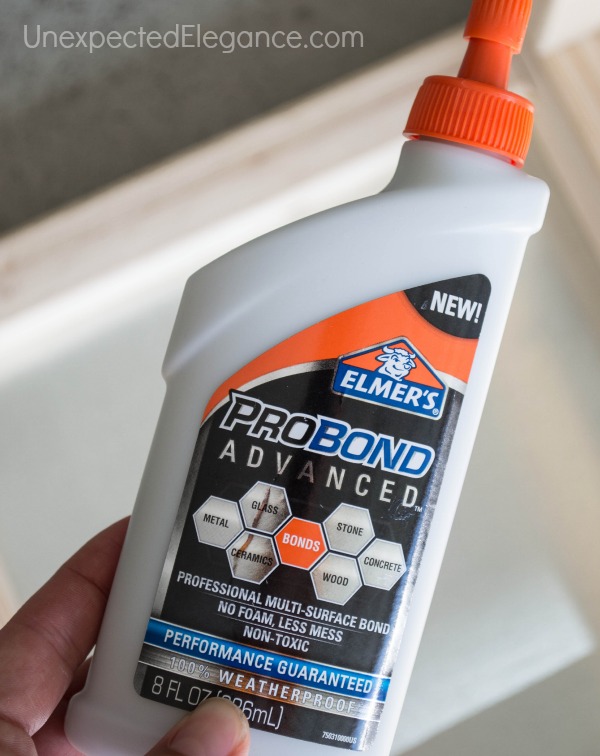
To attach the metal to the frame I used a new product by Elmer’s, called ProBond Advanced. ProBond Advanced is the perfect multi-surface adhesive for bonding mixed materials, like wood to metal without any of the foam residue. It’s has a 100% weatherproof and performance guarantee, all while eliminating the hassle of foam residue.
To allow the product to bond successfully, I laid the metal on a flat surface with the frame over it, and then placed some heavy objects on the top of the frame.
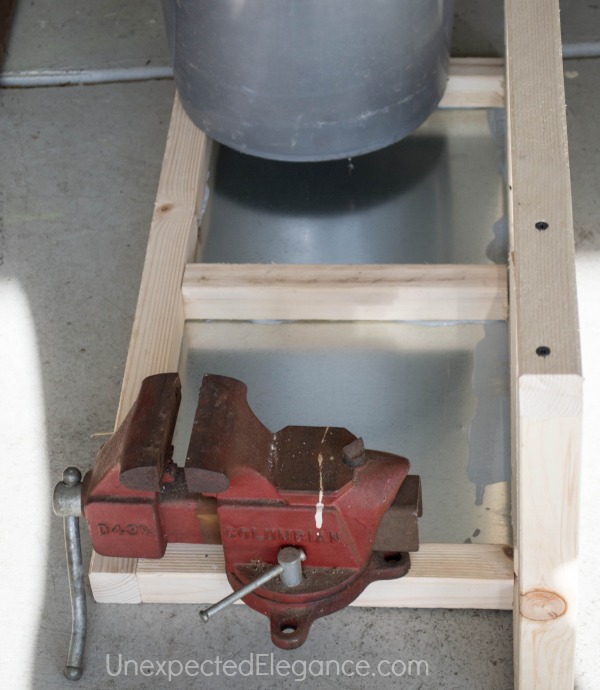
The ProBond gave me a strong bond and held the metal and wood together great!
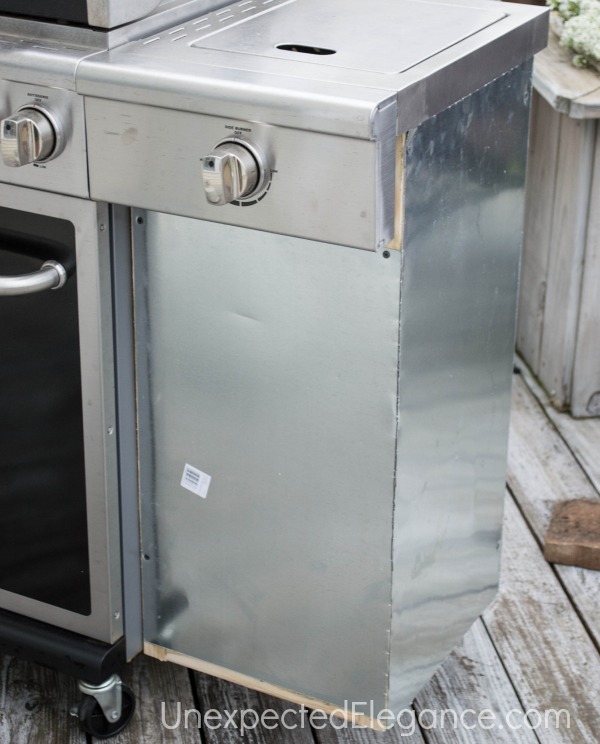
Here are the finished frames. They are amazingly light, too!
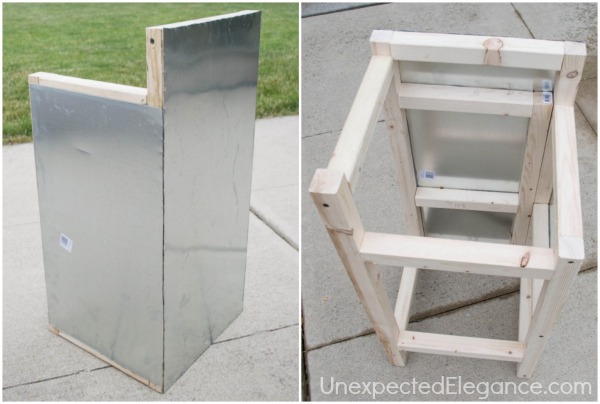
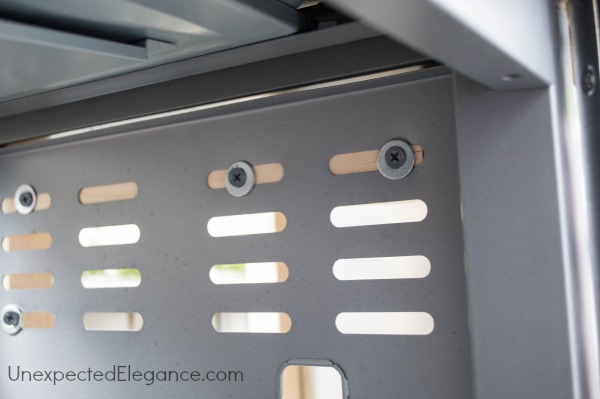
To attach the frames to the grill, I used the pre-existing holes on the sides and drilled a few extra holes under the “wings”.
I got the stone veneer and recommended adhesive at the hardware store. It was really easy to work with and I only needed two boxes to complete this project. (You can cut it with a hacksaw. 🙂 )
I recommend that you start in the corners and from the bottom.
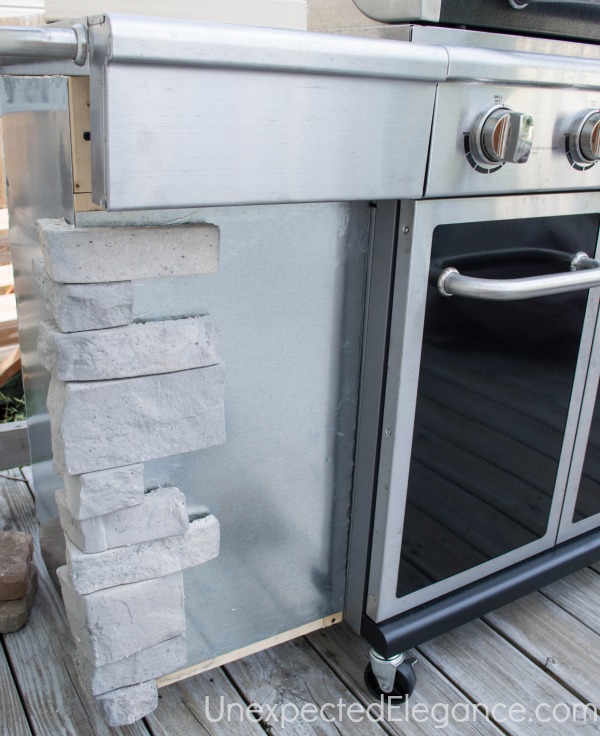
The whole process took me a few days but I think it came out great!!
You can see from this picture that there is a gap under the stone. (Remember, I wanted to be able to move mine around.)
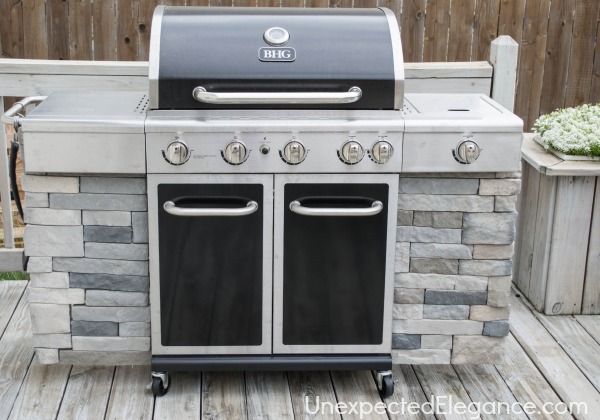
To give it the appearance of a built-in, I found two larger pieces of stone (also from the hardware store, outside in the garden section) to put under each side.
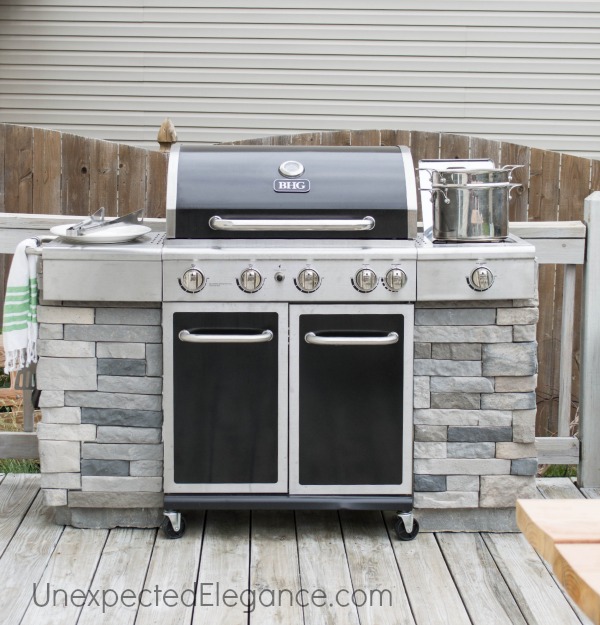
This project cost me around $150 total. That’s a LOT less than you could purchase something like this pre-made.
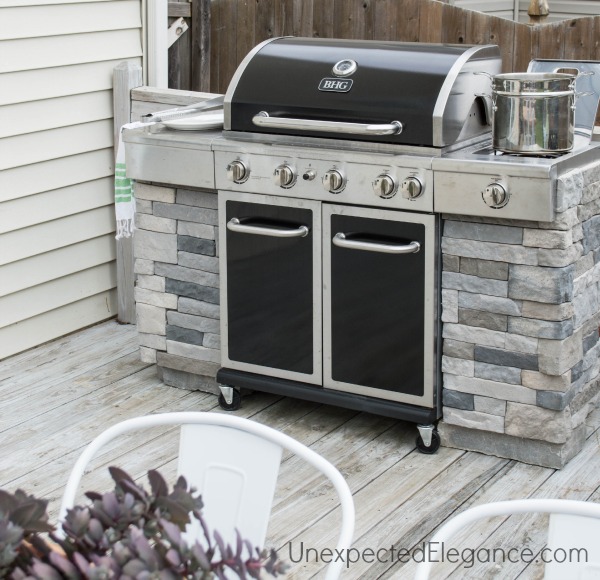
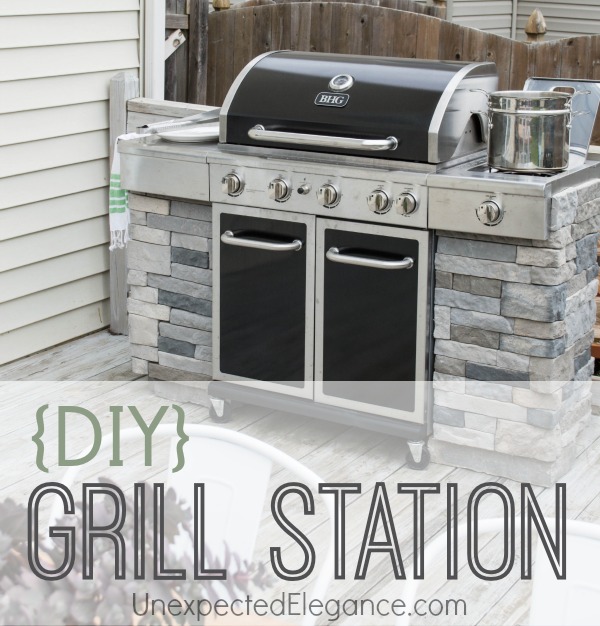

I love it, Angela! Not only does it look great, but storms blow our grill all over the place. This would definitely prevent our grill from rolling around. Nice job!
Thanks, Sara!!! 🙂
I am SO impressed!!
Thanks, Sharon!! 🙂
Holy cow, that looks amazing Angela! Who knew a grill could look so good?!
Thanks, Jen!! 🙂
You are Super Girl!!! For all of us who want a lovely outdoor kitchen, this is a marvelous idea. Now, if all had your skills!
Thank you, Joy!! 🙂
That is AWESOME! Thanks for sharing. ☺
Amazing idea! I love it!
It looks amazing, what an awesome idea! Are you able to get a cover on your grill?
Yes, we still cover it. The cover we bought has snaps on the side to make it tight, but it fits perfect went we don’t snap it.
Wow Genius!! I have wanted to do the same thing but worried about the cost as well as the materials . But now that I see how easily it can be done as well as the cost savings I have to give it a try. I may even go a little bigger. I think I will try your project but continue the framing to the side to make a counter top as well. I will let you know how it comes out.
We have the stone, left from the fireplace. Hope the instructions are detailed enough!
Would this withstand harsh winters where the bbq is standing in 1ft of snow?
This came out really nice! I love the light gray colors it just looks so fresh! I have a little bigger grill with cabinets under my ends so I’m not sure I could do it your way but I sure could add onto it. I need to start looking at stone cause I love this!
That looks fantastic. I’m definitely going to give it a shot. One question, does it still roll on the wheels?
Love it! Planning on doing a similar type of project soon.
This is a pretty informative piece, and I would want to read more of yours. Furthermore, I hope you would play super mario bros wonder with me when you have some free time. I recently discovered this amazing game. You have a pretty great website. It’s amazing how much detail you have on your website.
This looks great. I was wondering if you had the product info for the stone’s. Manufacturer etc..
Brad, it’s called AirStone (http://airstone.com/) and I got it from Lowe’s.
Airstone from Lowes; it can get wet as well as with stand heat; and is put on with caulk like adhesive about $70 a box, one box contains flat pieces and one box contains corner pieces. The corner pc box is less expensive. Comes in 3 colors. I used for Bbq kitchen surround as well as on front of bathroom tub for that stoned in look
Angela – beautiful job. I’ve looked at airstone and it seems like it may work for my project too. I noticed that one corner seems to have whiter color corner pieces. Why was that?
Made one exactly like this except put air stones down to cover the wheels also! everyone has been very impressed
That was my fault. I should have mixed up the boxes first so it wasn’t so noticeable. If you open all the boxes first and mix the colors it should be fine.
Hi Angeka, What did it cost you to do the entire project. How expensive was the stone. Thanks. Bob
Bob, It’s been a while since I completed this project, but the grill still looks the same. It’s held up really well! It cost around $150, but I’m not sure how much the veneer actually cost back then. I want to say it was around $50 a box. Hopefully that helps!
Built one exactly like this but slid in far enough where could cover the wheels but yet if need to move can! Cost 64$ for stone and 10$ for glue . Everyone loves it
❤️
I’m going to build this now. Did you leave the back of one side open to remove the propane tank or does your grill have it in the doors? Thanks!