Find out: How to Transform a Builder Grade Bathroom Vanity for LESS!! A few simple changes can dramatically change the feel of the entire bathroom.
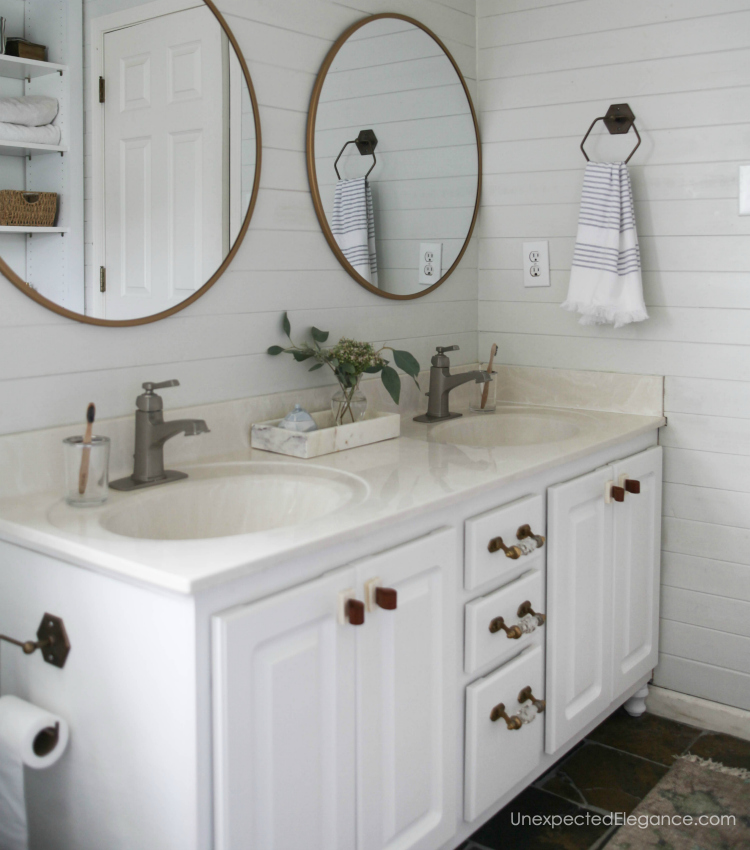
My bathroom has been undergoing a transformation for a while now. We didn’t want to spend a lot of money in the space so I’ve done my best to use what I have and update what I could! It all started with the faucet and has snowballed…in a good way!
I have a few things left to show you, but today I wanted to share: How to Transform a Builder Grade Bathroom Vanity for LESS! I had originally REALLY wanted to rip it out and replace it. The thing was…everything I liked was white with a marble top. VERY similar to what I already had.
So I made the decision to keep what we have (at least for a while longer) and just make a few simple updates.
This post contains some affiliate links for your convenience. Click here to read my full disclosure policy.
Supplies:
- hardware
- furniture feet
- saw
- screws or nail gun
- paint optional
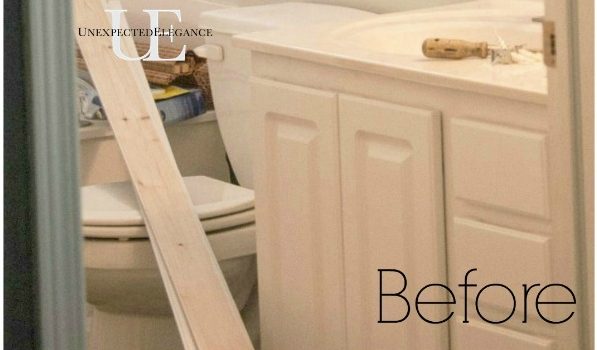
I didn’t do a good job of getting a BEFORE picture but you can kind-of tell what it looked like in the picture above.
I added some hardware, which immediately made a huge difference.
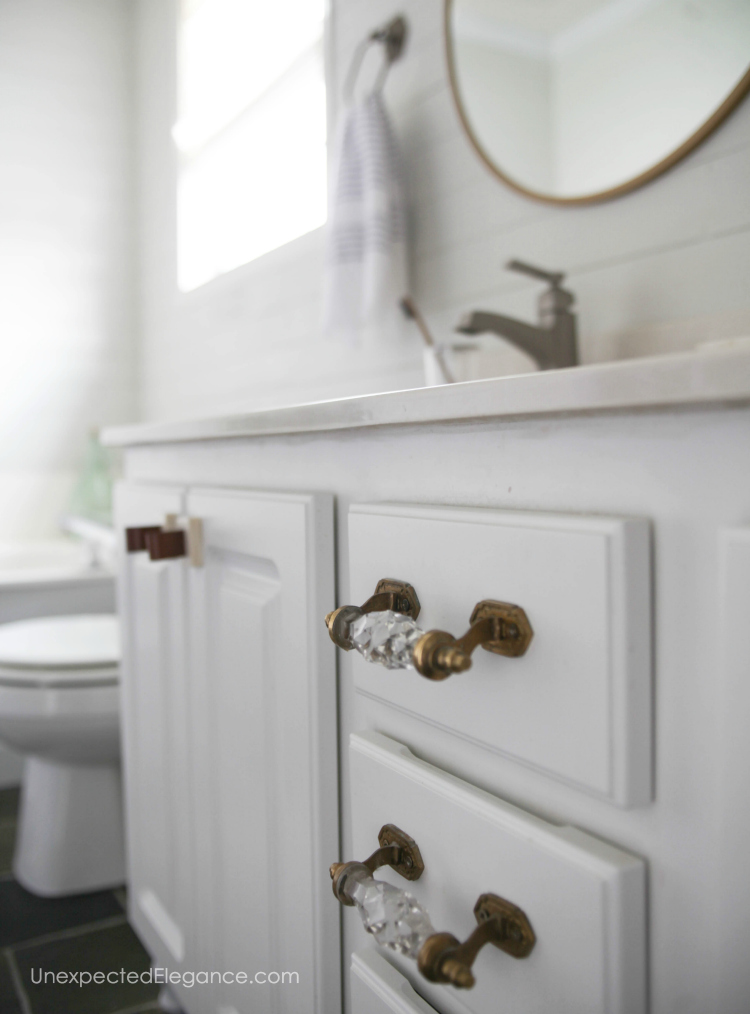
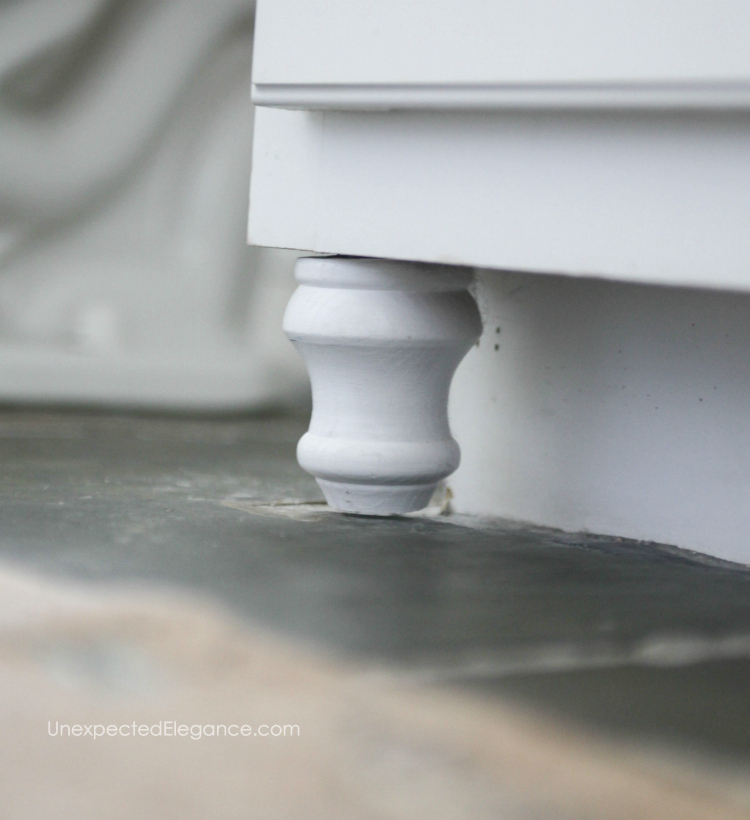
But I wanted it to look more like a piece of free-standing furniture, so I got two chair legs from the hardware store. These were around $6 a piece and I found them with the molding.
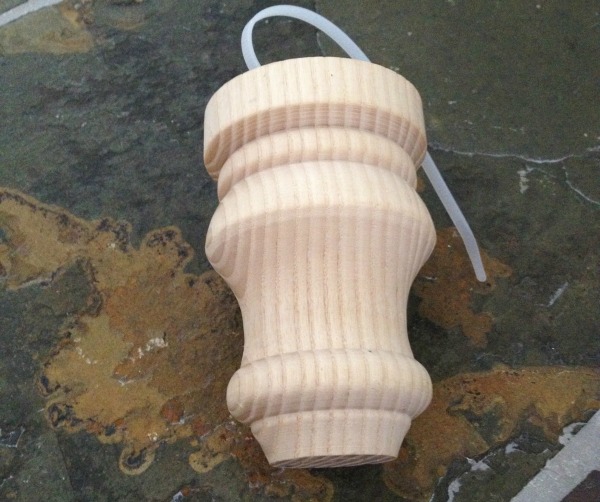
I measured how tall they needed to be, then used my chop saw to cut them to the right height. They normally come with a screw sticking out the top so make sure you remove it before cutting!! I didn’t realize how long it was and there were some sparks!!
To attach the legs, I used a shim to get it flush with the bottom of the cabinet then nailed it from the inside of the cabinet. You could also use screws to attach them.
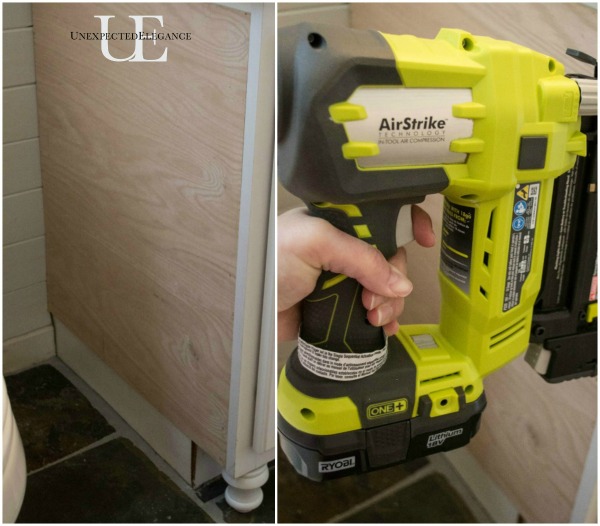
The side of our cabinet had some water damage. There was a water leak right before we bought the house and everything was replaced except the vanity. To fix the side panel, I just purchased a thin piece of wood from the hardware store and cut it to fit. If you know your dimensions they can cut it for you at the store. I used my Ryobi cordless nail gun to attach it!
Caulk and paint finished it off and hid all the imperfections!
I got the hardware from Anthropologie so it was the most expensive part of this project. Otherwise, I would have only spent around $20. (I already had the caulk and paint.)
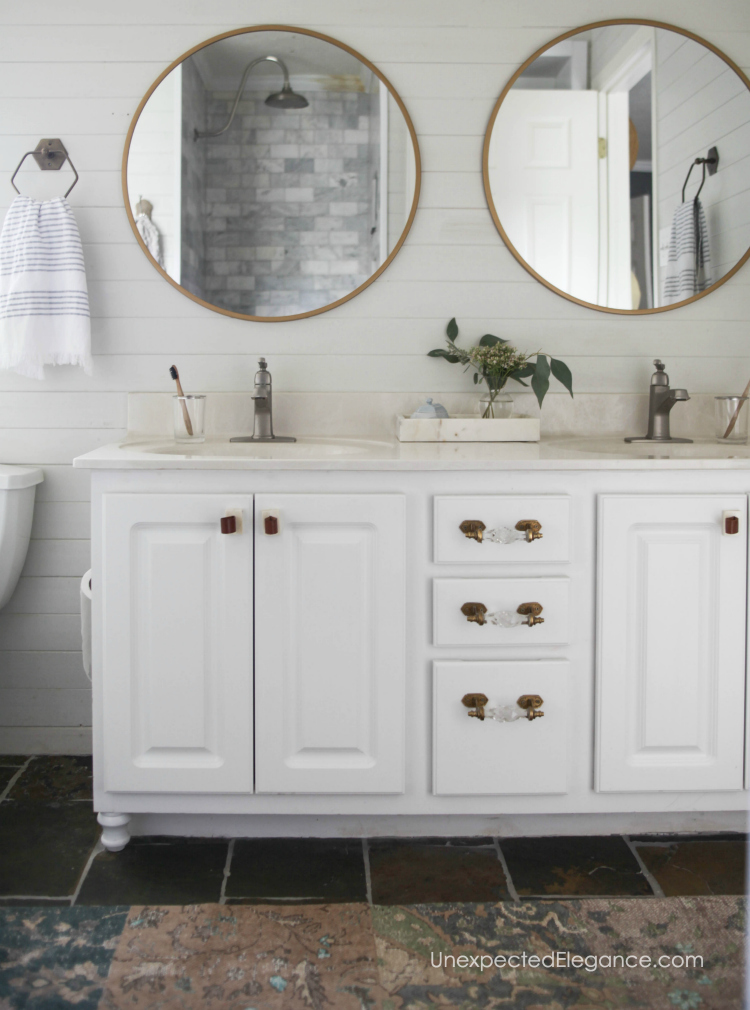
The simple changes definitely made a huge impact on the aesthetic of the space!
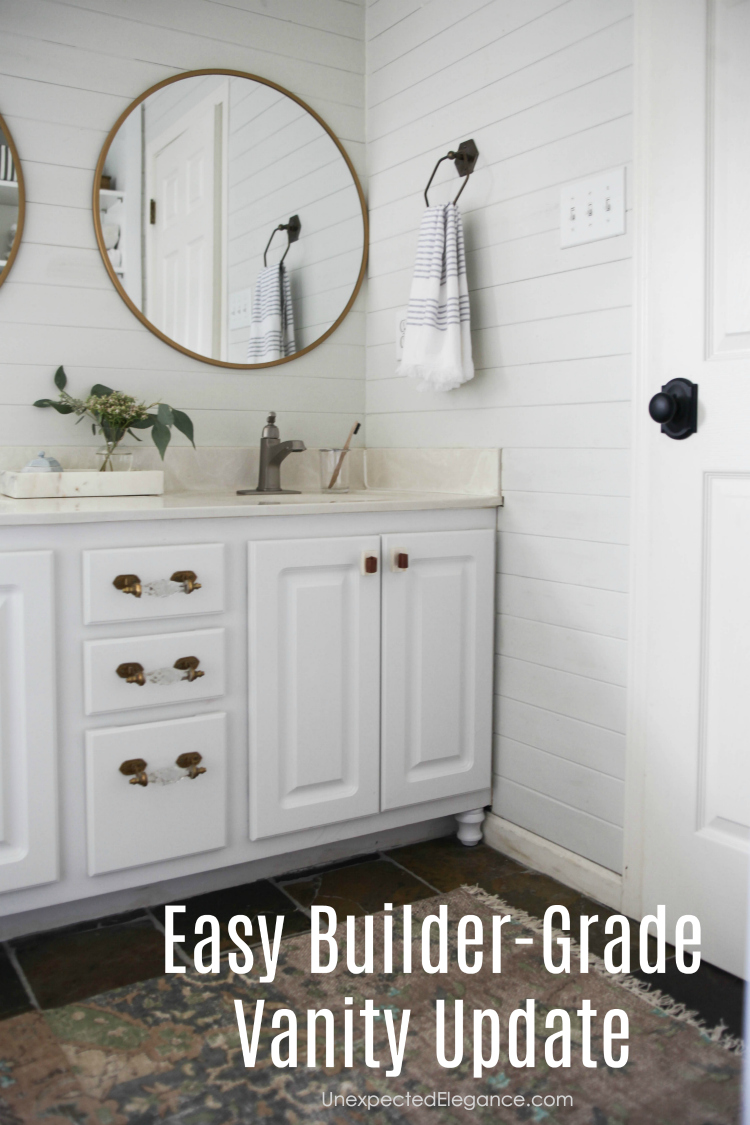
To see the complete bathroom update, check out this post: Small Bathroom Updates For Under $200
What are you currently working on?!?


Just found your blog through pinning. You have given me so many ideas for my small bathroom that I cannot afford to do a full renovation on. I will be using your ideas on tiling and upgrading the vanity as you have in your bathroom.
I’m so glad!! Thanks, Patricia!!
What a great idea. I have a bathroom that looks like IKEA rejects. The plans are in the works!!!
Hope some of these ideas help you!!
WOW just what I was searching for. Came here by searching for derma roller uk
my page dermarollers, https://padlet.com,
This content is absolutely brilliant! You’ve captured the essence of the topic perfectly while keeping it engaging and relatable. Hats off to you!
Fleet maintenance service ensures your vehicles stay in top condition through regular inspections, repairs, and preventive care.
It’s the key to minimizing downtime, extending vehicle lifespan, and reducing operational costs.
fleet maintenance service