I am a member of the Collective Bias® Social Fabric® Community. This shop has been compensated as part of a social shopper amplification for Collective Bias and its advertiser.
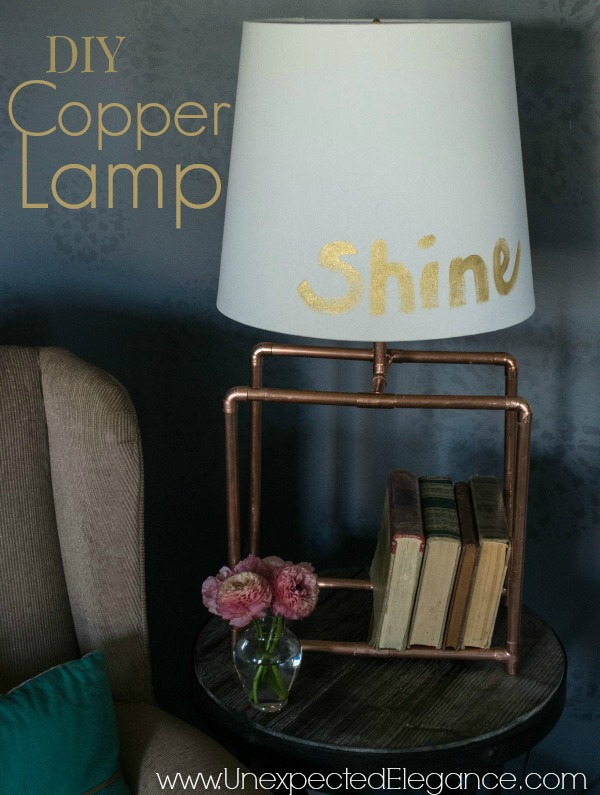
Finding the perfect lighting for a space can come with challenges!! The scale, proportion and ascetics all play a role in finding just the right one. (Not to mention how much or how little light it gives off. ) So I decided to take matters into my own hands and design a lamp for my bedroom. I also used LED power light bulbs from GE for the perfect ambiance! 😉
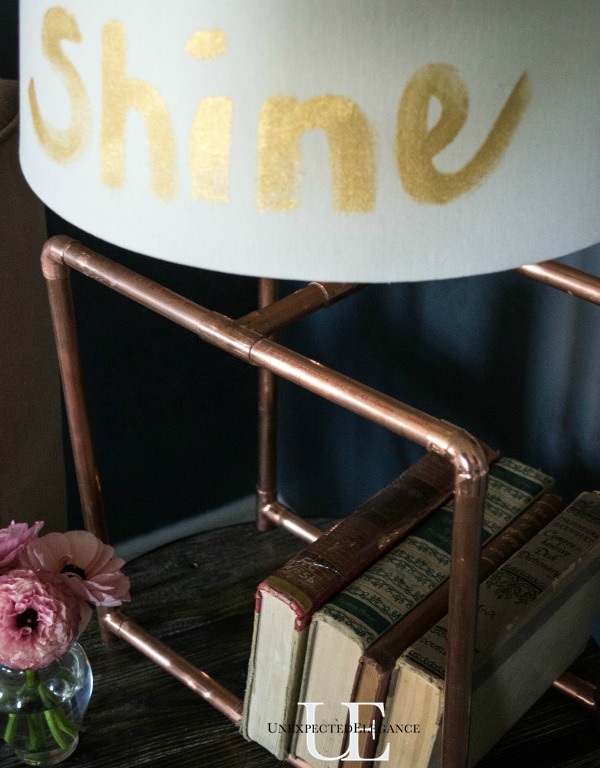
Here’s the skinny on how I made the base of the lamp…
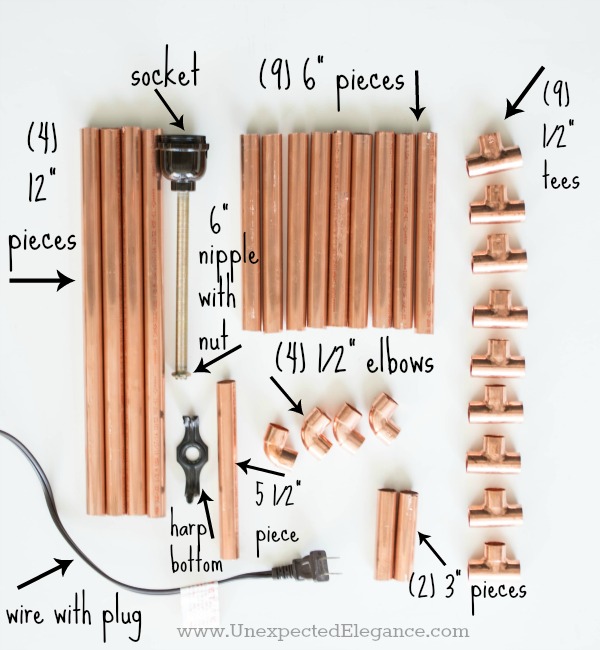
Supplies: 10 ft. piece of 1/2″ copper pipe, hack saw or pipe cutter, lighting kit with 6″ nipple, (9) 1/2″ copper tees, (4) 1/2″ copper elbows, metal adhesive (I used Strong Stik because it had a 10 minute set time), 3/8″ drill bit and drill
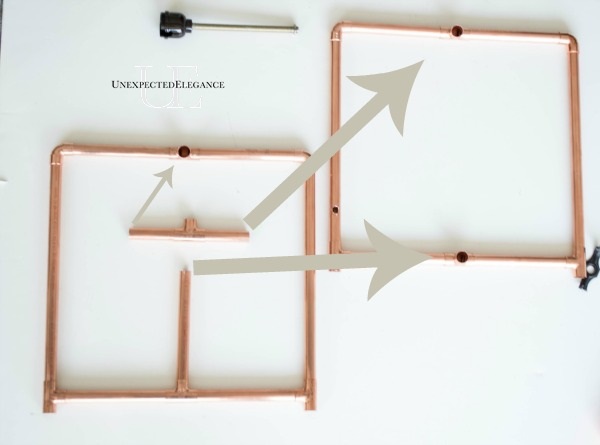
Cut the pipe, using a hack saw or pipe cutter. See the diagram below for the different pieces you will need for this project.
Assemble two squares that will fit together. See the diagram below. At this stage you just want to make sure it all fits together properly and you don’t need to adjust any of the pieces.
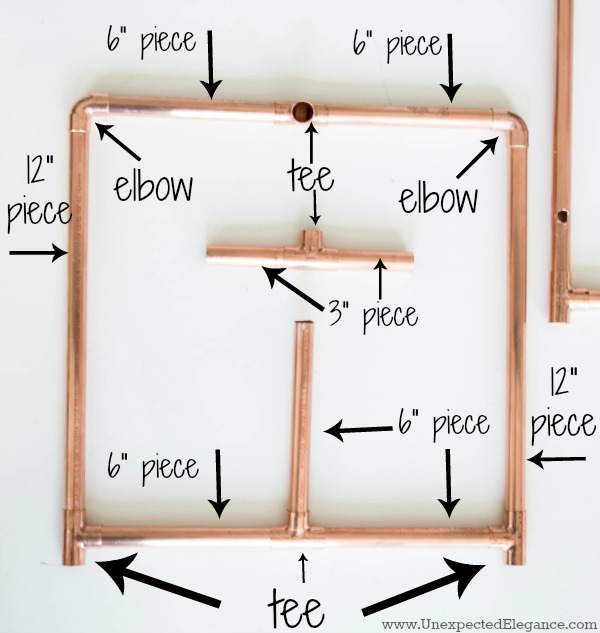
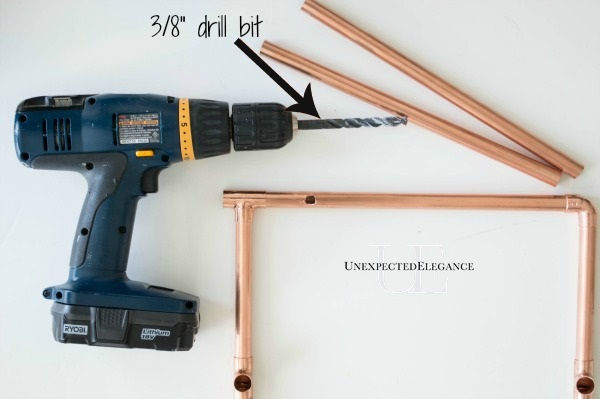
Using a 3/8″ drill bit, drill a hole close to the bottom of one of the 12″ pieces. This will be the hole for the cord.
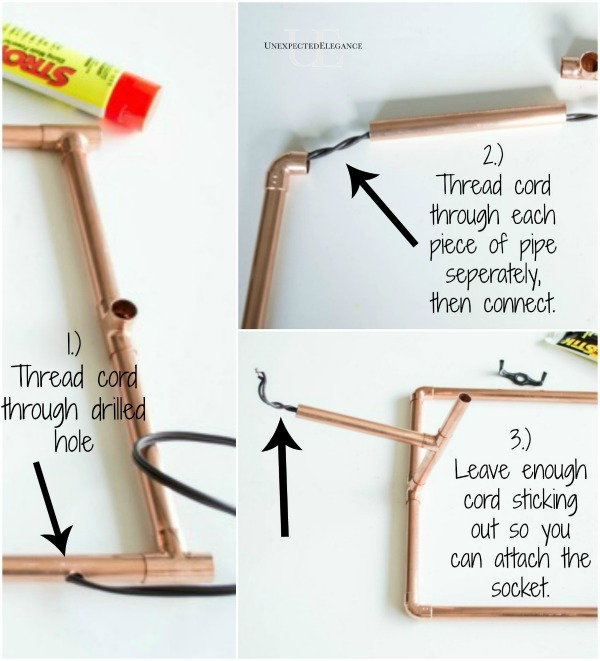
Before you glue the pieces together, run the cord through the pipes. It’s easiest to separate the pipes first and run it through them one at a time.
Then use a little bit of the adhesive on each joint, except the 5 1/2″ pipe that will hold the light socket. Pay special care around the joints with the cord. I used Strong Stik and it takes 10 minutes to set so it allowed me to make adjusts to the pipes as I went. Make sure you wipe off any excess adhesive.
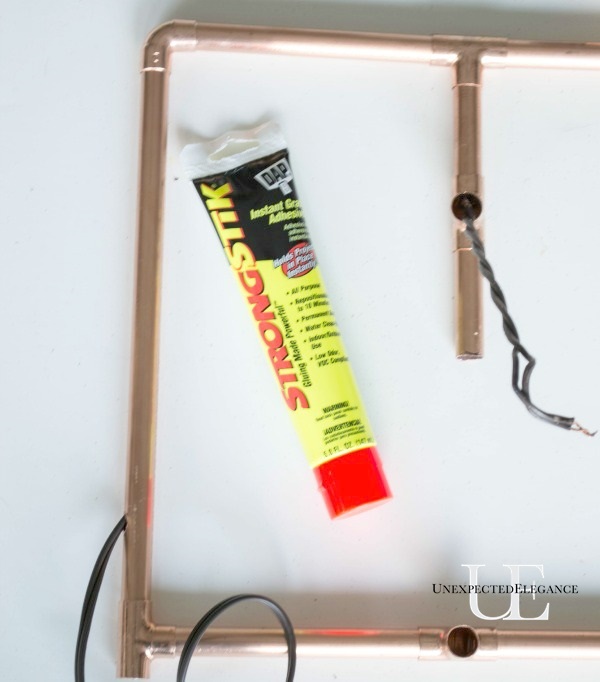
Let it dry over night so that none of pipes move as you are assembling the rest of the light kit.
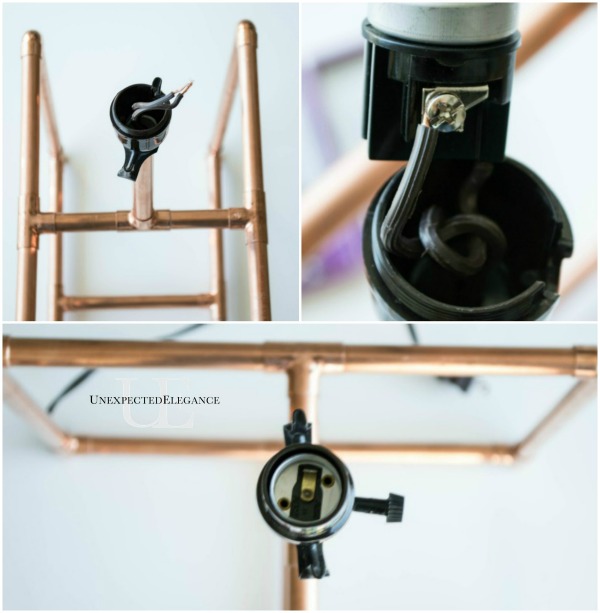
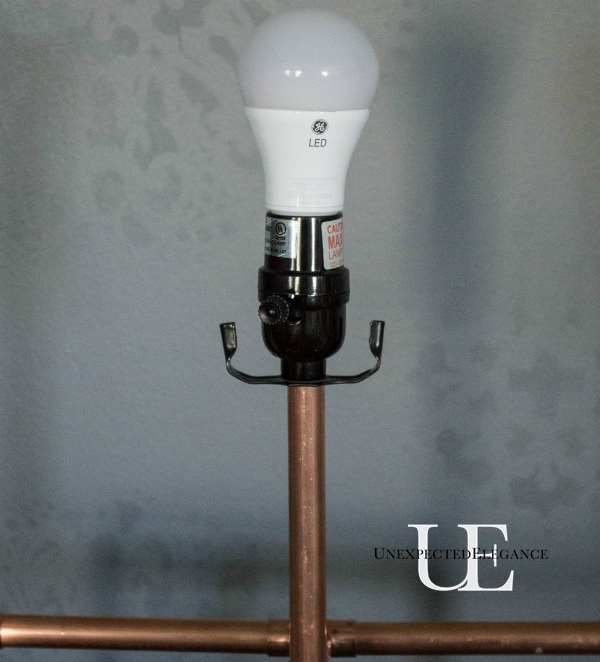
Assemble the lighting kit per the directions on the package but make sure the nipple is 6″. Thread it through the 5 1/2″ pipe and secure it with the nut. Then run the wire up through.
See photo below.

Finally wrap each exposed wire around the two screws on the socket and tighten. For better detailed instructions click HERE.
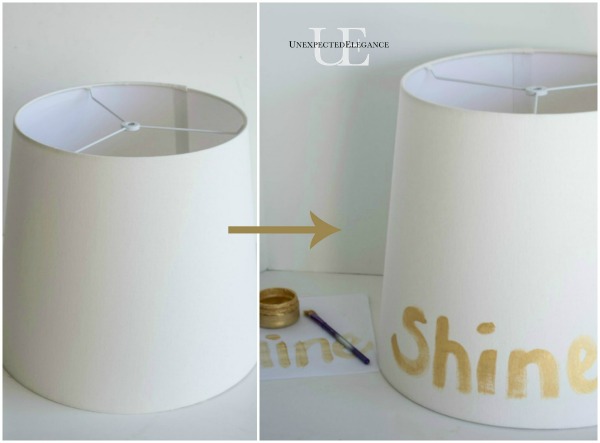
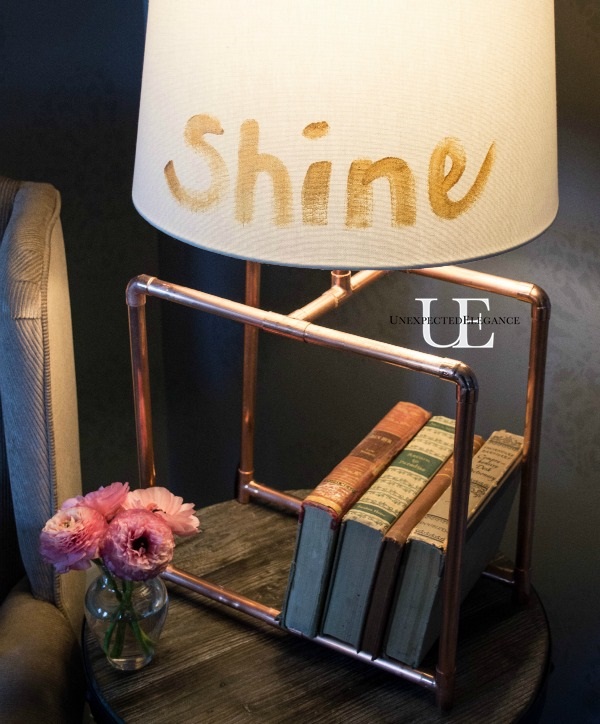
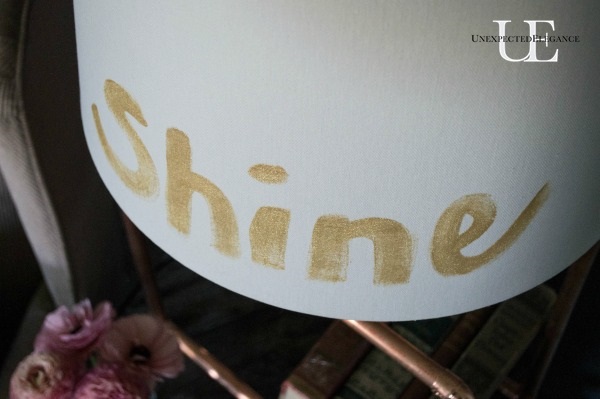
I added a little something extra to my lamp shade, too! 😉 I just free-handed the word shine with gold paint on the bottom.
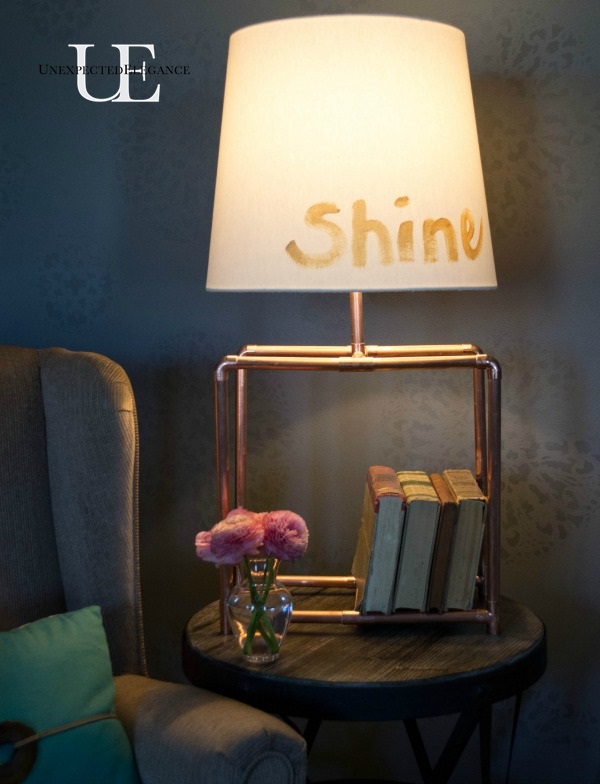
I LOVE the way it turned out!! And it’s versatile.
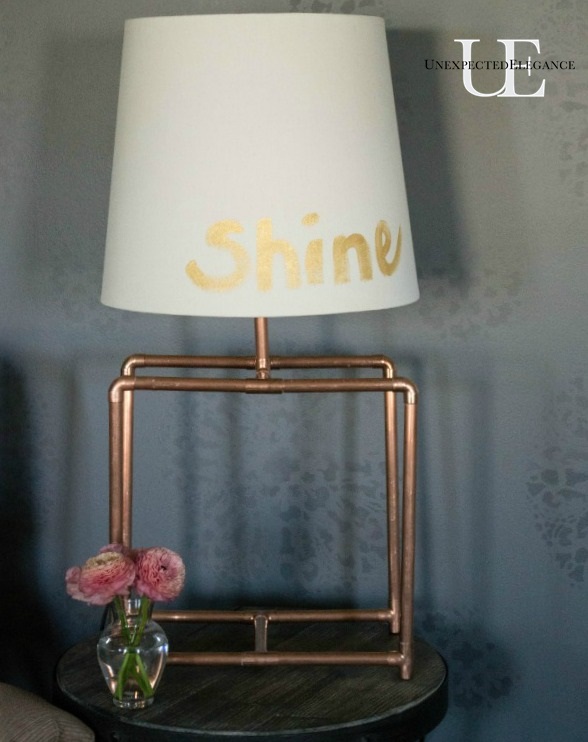
You can either leave it just like it is or…
Add some books! (Personally, I like the books.)
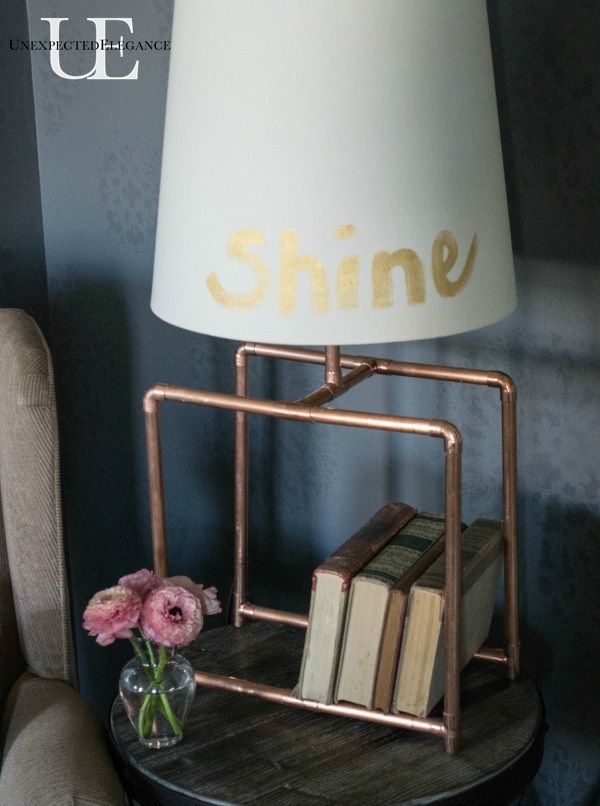 The best part is that I used an LED bulb. One LED Bulb lasts as long as 15 traditional incandescent bulbs and uses 80% less energy! That’s a REALLY long time and a lot of extra cash in my pocket!! 😉
Learn more about GE’s super bright LEDs by connecting with them on FACEBOOK, TWITTER, and INSTAGRAM.
 The “soft white like” performance is perfect for any room, but especially my bedroom where I get ready.
You can find your LED light bulbs at Target in the hardware section!

You can currently save on your purchase with a coupon for $1 off GE super bright LEDs.
Or you get these discounts at Target:
- There is a $2 off LED coupon on Target.com
- LED will be featured in Target’s circular April W4 (April 27 – May3) – Buy 1, get 1 Free 60W LED
- Cartwheel – 30% off Soft White LED this week
- Cartwheel – 4/27-5/3 – 10% off (and can be combined with circular offer)
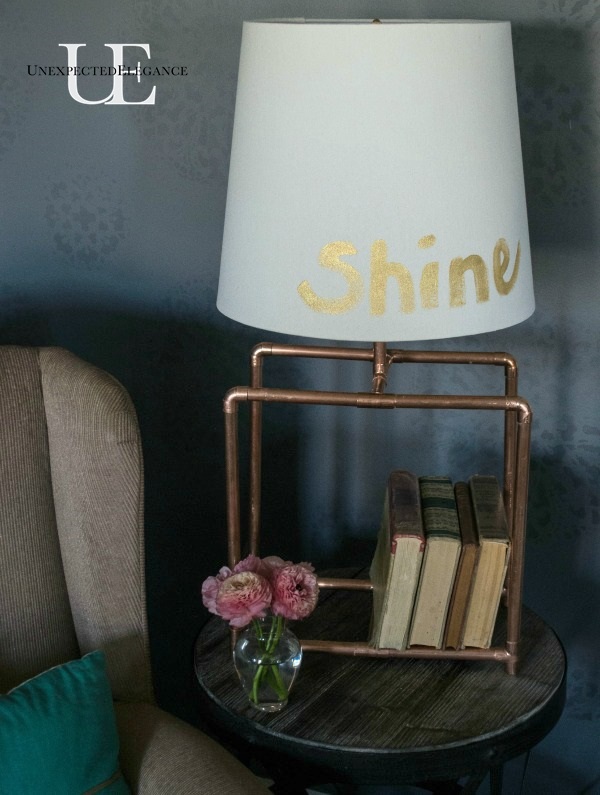
What do you think? Books or no books? Will you be switching out any of your old bulbs for LED?
#LEDSavings #CollectiveBias

I prefer the lamp with the books. Your finished project is so pretty and the GE LED power gives off just enough light. While cutting copper sounds intimidating your tutorial makes it look easy!
#client
Great project! I want to make for my bf who is an electrician. One question, how long was the wire you used that went thru the copper piping?
Can’t wait to make this unique piece 🙂
Yikes, I’m not sure! I used a lamp kit and think it’s about 8 foot? Good luck with this project!! 🙂
This DIY copper table lamp project looks amazing! I love how simple and stylish it is definitely something I could see in my room. As a student, I’ve been trying to get into more hands-on projects like this to add a personal touch to my space. I want the atmosphere to be more relevant for my studies. I experienced trouble with research papers, so I found a helpful thread at https://forum.aresearchguide.com/threads/is-it-worth-to-pay-someone-to-write-my-research-paper-for-me-share-your-experience.1/ that might help you decide if it is worth to pay someone to help me. Anyway, I’m definitely going to try making this lamp, it seems like a fun weekend project.