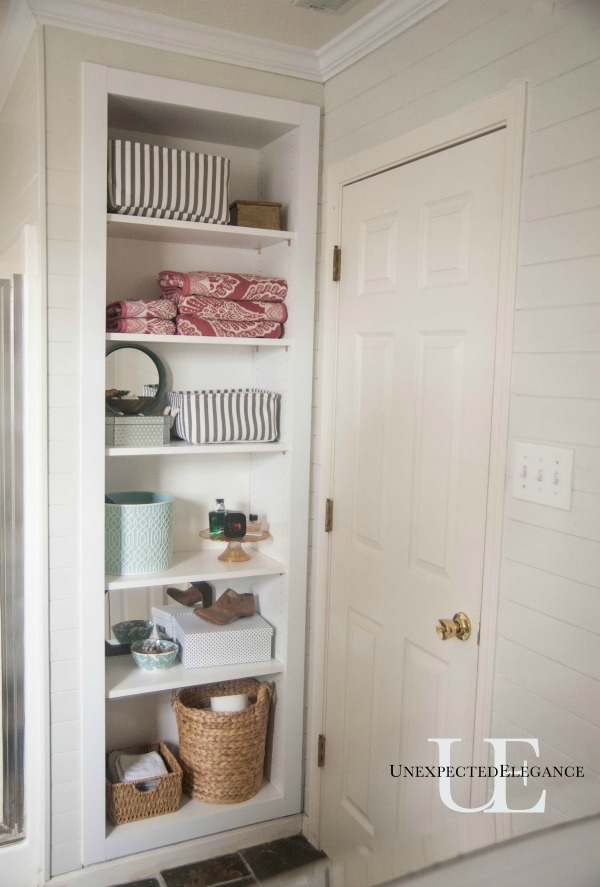
Since we have moved into this house, we have had to trek back and forth to the girl’s bathroom for towels. The only storage in our master bathroom has been under our sink, but that is always full of other bathroom STUFF, leaving nowhere for towels. Our bathroom isn’t small but finding a solution to this problem wasn’t easy.
UNTIL…I looked behind door number two the ugly plastic thing attached to the wall. You can see it in the photo below. It was hideous but we discovered that it was there for a purpose, besides an eyesore! There is some duct work that has a lever that we may need one day?
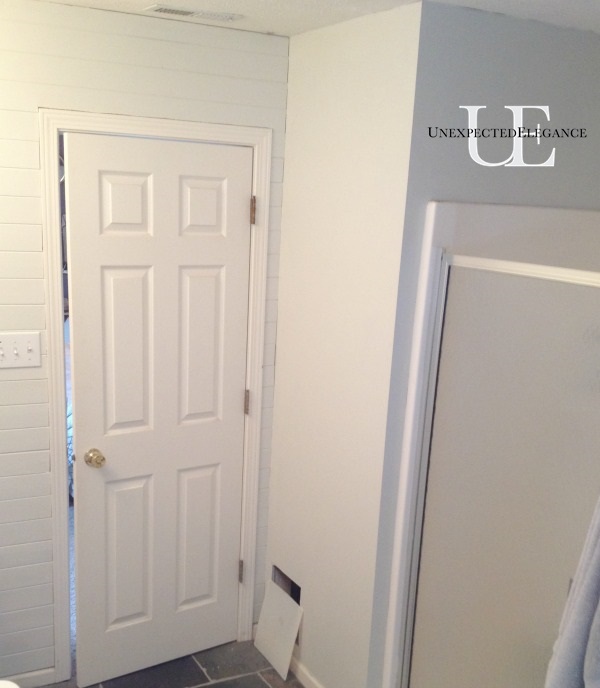
So after sticking my tape measure inside, I found that I had a little over 13 inches to work with…just enough room for some DIY built in shelving! Whoot, whoot!
I had to wait for my Dad to visit so I could get some help, but this project was seriously easy!
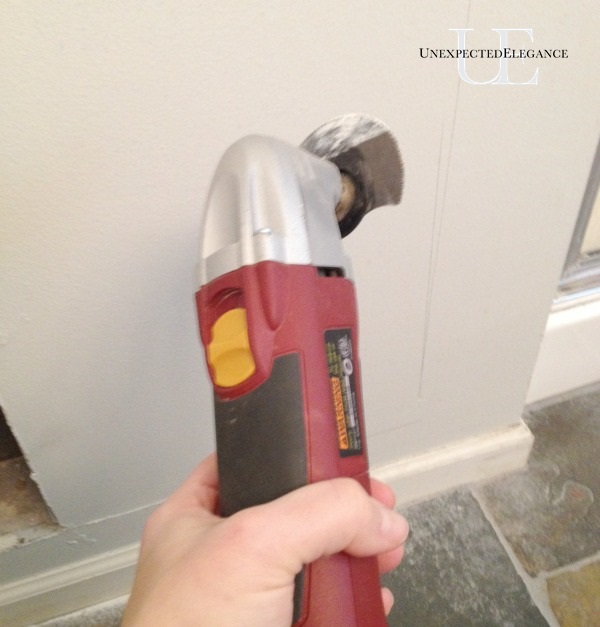
I started by measuring the dimensions of the cabinet and marking it out on the wall. Then I used my multipurpose tool to cut out the drywall.
Next we added some 2×4’s to frame out the opening. 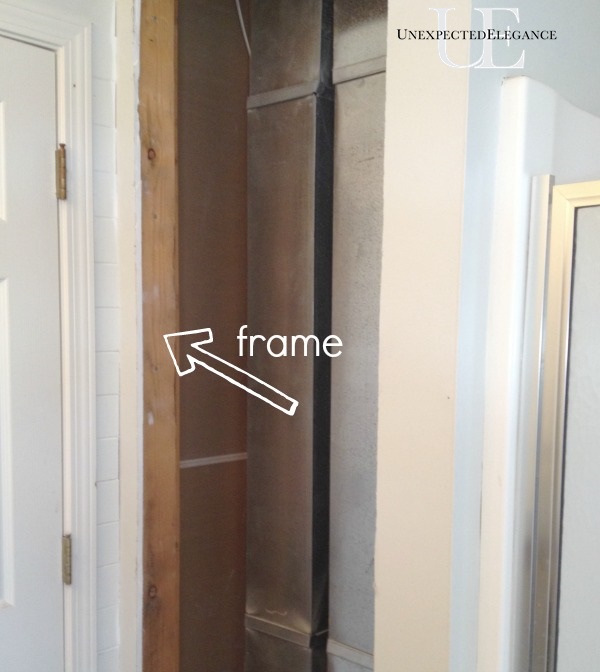
I wanted to have adjustable shelves, so I bought a two pieces of pre-drilled melamine. I found them at Menard’s in the closet making section. I also bought a plain piece (without holes) for the top, bottom and shelves. The width and height will be dependent on your measurements but the depth comes in just a few options. I choose the one that was almost 12″.
Here’s the important part: Make sure you line up the holes for the sides BEFORE you cut! We lined them up and clamped them together to make one cut for both pieces. 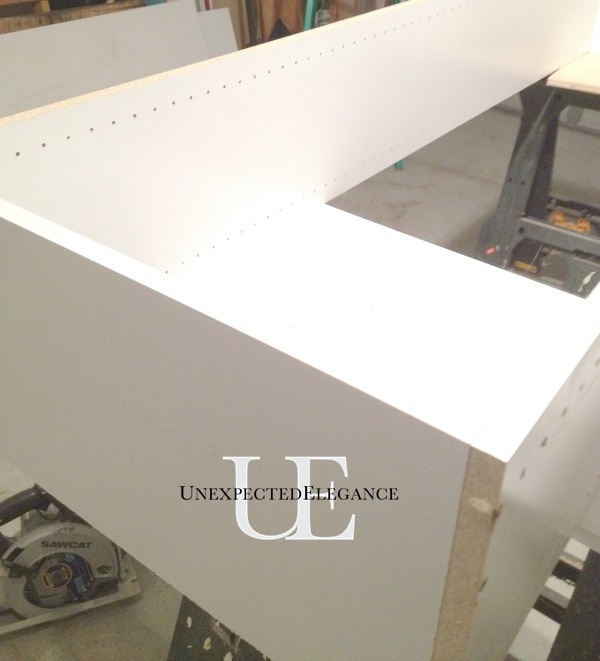
Then we cut the width for the top and bottom pieces and screwed the cabinet together from the outside. It’s easiest to use a square to make sure you have it aligned correctly.
We knew the dimension before we went to the hardware store, so we just had them cut a thin piece of masonite (the kind that looks like a dry erase board). Then we attached it to the back of the shelves. To finish it off, we added a some poplar wood are around the outside. This gave us the surface area to nail the shelving into the studs and also made it “pretty”! 😉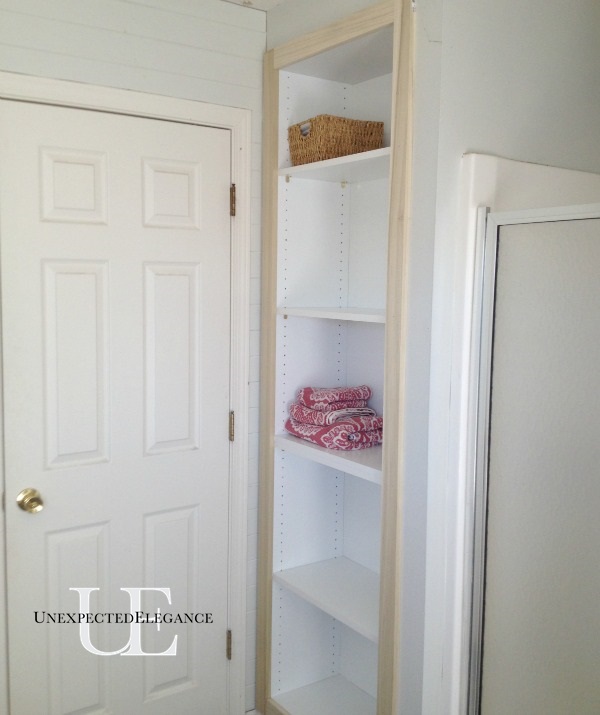
I love all the extra storage I have now! Before my counters were always FULL of makeup and hair products, but now it all fits on the shelves. 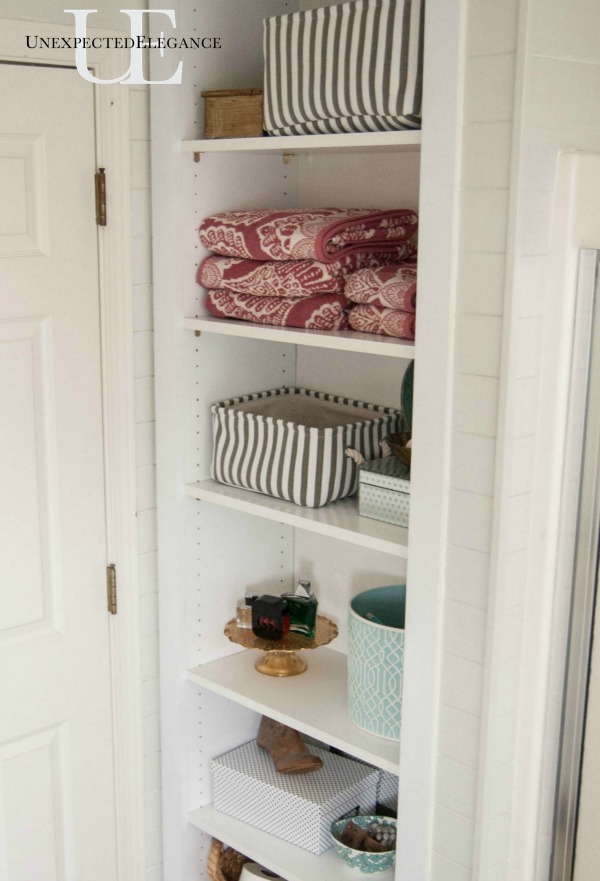
I got the large pot from the gardening section at HomeGoods for my blow-dryer. It makes for easy storage and it’s prettier than looking at a blow-dryer!
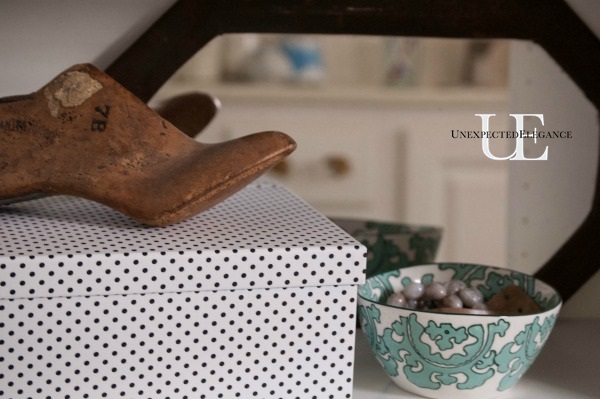
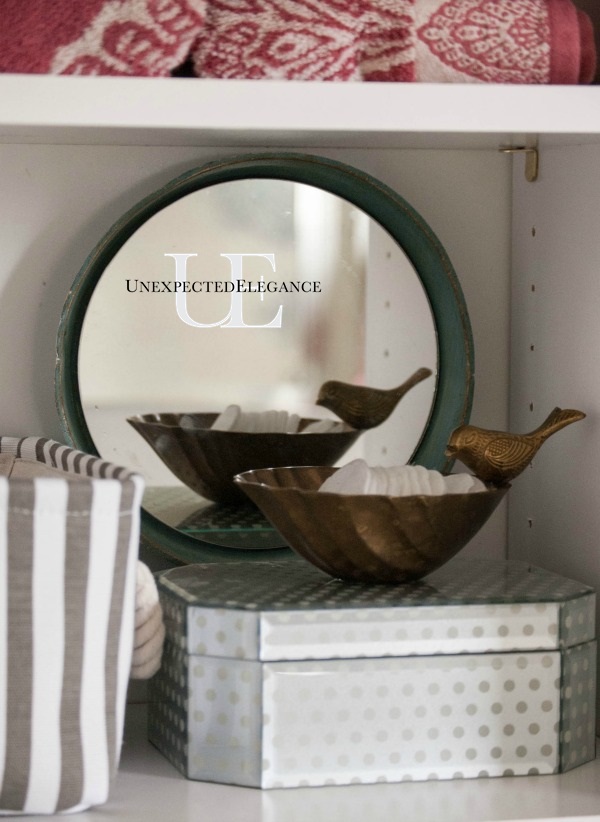
I also got the striped baskets from HomeGoods for things like my makeup and extra toothpaste. For me to keep the counter clean, I need to have it to be as easy as possible.
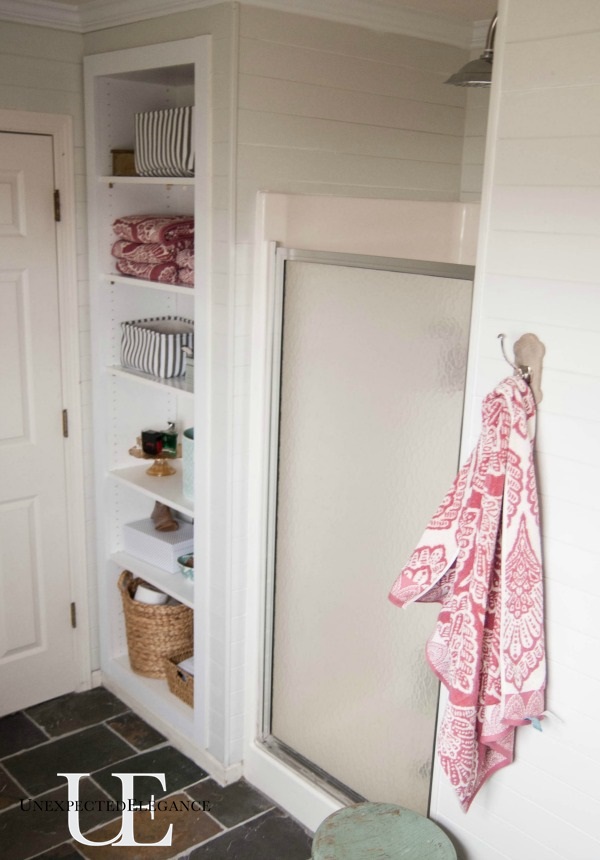
I’m finishing up the rest of the bathroom and it’s looking SO good! I can’t wait to show you the rest!
~Angela

Hi Angela. I found your site through The Graphics Fairy and a tutorial about using wax paper to transfer designs. Just wanted to say I love your home. The houses here in Australia are so so different. We have the old timber Queenslanders but nothing on the scale that you have in the US. I think the bathroom discovery was fantastic. When we built our house I realised from looking at the plans that there was valuable shelf space hidden behind walls so in two of the rooms I asked them to put shelves in for me. I might just have to go searching for more 🙂
Thanks, Deborah!! I have found extra space under my stairs too!! Good luck! 😉
Hi – Just popping in because I have to say – I found your site a couple of months ago and while I LOVE everything you do the pop ups about subscribing, etc. are HUGELY annoying – so much so it doesn’t feel good to come here. If it were my site I’d want to know that.
Deana
Deana,
Thanks for letting me know. I just removed the FB pop-up! It’s supposed to go away after the first visit to my site, but sometimes it doesn’t work as they advertise.
I appreciate the input!!
Angela
Angela – can you share he dimensions of your shelves? Trying to replicate this in my master bathroom!
Emilie, the dimensions are 22″wide, 12″ deep and 82″ tall. Hope that helps. 🙂 Good-luck!!
How did you screw the shelves into the studs? That’s the only part I’m lost on since the shelves are inserted into the frame and then screwed into the studs… At an angle?