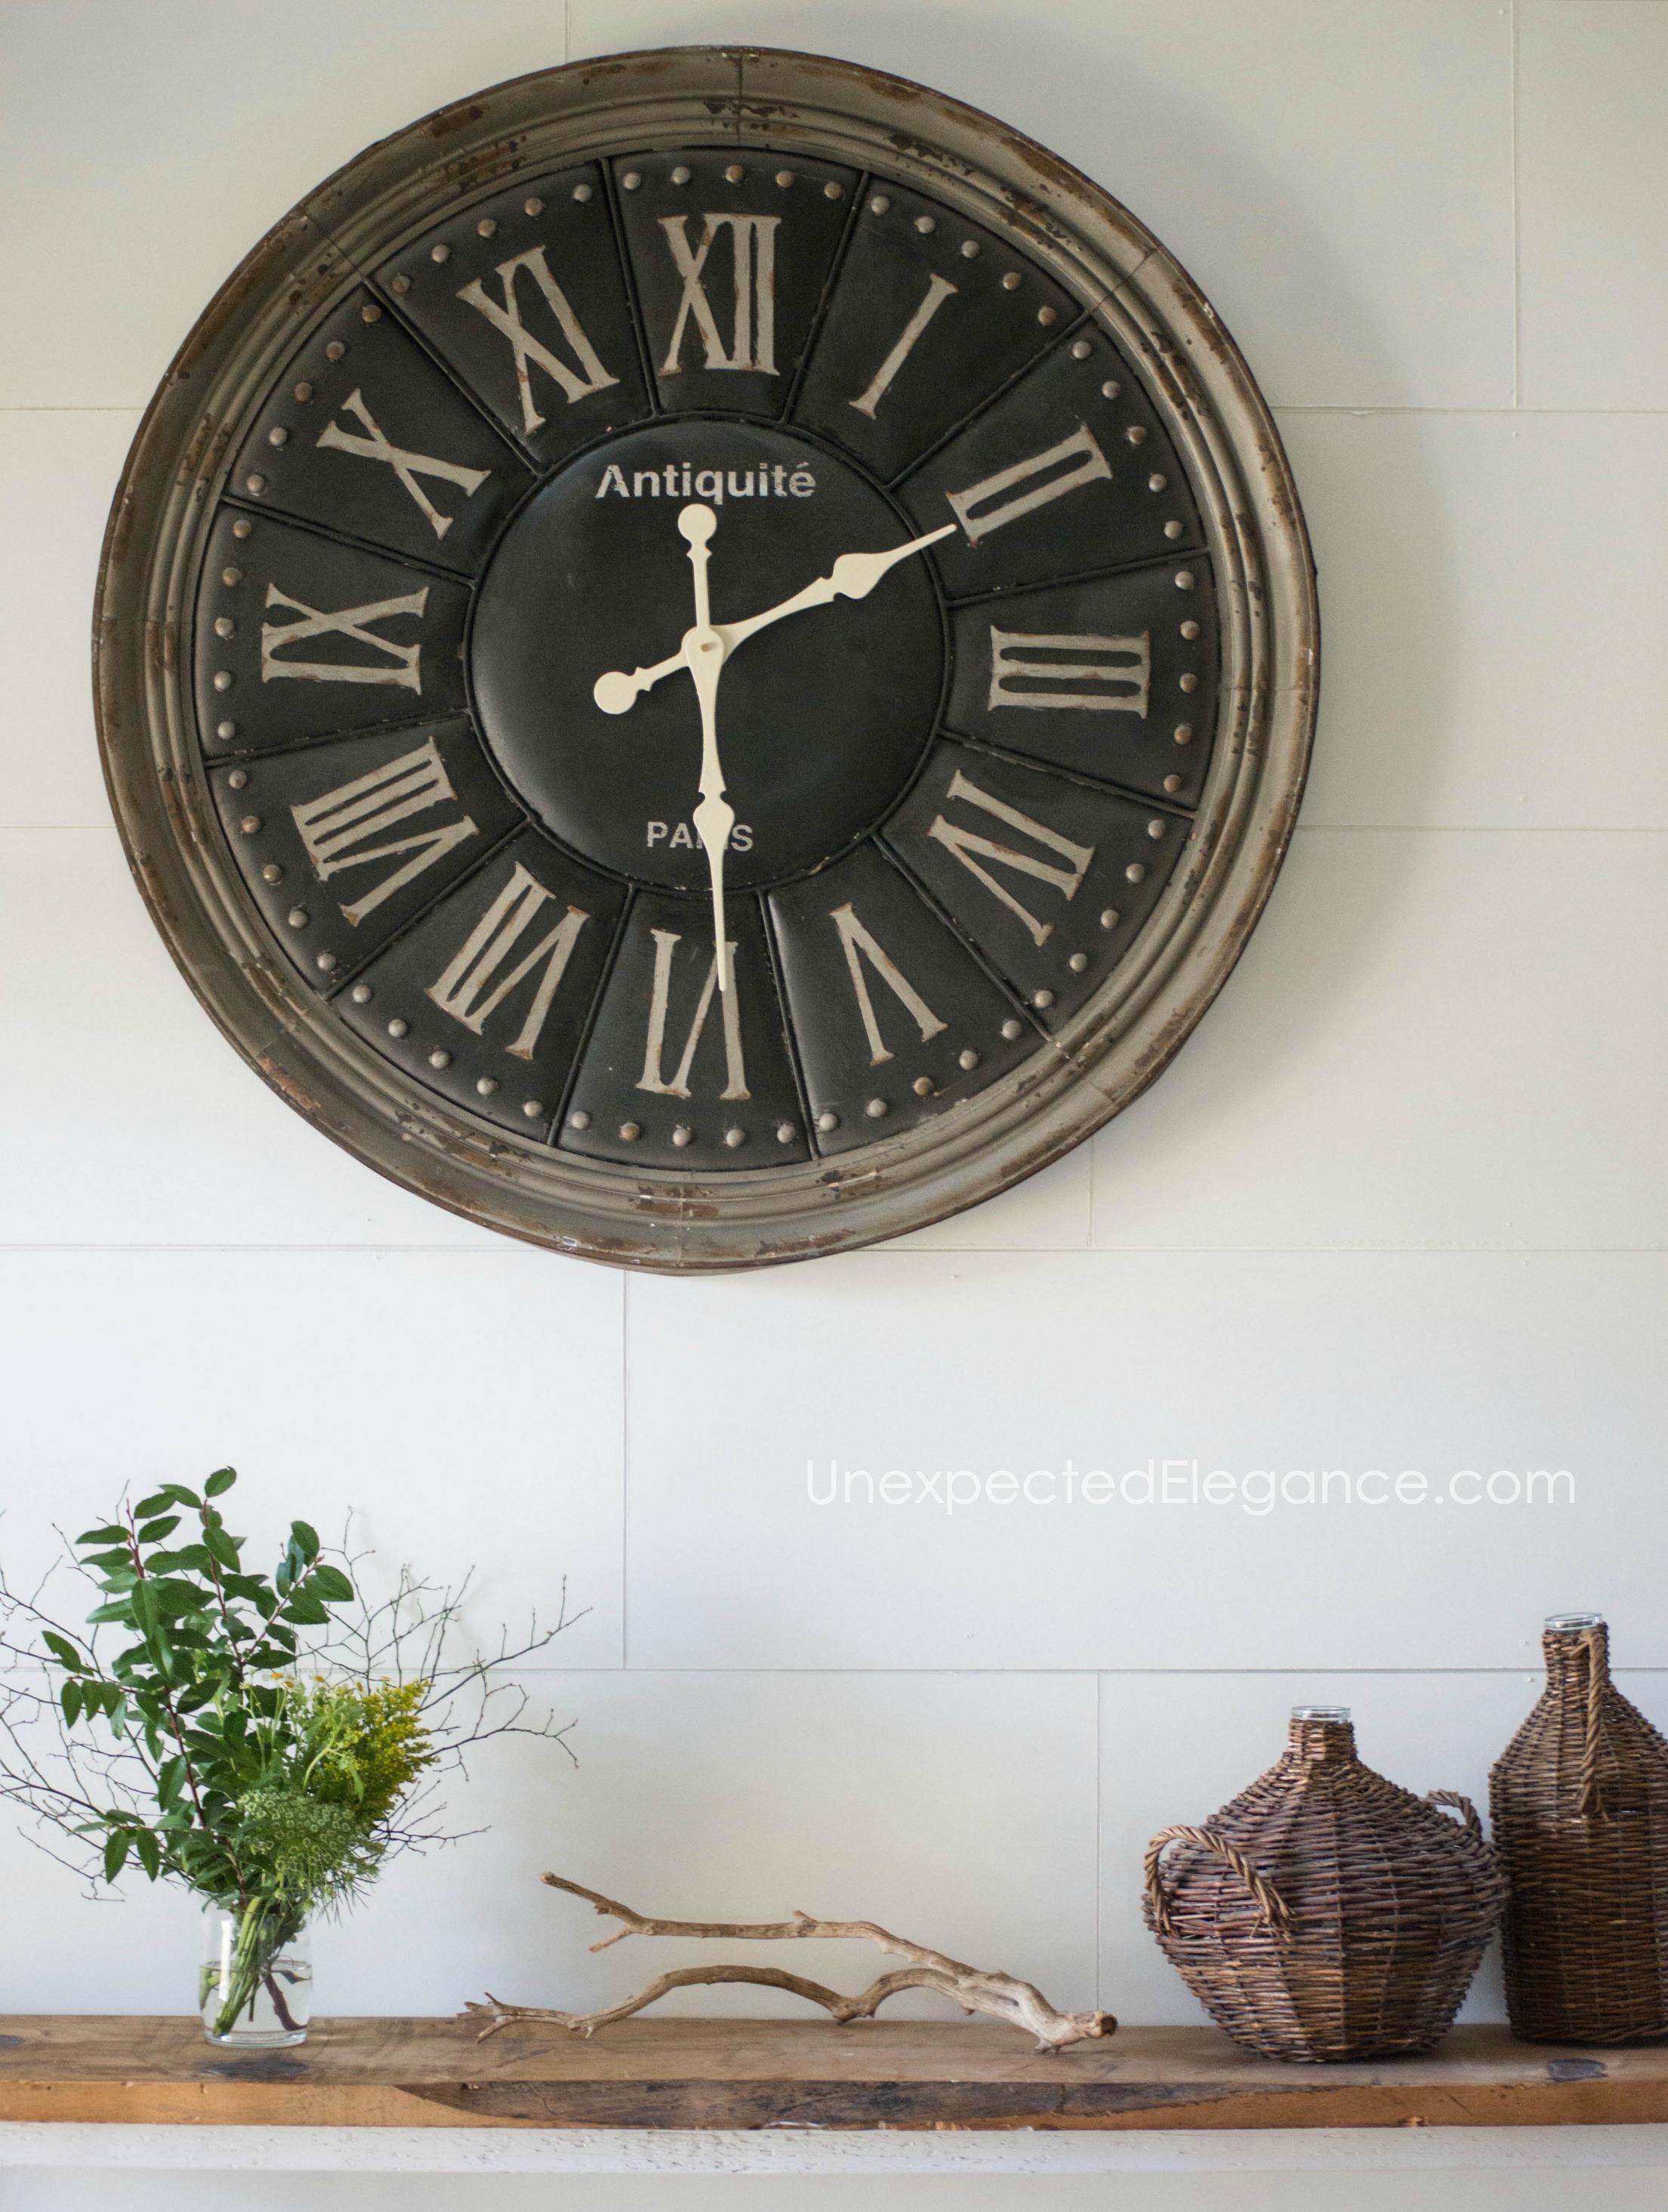
Two years ago…before Fixer Upper and the shiplap craze, I added a faux shiplap to our entry way and we STILL love it. Lately, I’ve had a lot of friends asking about my method, so I thought it might be time to repost my tutorial. The materials for this project were very inexpensive and besides the time commitment, easily installed.
Here’s the original post from February 2014:
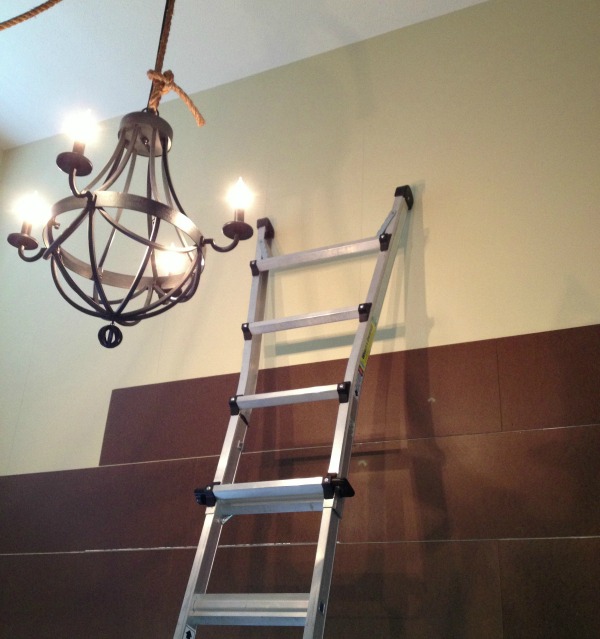
I started this project back in September 2013. (Don’t judge…I’ve had some obstacles! 😉 ) Our entry wall is super tall, over 16 feet, and I wanted to add some interest. The wall was a blah (uneventful color) and the dresser piece I had blended in, so I came up with this great idea to add a planked board wall that would be inexpensive. What I didn’t take into account was my fear of climbing very tall ladders!
The supplies I used for this project were: 1/8 thick masonite sheets, tape measure, level, stud finder, nail gun, circular saw
I had the guys at the hardware store cut each sheet into strips for me. I wanted to have as little waste as possible, so I figured out how big each one needed to be to use the full sheet of masonite. This will all depend on your preference, but I made my planks 12 inches wide. I believe normal shiplap is about 8 inches wide. We had such a big area to cover that I wanted the boards a little larger.
First, we found the studs and marked them on the wall. Then we cut the strips of masonite into random lengths with a circular saw (but long enough to reach a stud) and attached them with a nail gun. Be sure to leave a small space between each board…I used a scrap piece of masonite board as a spacer between each board.
I got a new toy specifically for this project and I LOVE IT!! It’s the Ryobi Cordless Brad Nailer and I highly suggest getting it if you are doing this wall treatment.
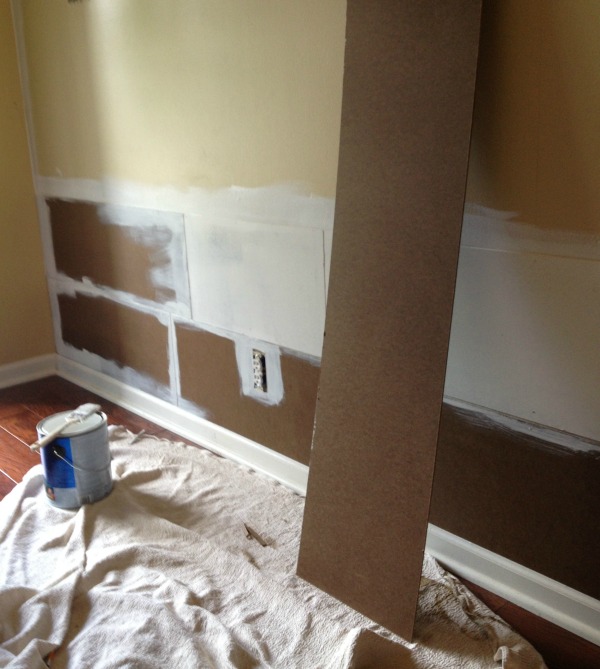
This was an easy but slow process.. AND when we got to the top of the ladder this project had to go on hold until I could borrow and taller one.
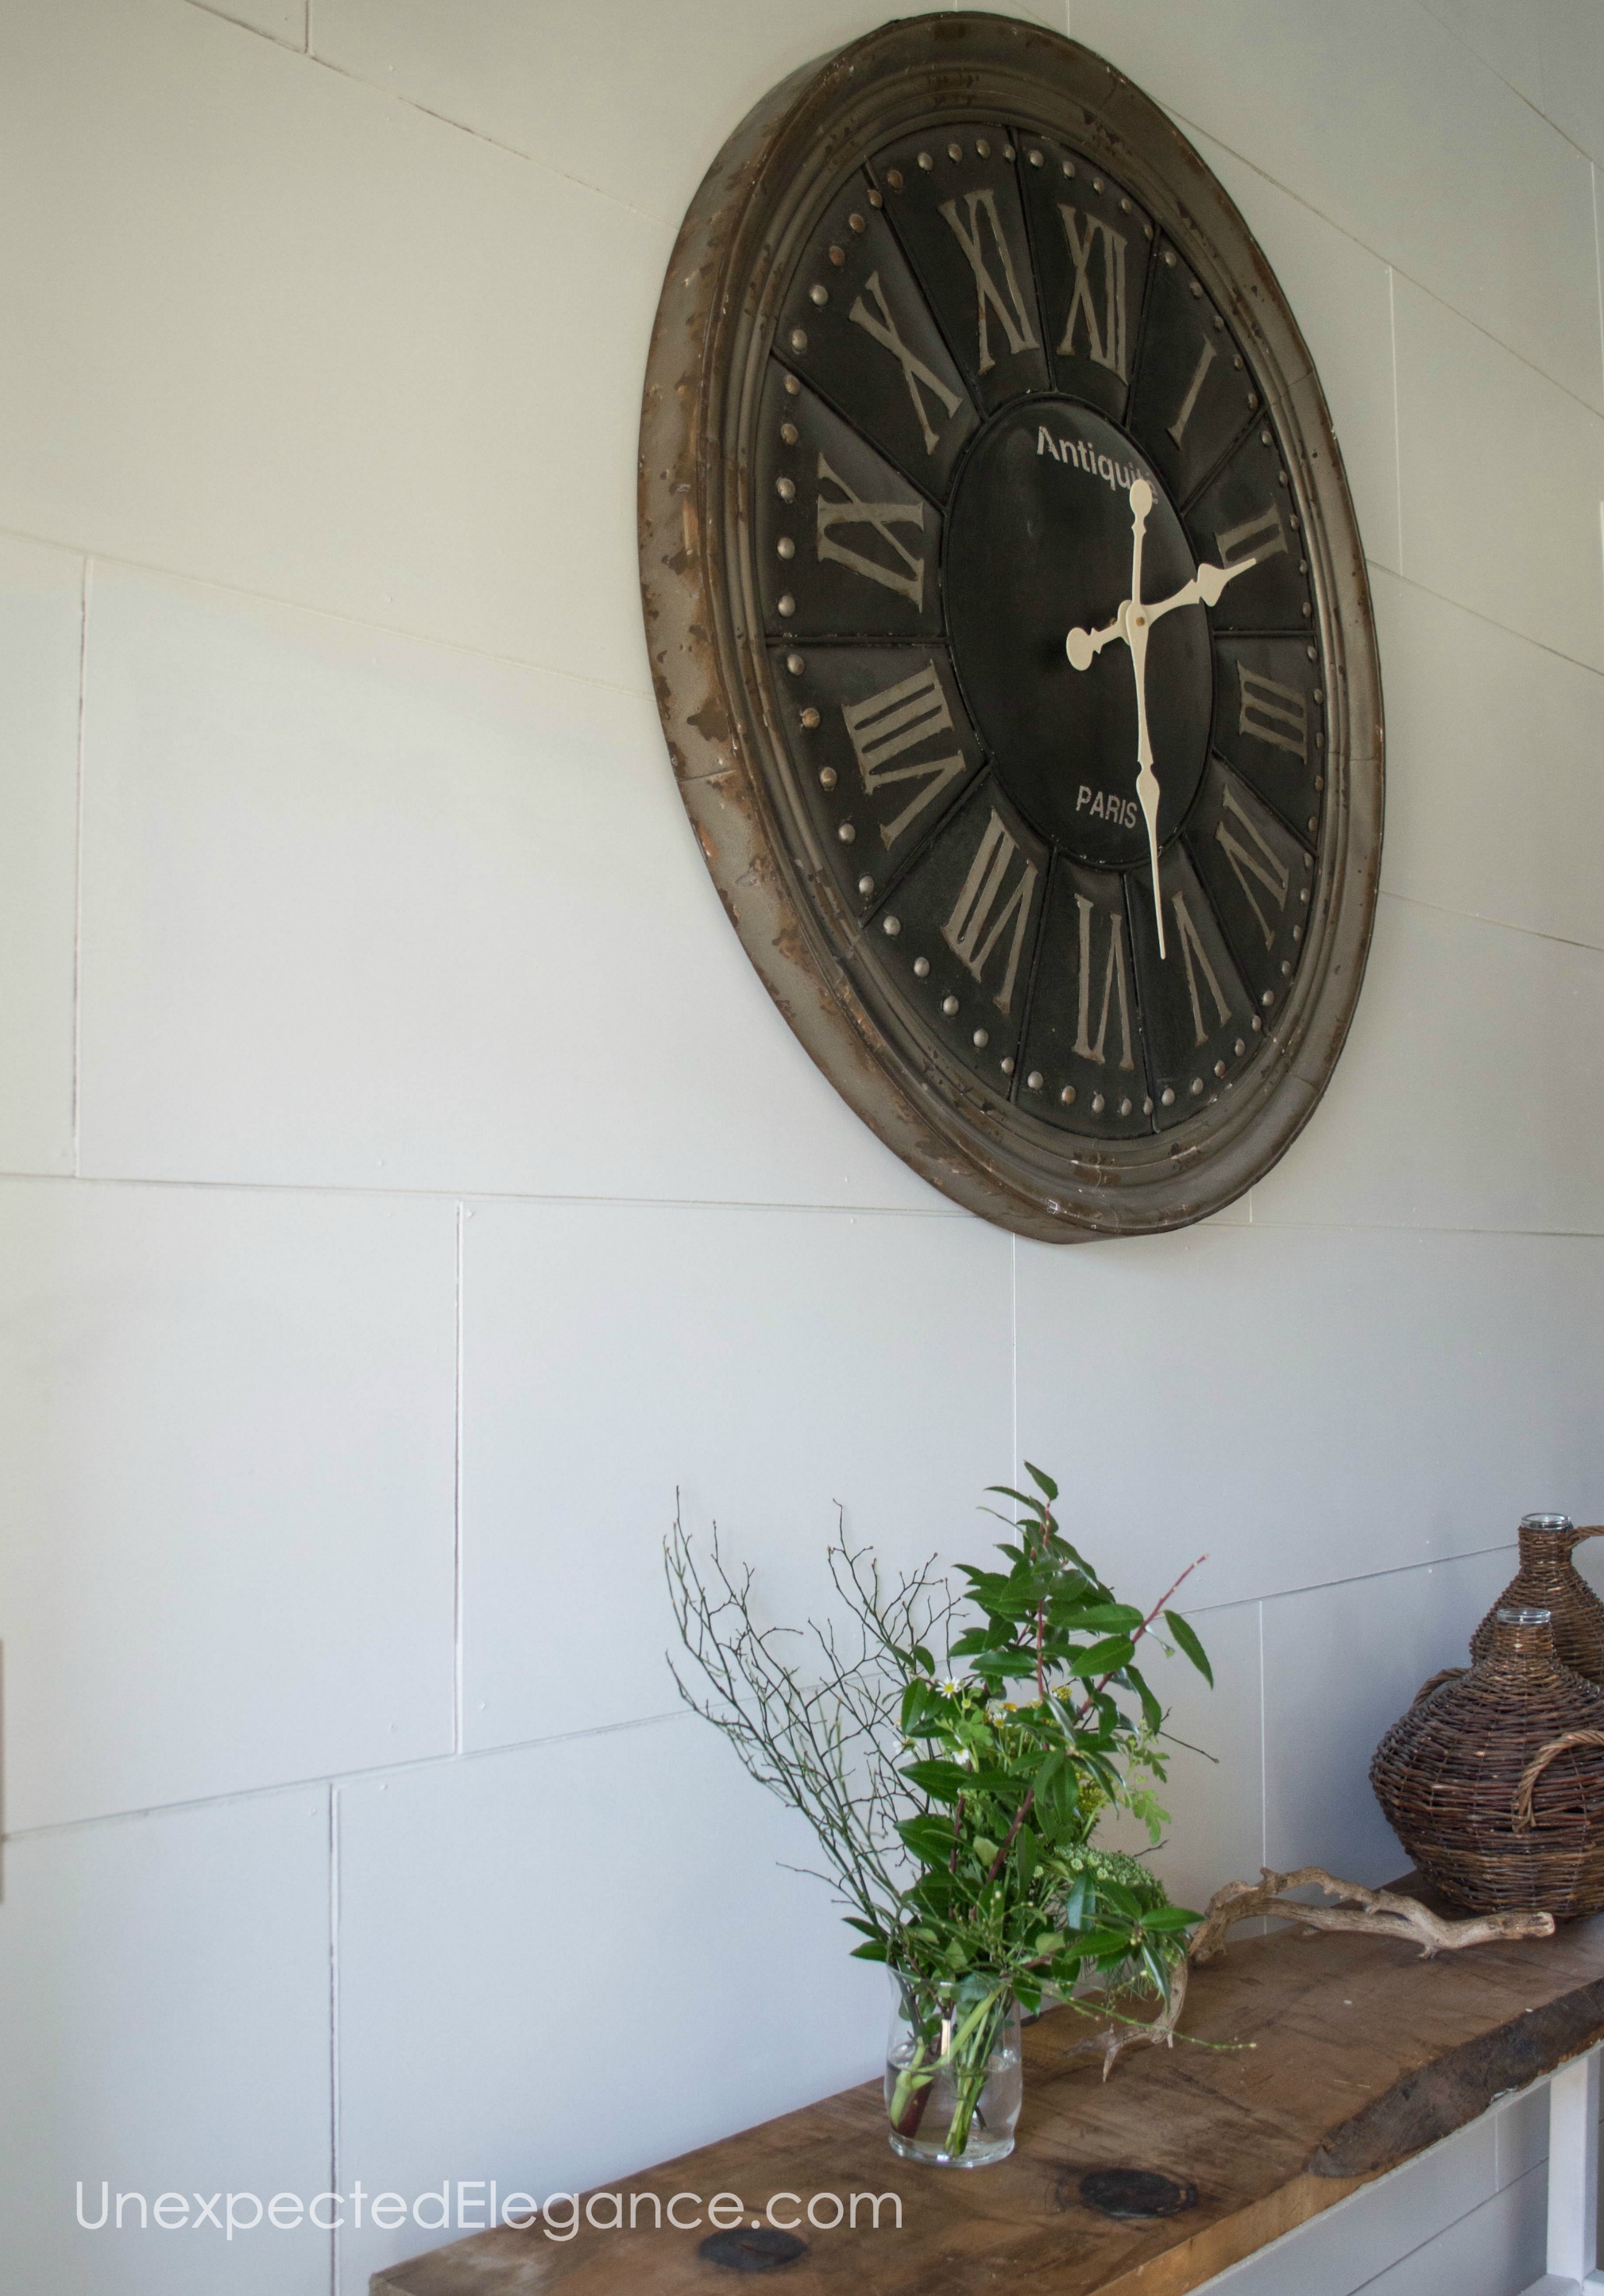
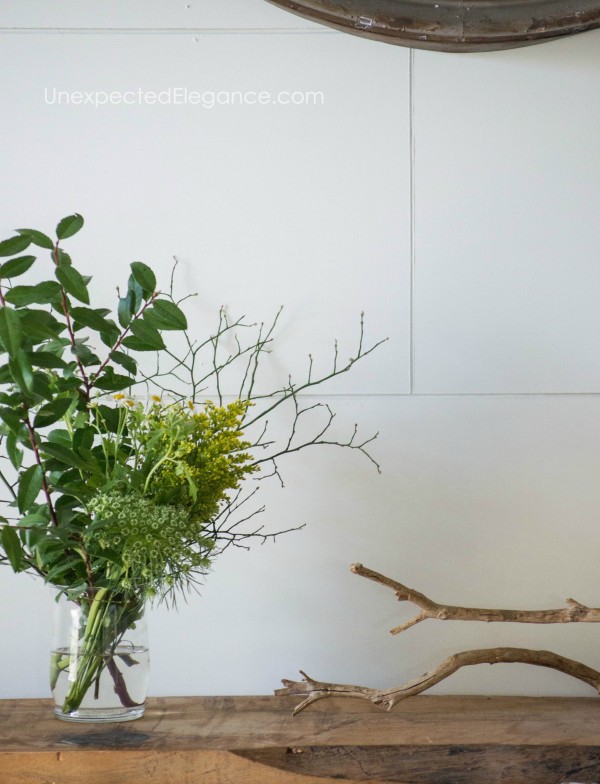
The change has made a HUGE difference in brightening up the entry and drawing your eye up.
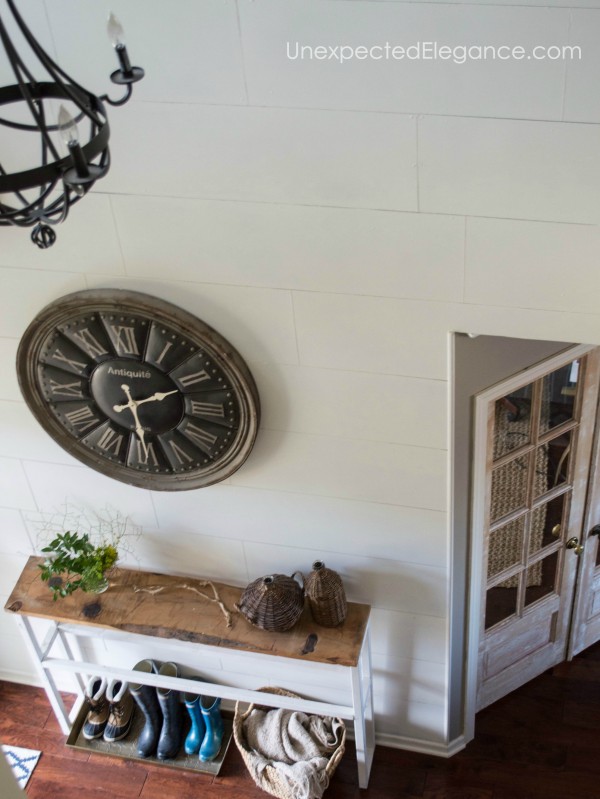
I decided to leave the nail holes visible. I like it a little more rustic AND there were a million holes way too high up to fill! 😉
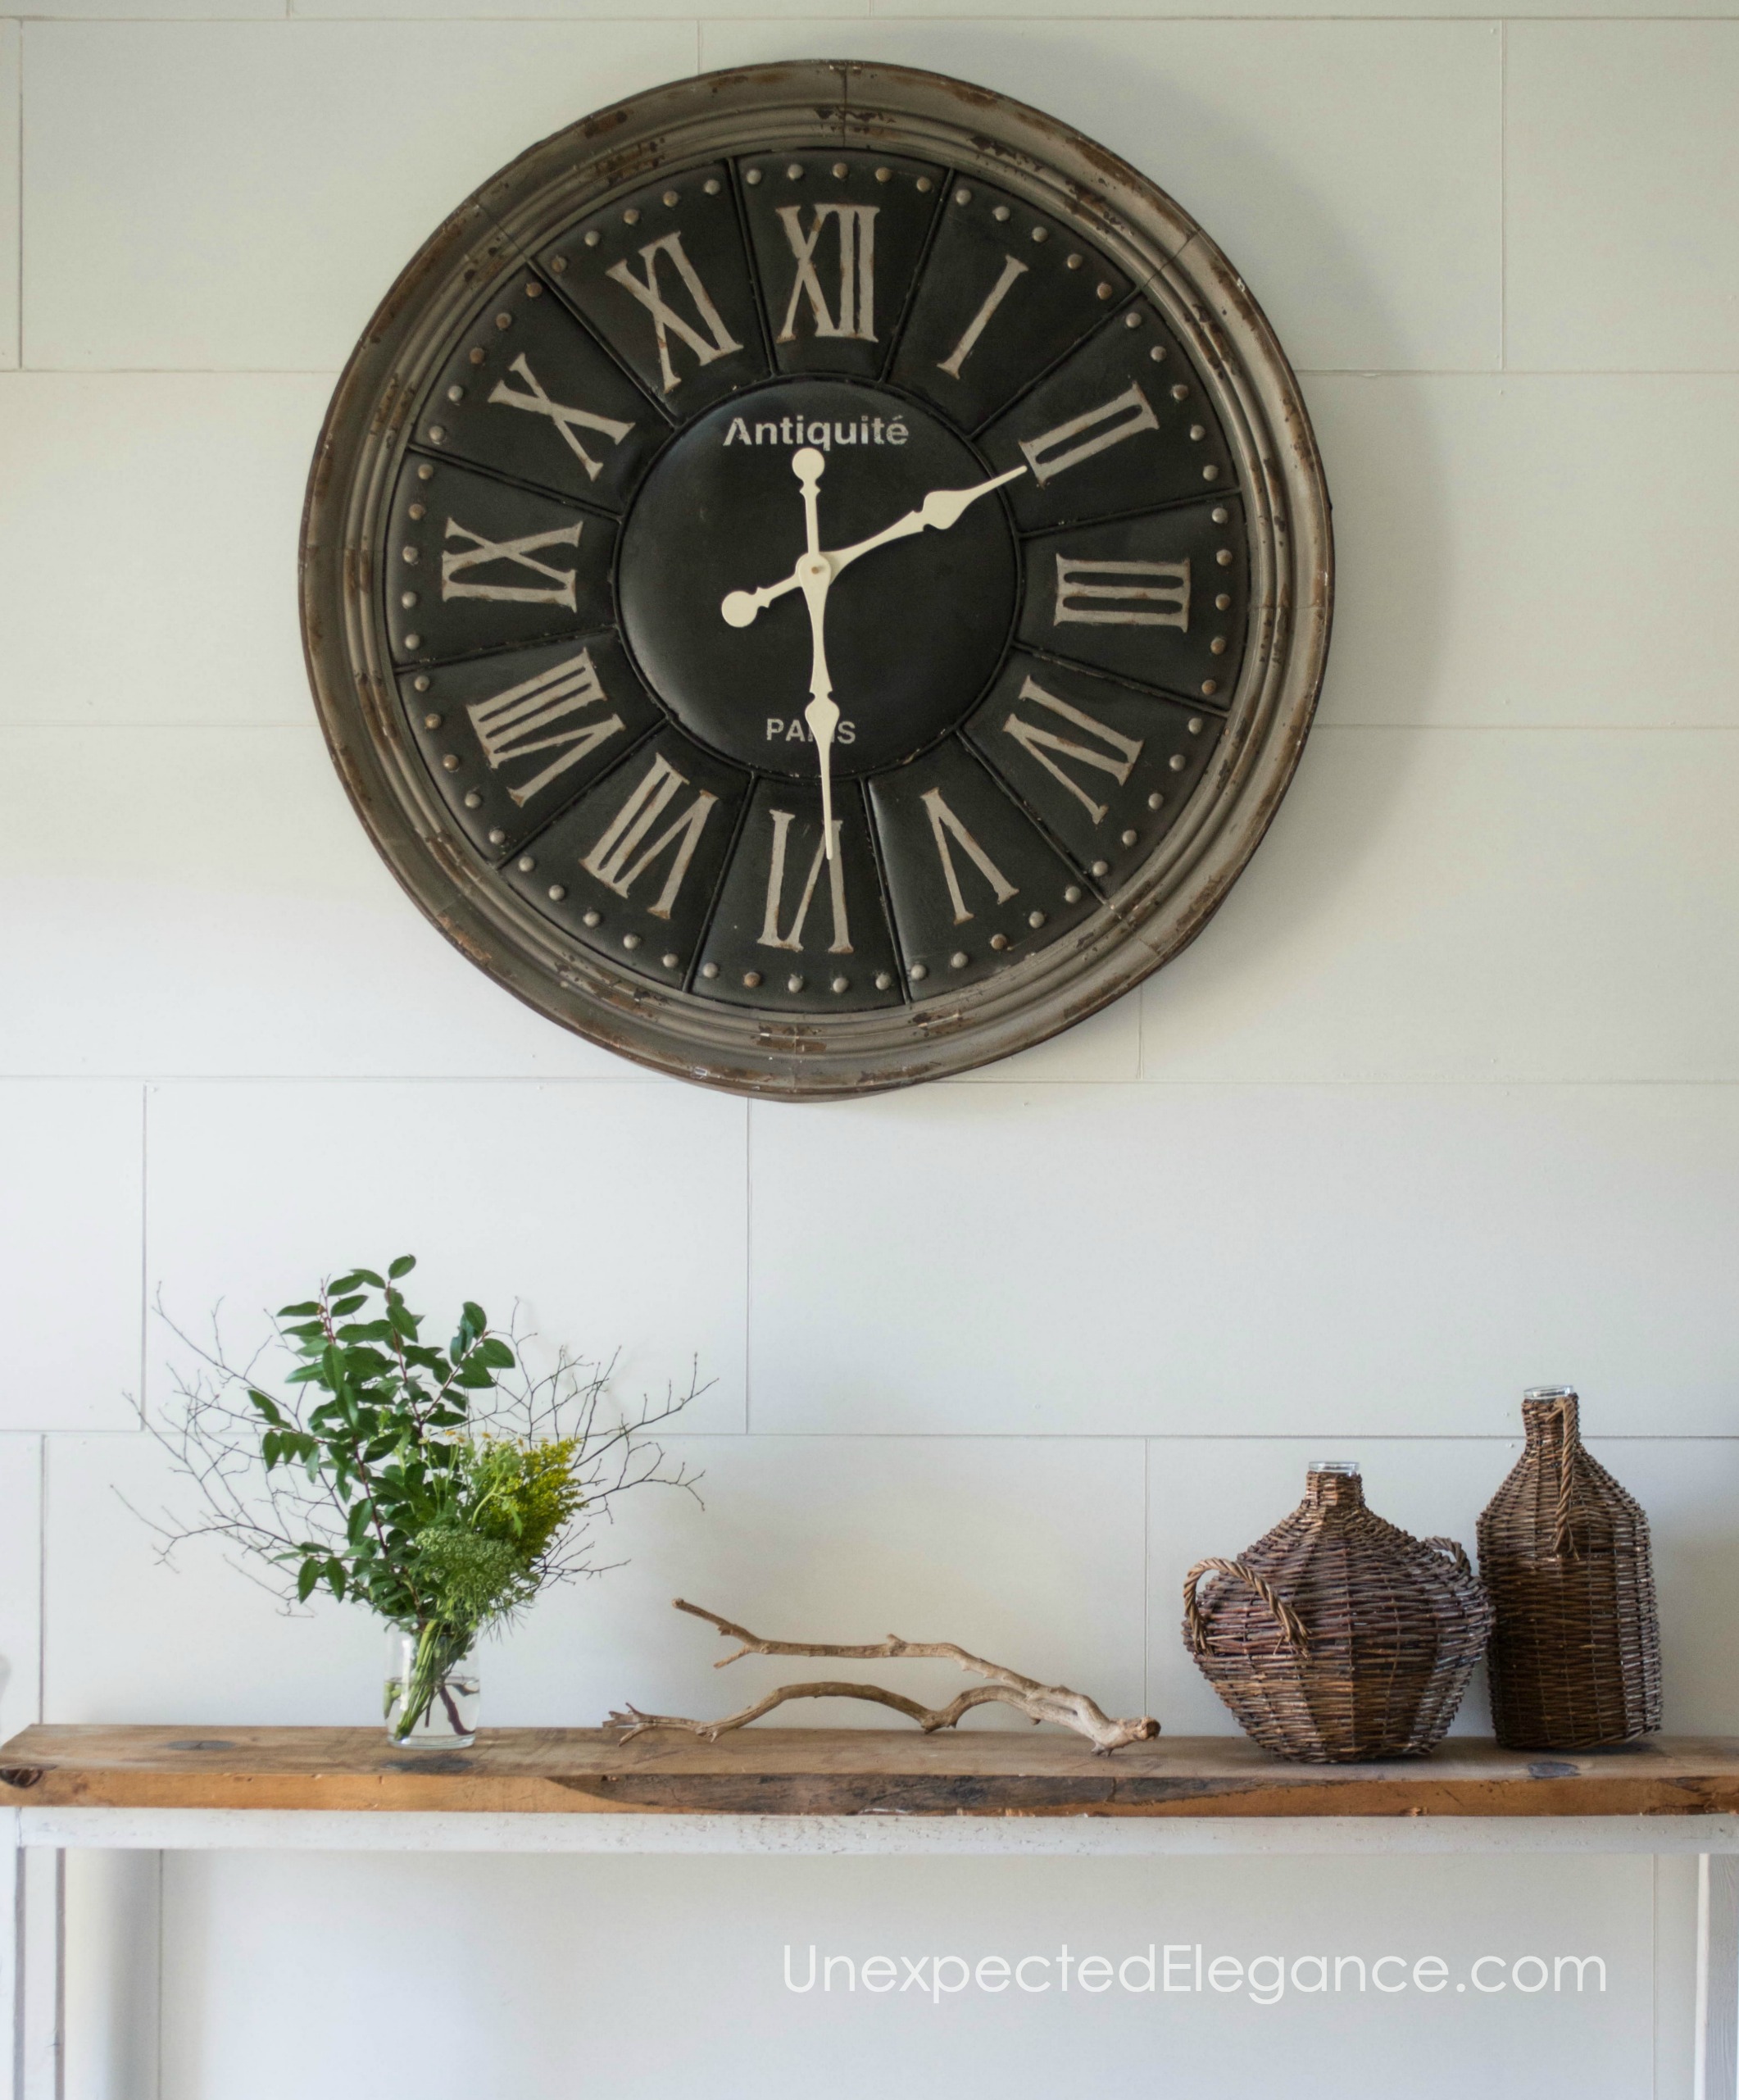
This wall treatment has held up great and I still get compliments on it. I wouldn’t use masonite in an area that will have moisture, like a bathroom, because it might start to warp. If you want an inexpensive option for a bathroom space, I would suggest using a pine tongue and grove. You can see how I used it in our bathroom HERE.

Hi Angela! Glad to have found your blog from Feature Friday. Your project is so inventive and what a great feature! You got me thinking this might be fun for my dining room under the chair rail for some unexpected interest. I do like the pop of color you added. Draws the eye up to notice that wonderful mirror! May I ask your source for the chandy? and the soooo cute lamp? New follower–and look forward to getting to know you. Kris
Kris, thanks so much for stopping by! My chandy came from Pottery Barn a few years ago, but the lamp is a recent purchase from Target.
This looks amazing! I’ve been looking for a way to get this look in my house but it’s a young house with all new materials so definitely no shiplap under the drywall. I’m definitely going to give this some thought for my living room/dining room remodel. Thanks for sharing 🙂
Sonia, thanks!! 🙂
assignment writing services are increasingly becoming the preferred choice for international students. Their benefits extend beyond resolving language and academic challenges, encompassing a holistic enhancement of academic pursuits. However, it is essential to emphasize that assignment writing services http://www.pnstudy.com/ should be viewed as a means of academic support, and students must maintain academic integrity while utilizing these services, actively engaging in the learning process.