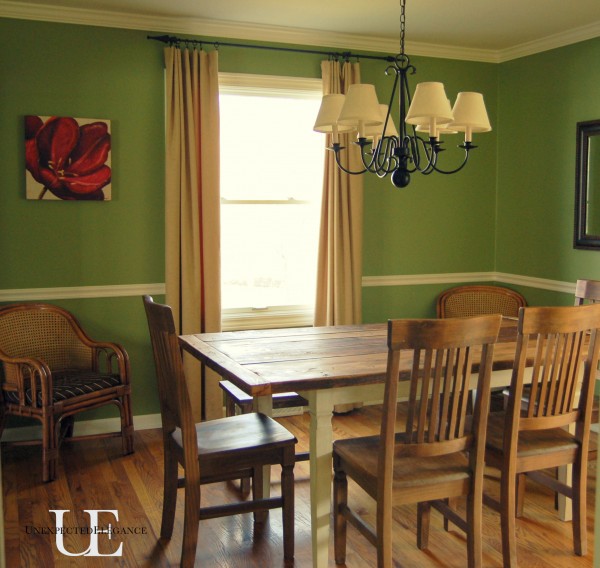
 Well, I’m finally getting around to doing a tutorial for the barn wood table!
This project was fairly simple, but somewhat time consuming. I only had to construct the top, and we used the original table base and a few simple tools.
Tools and Supplies used:
circular saw
speed square
sander
clamps
drill
2″ screws
old wood (amount will depend on size of top)
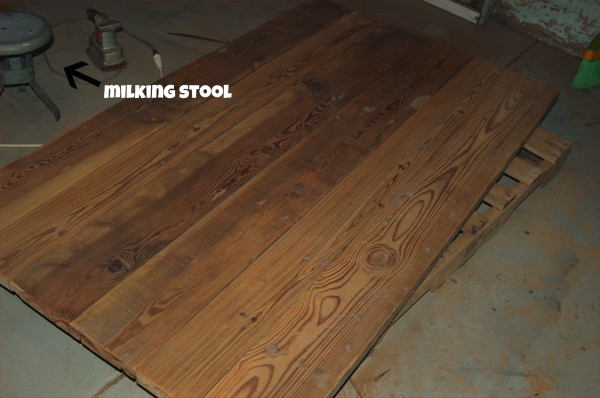
Here’s what I started with. (Well, after a lot of cleaning and sanding! I also cut the boards to a shorter length.)
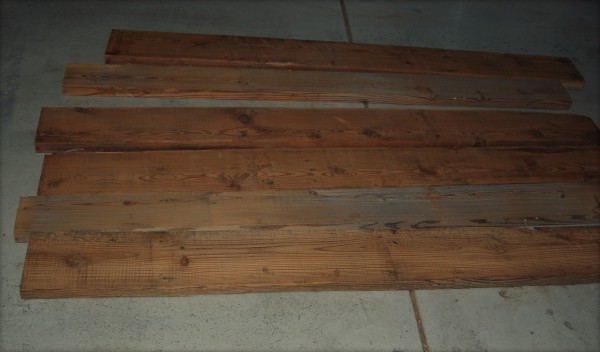
1. Line up the wood. The ends will not be straight but you will cut them off at the end.
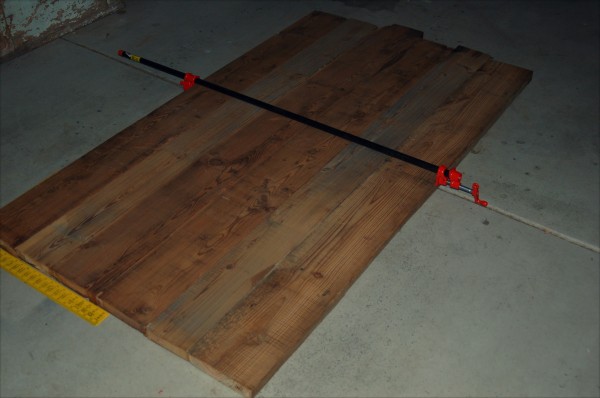
2. I marked each board where I needed to drill the holes and also put arrows for which direction to drill. This helped when I was working with the wood out of order. I also loaded that sucker up with screws…I wanted it to be able to support a lot of weight! (You know for those crazy parties that involve table dancing! Just say’in, IN CASE.)
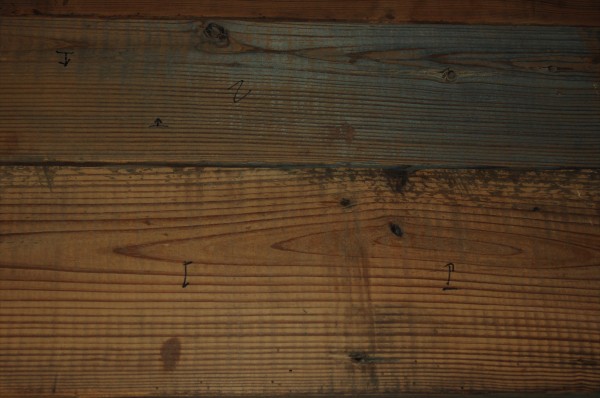 3. I used the jig to drill the holes into the underside of the wood. This tool is great for screwing wood together! To see my tutorial you can check it out here.
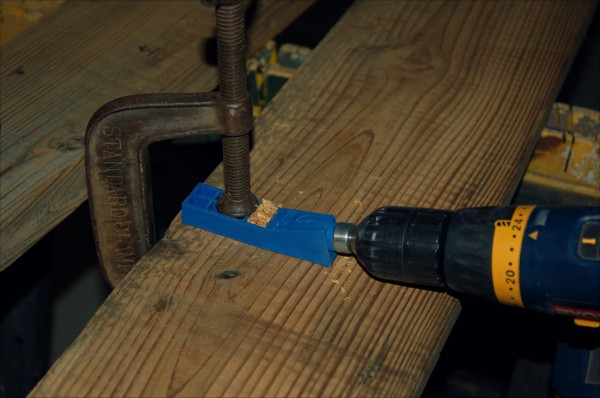 Here’s what the holes look like.
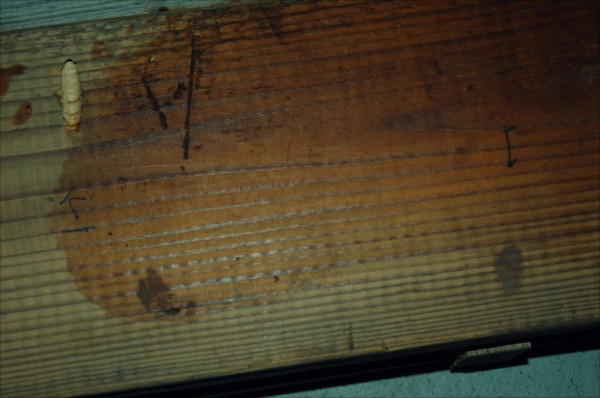
4. Once you get all the holes drilled, lay the wood back in the original order and screw the pieces together. I was doing this by myself, so I used a pipe clamp to keep it the pieces from moving. I also used a support board for some extra strength.
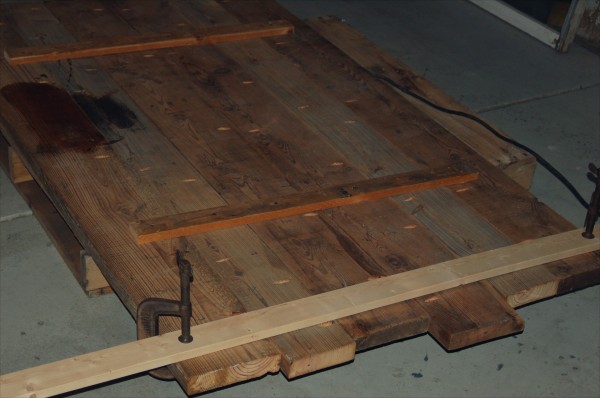 5. Cut off the excess on the ends. I used a straight board and clamps as a guide. A speed square will help you get the ends straight.
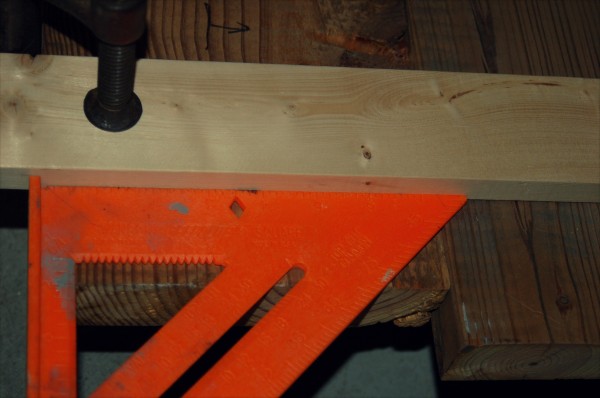 Once you have a guide, you can use a circular saw to make a straight cut and even out the edge.
You will need to have the wood elevated to make the cut. Since, I didn’t have anyone to help raise the top to a set of saw horses, I used a pallet. I just happened to have one next to where I was working!
I also found it very helpful to have a milking stool, for when I was working so close to the ground. I’m sure you all have one of the these, so just make sure you keep it close! 😉
 If you’d like to get a little more fancy, you can add a small piece on the ends. I used a scrap piece, cut it in half, used the jig and then attached each piece. I also sanded the heck out of it and applied a food safe butcher block sealer. (Tip: to get all the saw dust out of the cracks, I used an air compressor. If you don’t have an air compressor, you could used the canned air for computers.) I used 50 grit sandpaper on my sander and rounded out all the hard edges.
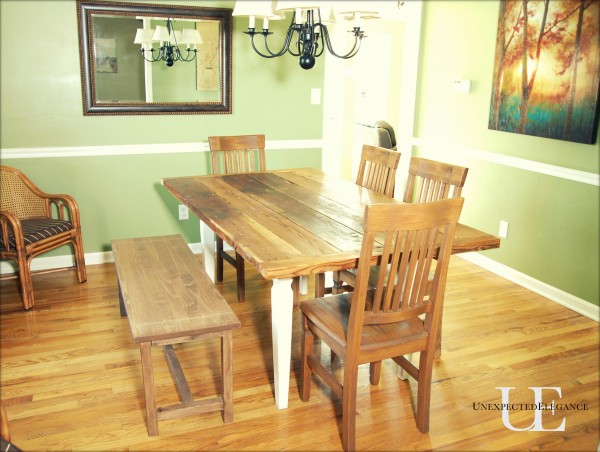
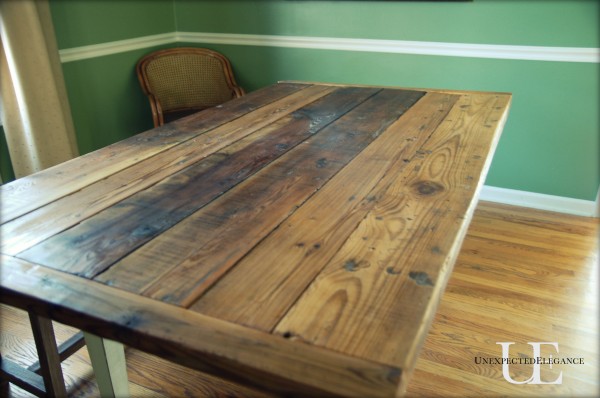 When I delivered the top, I just removed the old one and attached the new one. I painted the base in an off white, lightly sanded and used a tinted glaze.
I love the finished product! (I was actually a little sad to see this go!)
~Angela

This is beautiful. Can you tell me what you used to clean your repurposed wood? Thank you, Lisa
Fantastic. Looks like the table I’m looking for. Was thinking of getting something and restoring it, but if I don’t find what I want, I’ll have to try and follow your instructions. Where do you get wood.like that? Wish you made a video.
I got those pieces of wood from an old barn someone was tearing down, but I have found old wood on Craigslist or even Facebook marketplace will have local people selling it. 🙂