This is a simple an inexpensive Kindle cover tutorial (also great for IPads or Nooks) that costs around $5 to make. Have a one-of-kind cover for a fraction of the cost!
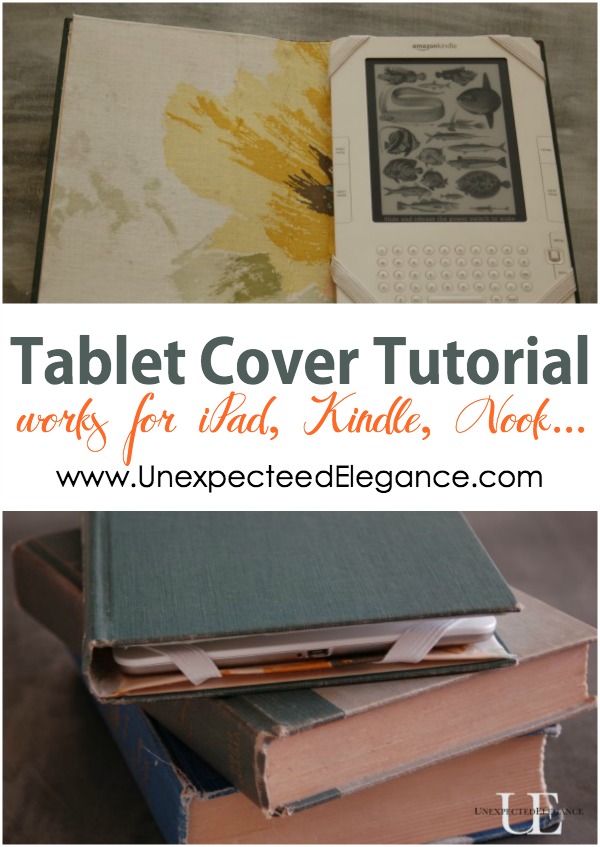
If you read my post last week about Pinterest, then you know that I challenged myself to try 5 different “pins” this week. My first project is a Kindle, Nook or iPad cover tutorial made out of an old book.
This is the inspiration pin HERE.
There wasn’t a tutorial for it, so I played this one by ear. All in all, this was a simple project.
Here’s what you need:
- old book (approx. size of Kindle/IPad)
- cereal box
- hot glue gun
- fabric
- scissors
- elastic
DIRECTIONS:
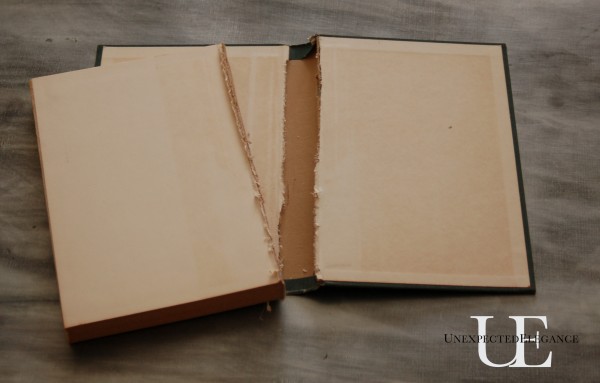
1. Cut out the center of the book. I just used the blade of the scissors and cut along the spine.
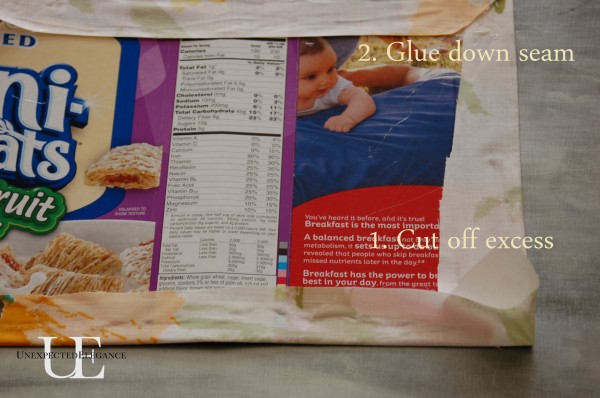
2. Open up the cereal box (thin cardboard) and trace along the outside of the book. Cut inside the lines, so that it is slightly smaller than the book.
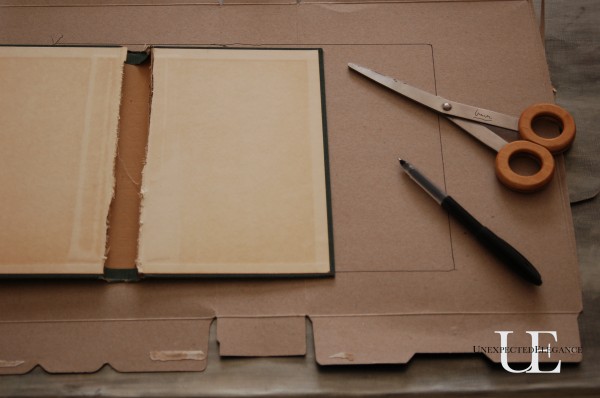
3. Use the cardboard cutout as a template and add about a 1/2″ around the edge.
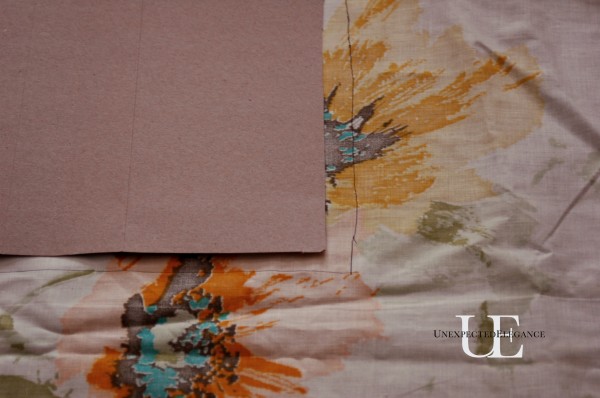 4. Glue down the fabric onto the cardboard (I used spray adhesive on the front to make sure it was smooth, but hot glue would work). Then cut the excess on the corners at an angle and glue them down.
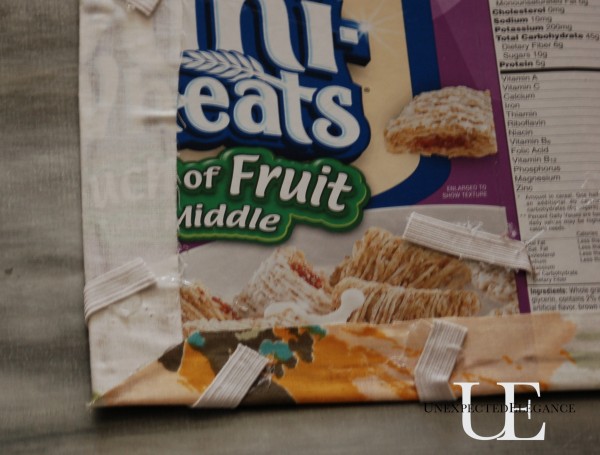
4. To attach the elastic, I just used hot glue around the edges and cut slits in the side to pull the elastic through. I used the Kindle as a guide for where I wanted the elastic to go and just “eyeballed it.”
 5. Lastly, I just hot glued the finished cardboard to the book.
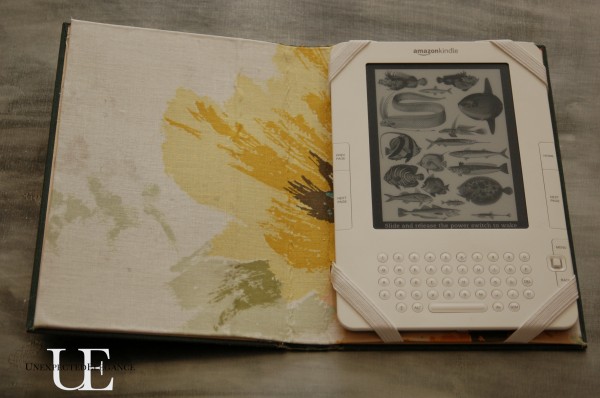
I think it came out pretty good for my first attempt with no instructions.


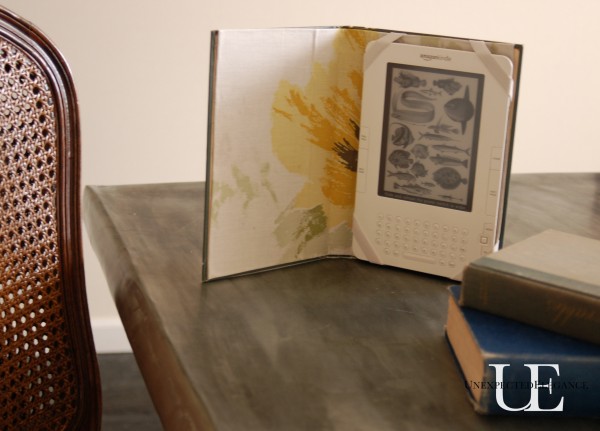
RESULTS
Difficulty: Fairly easy (beginner)
Time it took: 45 min.
Cost: $0 (had everything on hand)
Finished Product: Useable and cute!
Savings: $20-$50
For more simple craft projects, check out my CRAFT section here.

I have been wanting to attemp this project since I got my kindle for Christmas. I was going to “wing it” so thanks for the tutorial!
I was looking at buying a cover, but I like this idea. Thanks for posting.
This is awesome!!! Thanks for the idea, I just made one for my boys 🙂
Great!! I always love to know that people are actually using tutorials!! Thanks! 🙂
Great!! I always love to know that people are actually using tutorials!! Thanks! 🙂
I Love Love – heart – this idea. It gives the opportunity to be more unique which is right up my alley and I was just about to look into purchasing a cover for my Kindle. Enough said!
I love to know when people are actually using things from my blog!!! Thanks for stopping by and I hope it comes out great!!
I have been looking for a cover that would have pockets for notes and have no luck. Thanks. To u I can make my own with as many pockets I want. Thank u. Nice job.
What a really clever idea! I’ve been looking around for a pattern to make a cover out of fabric, but the idea of using an old book cover is brilliant – LOVE IT! Now I just have to find an old book that I’d be happy to tear apart, lol.
Judi in the UK
I’ve had this tutorial pinned for a while now, & I finally found a book that I could use for my Kobo Aura, I’ve been decluttering while in “lockdown mode” & I’ve culled a lot of books that I didn’t want, need or love anymore.
Thank you again for a simple tutorial that looks fab & is actually cost free as I have all the materials needed here at home. I’m going to go one step further though & that’s to cover the cover of the book with the same pretty fabric used for the inside as the cover is a bit worn. God bless.
Just an update, I made the cover today & instead of making 4 loops to anchor the Kobo I used Velcro. It was so much easier as I can never get the measurements properly. Thank you once again for a fab tutorial.