Yesterday I recorded my first video tutorial. I’ve been working on a bench for client and I thought I would show you how to add the legs with a Kreg tool. Please ignore the messy garage! I thought about cleaning it for the video, but decided to keep it real!

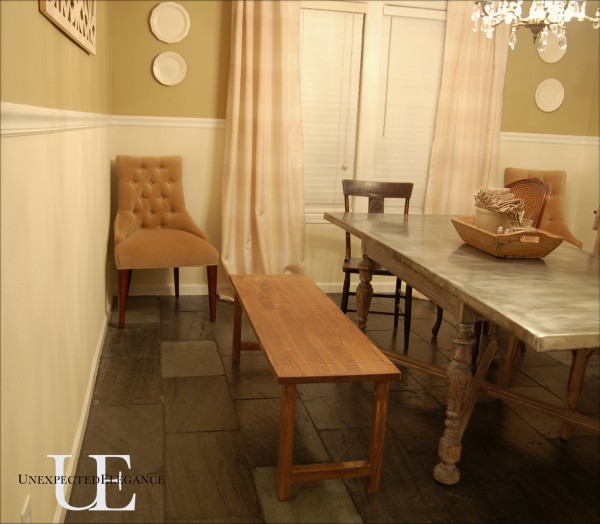
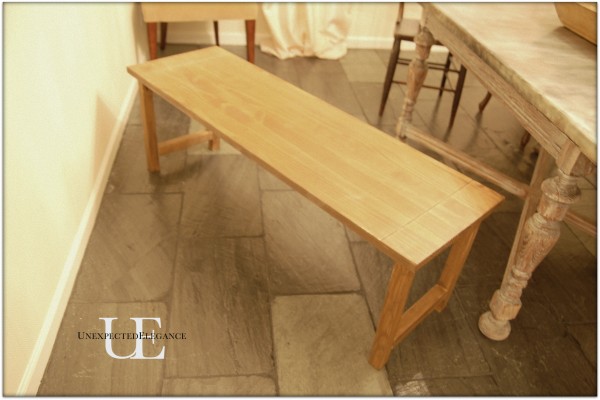
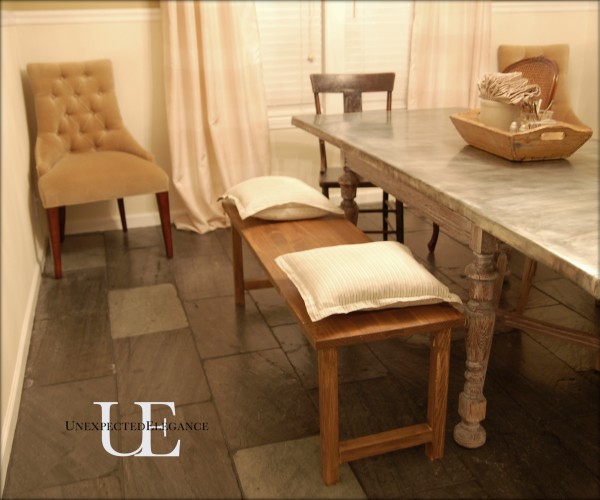
Here’s the final product. The family that will be using this bench has two small kids, so I decided to add a support to make it a little bit sturdier.
 We re-used her old table top and bought the pre-made legs from the hardware store. The materials cost around $45.

I won’t lie, I have debated against myself for a while now about doing a video! I hate seeing myself on screen, but hopefully it will help some of you. Let me know if you find any inspiration to build something! 😉
~Angela

Great video. I will buying a Kreg tool and pegs! You should be getting referral fees from Kreg!
Carla,
Thanks! I only wish I would get a referral fee, maybe one day! 😉
Awesome video! I’ll have to check out that tool at the Home Depot that just opened in my town… yeah!
Smiles,
Lesli @ BeautifullyCoastal.com
Lesli, THANKS! I think my heart was about to come out of my chest when I hit the “publish” button!!
I’m thrilled to find this. I never knew this tool existed. May be really helpful some day. The video was well done, though I would suggest you don’t try to talk while you drill. I couldn’t hear what you were saying (then again, I’ve got the sound down so I don’t wake my DH). Also, I think you left a little bit of detail out here and there that would be helpful for me, being totally new to this tool. I’m a little confused about how you can avoid drilling through the table top, as this is an issue I’ve faced numerous times. I’m not all familiar with the sleeve you referenced, but it sounds useful. And why didn’t you use it? How did you attach the stretchers? Thanks again for introducing this tool to me. Great blog.
Jusa, sorry for leaving out some things! You use the tool on the piece you are attaching to top, so you only use it on that piece. It will send the screw in a an angle, so I just put the screw in the hole that it made to see how long it sticks out. Ironically you can use a pretty long screw, since it is at a angle. The sleeve that I referenced for the drill bit is for when you are doing a lot of repeated screws. It holds the screw for you. I had to take it off because it was too big around to fit in the pre-drilled whole. Hopefully, that helped! 🙂 I use this tool more than I ever thought and LOVE it!
~Angela