
This is going to be A LOT of information, so if I forget something or you have questions let me know and I will update it.
*******
Alright, first up…the only place I found the zinc was from Rotometals. They have a great product, it comes right to your door and wonderful tutorials to walk you through the process.
They recommend 22 gauge zinc, so that is what I went with. I am helping a friend with her table and she decided on the 24 gauge, so I will let you know how it works when we are finished.
(I also ordered their adhesive, patina and top coat.)
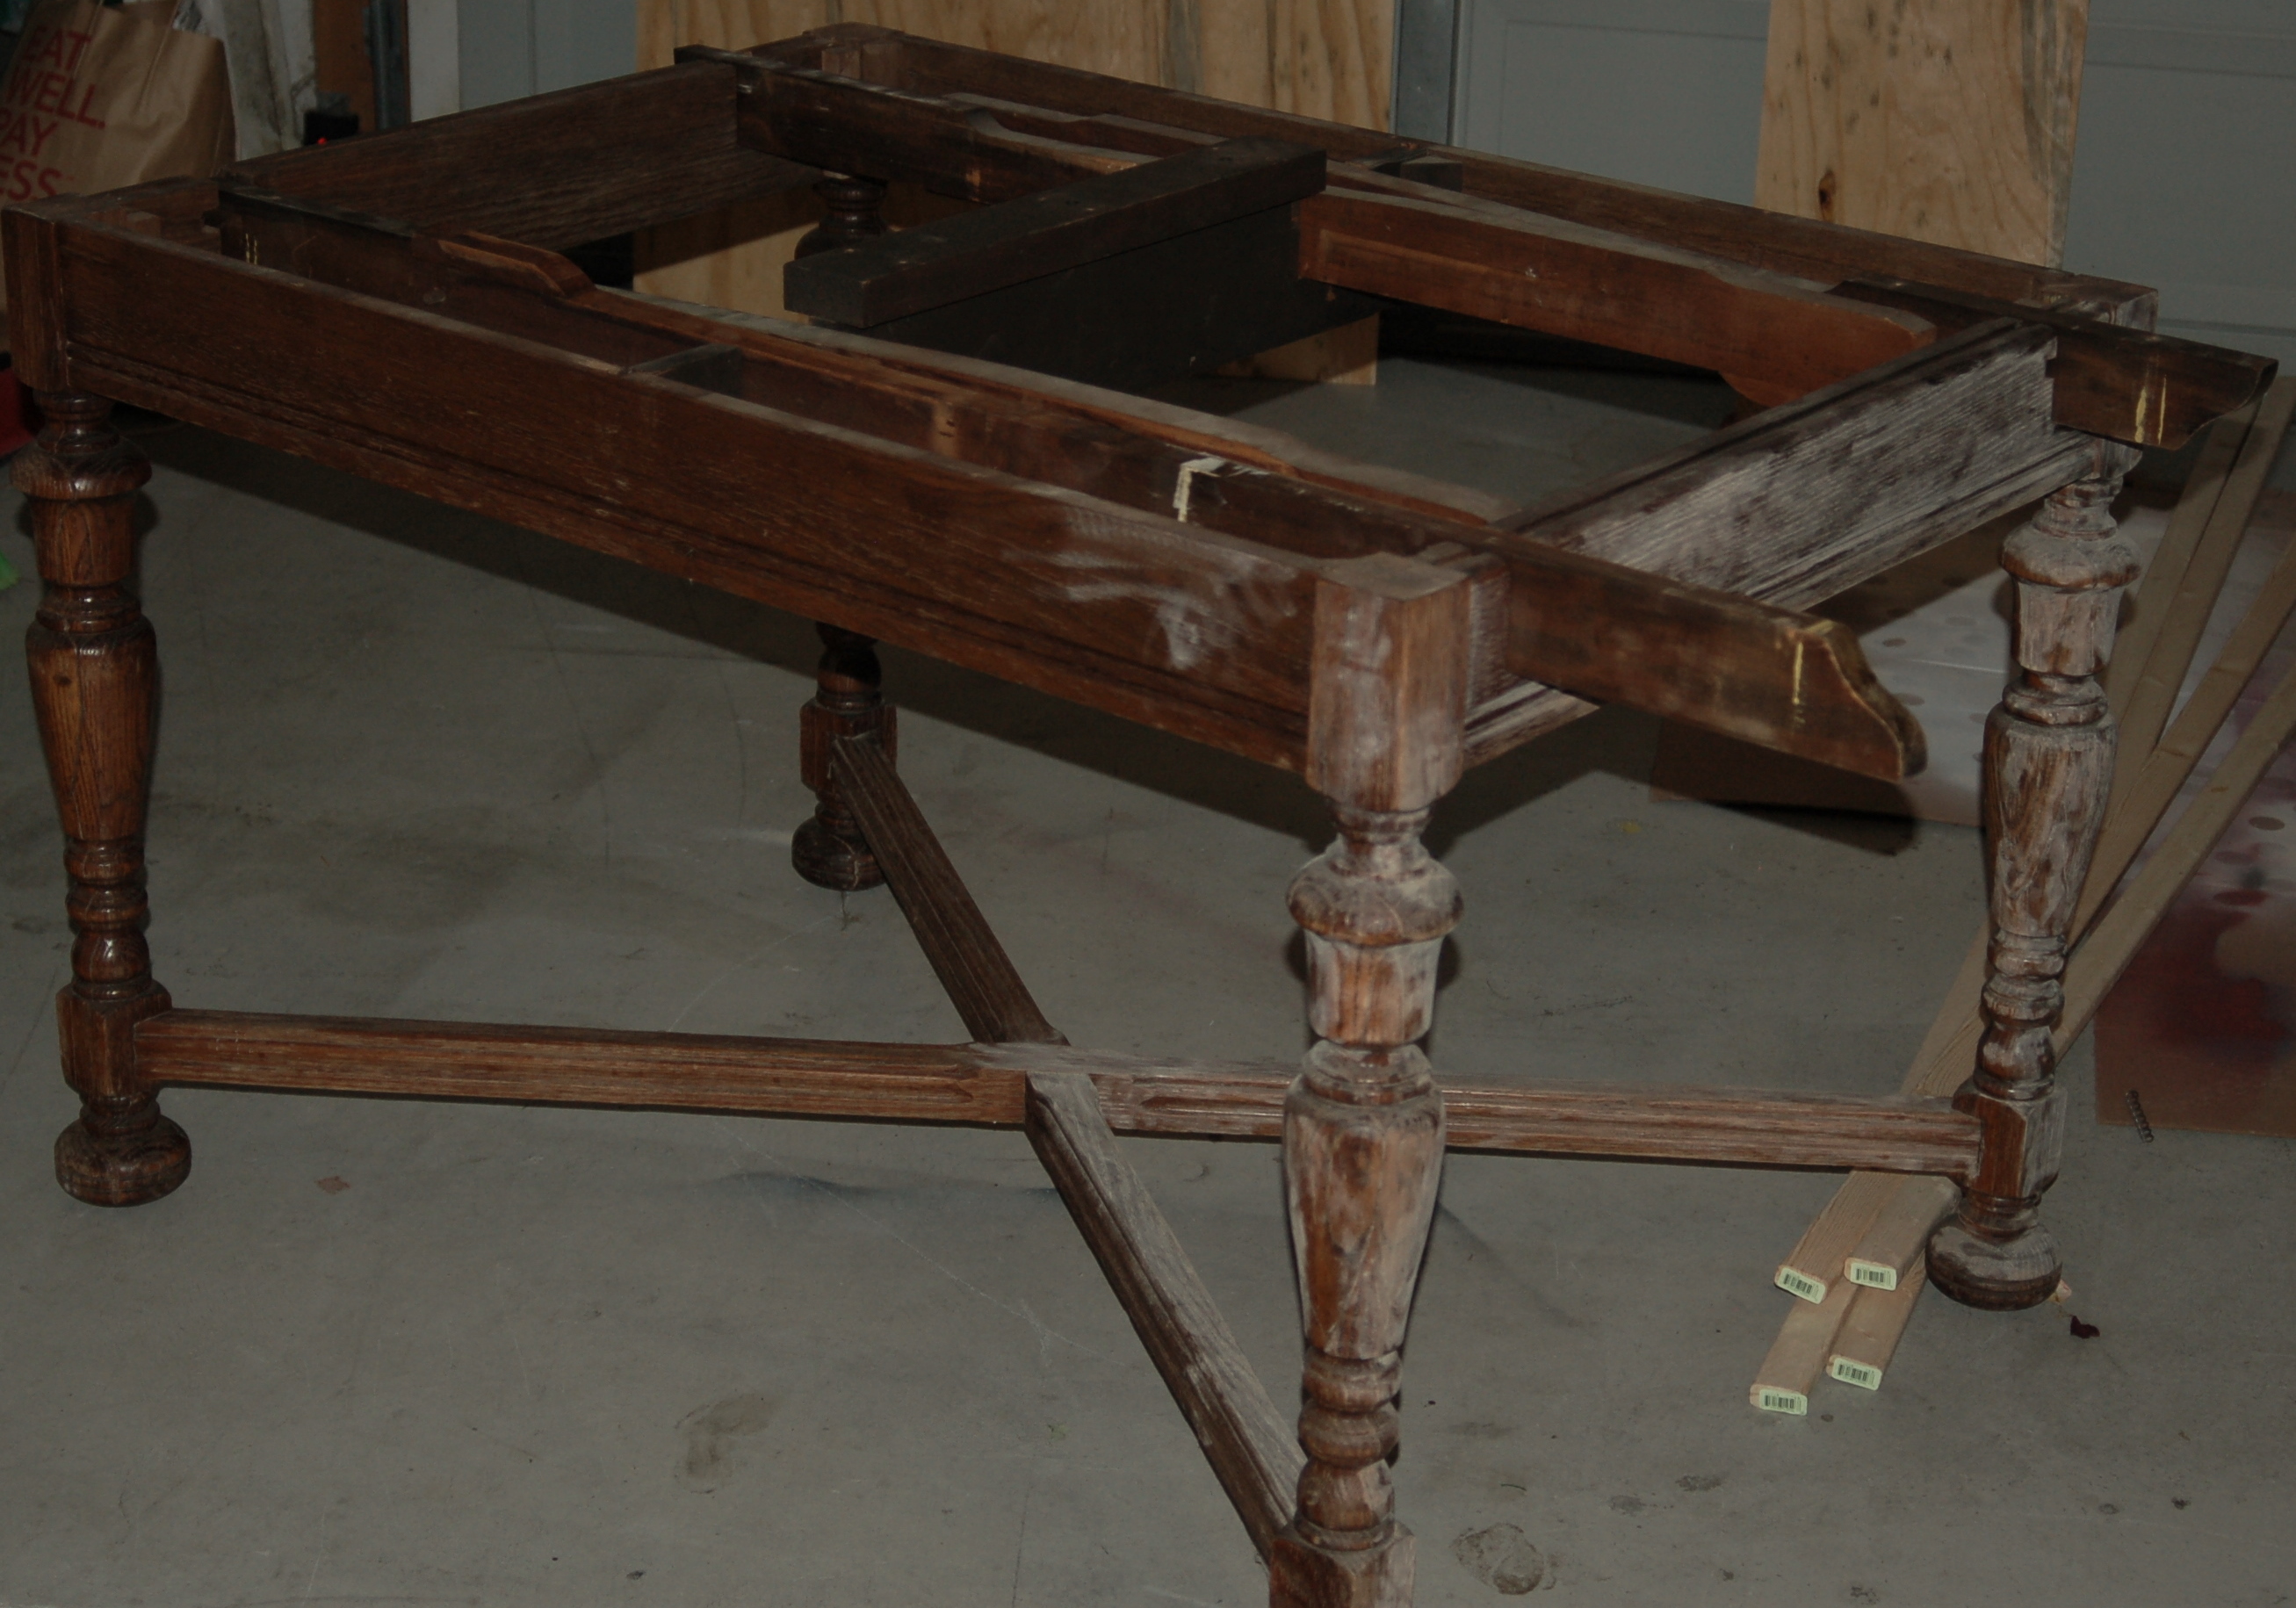
Let me refresh your memory. This is how the table started, a few MONTHS ago! Yes, it has taken me a long time to finish this project.
 The top was not salvageable, so I needed to replace it with a smooth surface.
I started with a cheap piece of plywood and added a “lip” to make it more substantial. This will just be your preference.
A little trick my dad taught me, was to clamp a board to the top so you can get the trim piece flush.

 The zinc comes in a huge cardboard tube. You need to unroll it and place something with a little bit of weight to it, on top. I just put whatever I had lying around.
For the rest of this tutorial…YOU MUST WEAR GLOVES!
(as you know, I have scares to prove it!)

I had a friend come help me with zinc. You will definitely need two people for most of this project.
We added the adhesive and spread it out with a drywall spatula. They recommend a tile trowel, but we had already started putting on the adhesive and I couldn’t find it quickly. This is a “go with the flow” kind-of project. 😉

You will need to get the air bubbles out for this step. We just used a 2×4 and pressed it firmly against the top starting from one end to the other.
Put some heavy weights, or in our case cinder blocks, on top over night.

Now comes a lot of trial and error!
Use tin snips to cut a 45 degree slit in each corner of the table.
 Then hammer each side down with a rubber mallet. This will take some time and if you happen to have a break-press…even better!!!
 We found it easier to flip the top over, to make the last bend. Make sure to cut excess zinc off as you go.
 We used 1/2″ screws to secure the zinc, then added duct tape just for extra precaution. I didn’t want little hands getting cut.
So, up to this point it’s been fairly easy…right!?!
Now comes the tricky part. Solder.
BTW, don’t use map gas!!! (It will melt the zinc.)
Lesson learned.
 If you have never soldered before, that’s OK, I hadn’t either.There is a learning curve, but I just watched some videos online.
It will look pretty narley, but don’t worry you can grind and sand it off.
 I used a grinder to get the biggest chunks off, then used a metal file and sandpaper.
It doesn’t look perfect, but I’m OK with that!
If you want to have an aged patina immediately, you will need to purchase a solution from Rotometals.
First you need to use a fine sandpaper or sanding sponge to take the top layer off the zinc. Wipe down the metal afterwards to get all the residue off.
 You can see how the corner came out before the patina, in the above picture.
I added some water to my solution for a little lighter color.

The heaver you apply, the darker it will be. And don’t worry if it’s not what you were envisioning. You can always sand it down and start over.
Let the patina dry for at least 12 hours, then you can put on the top coat. (Available from Rotometals.)
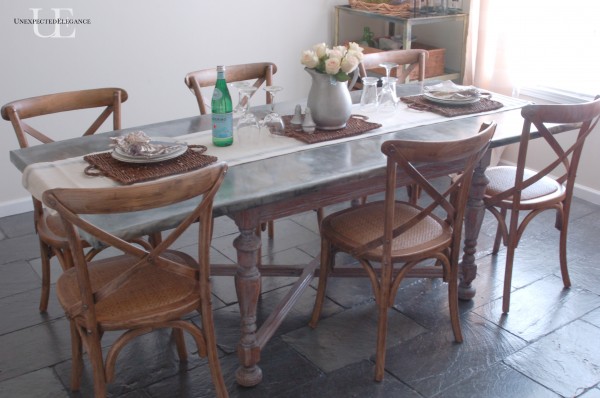
For the base of the table, I sanded it down a little then used some leftover grey paint mixed with water. I used a dry brush technique and sanded it down.

Now to find the perfect chairs!
~Angela
A Special Thanks to :
Heather @ Moritz Fine Designs: for helping with the table top
&
Gina @ Vintage Junk in My Trunk : for sending me to Rotometals
::::::::::::::::::::::::::::::::::::::::::::::::::::::::::::::::::::::::::::::::::::::::::::::::::::
More ways we use this space (click on image to be taken to post):
::::::::::::::::::::::::::::::::::::::::::::::::::::::::::::::::::::::::::::::::::::::::::::::::::::

WOW!!!!!! So amazed at your vision and how gorgeous it came out with a captial G!
WOW!! Beautiful! Love, love, love it! Btw, what color are your walls?
Well done! Great tutorial. The table is beautiful.
Angela, that turned out GORGEOUS!!!! I am so impressed! 🙂
Thanks, Erin! I hope you are having a great semester! 🙂
Holy Cow! This was more than a project, it was a journey!
You are such a brave soul, I petrified to even think of all the ways I could mess that table up!
One thing is for certain, your lack of comments on this project are due to a lack of its exposure- not from a lack of talent cause this was so awesome! {I mean that in the very best way. 🙂 }
Great job!!
Love this! I added you to my blog side bar!
Mark @ room363
Thanks, Mark!! I’m your newest follower!
Angela,
This is the coolest tutorial I have ever seen! Snaps to you for being smart enough and brave enough to try it on your own. Now my wheels are really turning…..
I just read your tutorial and and am planning to refinish our table with a zinc top. Thank you so much for this information! I was also wondering, how exactly did you finish the bottom with the dry brush technique? I wasn’t sure just what you meant by that process but love the look of it and would like to try it out on the table legs I have 🙂 Thanks so much for any more info you would have on that! 🙂 Karla
Karla, for the base I sanded it down (the wood was already pretty worn), then I used a very light grey paint that I added water to. To dry brush it on, just wet your brush in the paint then wipe off as much paint as possible. You just want the paint to go on very thin and almost be transparent. I also sanded the whole thing down again. I was just using a sanding sponge to sand, not a palm sander, because I didn’t want to sand too much.
Hopefully, this has helped! I would LOVE to see pictures when you’re done with the table. GOOD LUCK!
~Angela
Stopping over from your feature at Eclectically Vintage. Your table is fantastic, gotta pin it!
~Bliss~
Thanks!! Happy you stopped by!
Wow! I’ve been having this fantasy of diy-ing a zinc table for our dining room and I’m so happy I came upon your tutorial! I was at Kelly’s (Eclectically Vintage) when I saw it, and knew I had to pop over to see if this was something I could actually undertake:) I think I’ll show this to my husband and see if we want to take it on during a non-kid-day!
How is it holding up?
Jessica
Jessica, it’s holding up great. Although we don’t eat at it all that often! :/ The trickiest part was the solder on the corners, but I had never done anything like it before. Please let me know if you do it!
What a wonderful idea. I’ve thought of doing it, and seeing yours just re-affired that Yes, it can be done. Your table is VERY nice! Great job…thank you so much for sharing just how you did it.
Geneva, I’m glad you stopped by! I’d love to know if you make one!
LUv the Photo step by step tutorial. I want to do a kitchen island top in stainless steel or Zinc…
Thanks for sharing your trial and error.
That’s amazing!!! I absolutely positively LOOOOOVE IT!!!!
what was the adhesive called that you used to stick the top down to the wood?
Thanks.
Charlie, it was a product that I got from Rotometals. We did my friends table and we just bought a tube of construction adhesive from the hardware store. I’m not sure of the specific brand, but I’m sure they can help you at the store. It came in a tube like caulking.
Hope that helps!
Angela
Angela – Thank you so much for posting these thoughtful, detailed instructions. I’m 68 years old and have no husband to do this sort of thing for me, so I tackled the project myself and I’m pleased to say that my zinc table top looks terrific!
The only point in the project that gave me trouble was soldering the corners. The solder kept falling out when I filed it, even though I had used the flux. I wound up filling the corners with Minwax epoxy wood filler, and painting over that with silver paint. I know that’s cheating, but it barely shows.
I really appreciate the care you took in your instructions and photos.
This is a great tutorial and the table came out beautifully! I’m so glad to have found it because I’m just about to embark on the same thing! I’ve got an old hand-me-down “antique” table that needs refinishing anyway, and since I’ve never loved it, I LOVE this idea. Just what I need to refresh the space and your pics just proved that I can do it! Thanks for the tips, pics, and inspiration! By the way, I write articles on DIY projects for Examiner.com and planned to write about this project. I’d love to feature pics of your project as well, if you’re interested. In fact, I’m always looking for content–I don’t write too often but at least 1x a month (though I should do it more) and I’d be would be happy to feature some of your projects if you’re looking for more exposure to your blog. (You can see other articles I’ve done for them by searching “Elizabeth Diskin” and “Examiner.com”. Take care!
Elizabeth, I would be happy for you to feature me! I just ask that you only use 1-2 photos and link back.
Thanks for stopping by! Good luck with your project!! 🙂
Fantastic table – was just wondering what kind of solder you used? I plan to do this myself but have no idea what kind of solder you need to use. Any ideas would be very much appreciated!
Alex, I don’t have the solder anymore, but it looks like from the pictures it is .062 or 1.5 mm. Hope that helps and GOOD LUCK!! 🙂
Oh my sister just sent me this – it’s EXACTLY how I want a tabletop to look for an antique table base I have. Perfect! Thank you so much. Just one question – do you need to treat the zinc with anything (whether or not you age it) to prevent wet glasses, dropped food, etc. from making marks on it during use? I’d really appreciate if you could take time to answer re how yours has held up to use.
Thank you again so much!
Barbara,
I am ok with the imperfections and yes sometimes glasses will leave marks. I’m pretty sure there is a sealant that they sell (from the same place I bought the zinc). One good aspect about the zinc, is that you can lightly sand it and it will remove any marks.
I think I will have to go back and re read this to see what I am missing and everyone else is seeing. I was hoping for some really good instructions, as I have gotten from other blogs but this seemed disjointed and almost as though you expected the reader to know much about that which you were speaking. Maybe I need to go back and try and find your blog, since this was a link up from another one. Otherwise I don’t think it will do me much good. what a shame, I would love to have a zinc top table.
Mary Anne,
If you still have questions, feel free to either leave me another comment or send me an email at unexpectedelegance@gmail.com Sorry if you felt the instructions were disjointed but I will do my best to answer any of your questions! 🙂
Beautiful! My husband just finished building a table base and we are planning to have a zinc top. Do you happen to remember which chemical patina you used?
I tried looking on the bottle but all the wording is almost gone. I looked on the website that I purchased everything from and it seems like they only have one kind? Here’s the link: http://www.rotometals.com/product-p/blackmagicpatina.htm
love the table!! Where did you find your chairs? Perfect!
Carol,
I got the chairs from Kirklands a few years ago but I think they have similar ones at World Market.
Now that you are using this outside, do you find that the zinc gets uncomfortably hot in the sun? I love the idea, but am wary due to this issue.
Ellen, we haven’t noticed it getting too hot but our house is in the shade in the evening when we are using it. It’s also been a little cooler here in Indiana, so it’s hard to say how it will be during hotter seasons. Sorry I’m not much help! 🙂
I love it, especially with the table set all pretty! All in, how much would you estimate the supplies to have cost? Thanks!!
Ashleh, it’s been a while since I did this project, but I think it was around $300 total.
I already have a zinc tabletop hat has gotten horribly scratched and some sort of sealant that was on it has eroded away in a lot of areas. I just want to refinish what I have. Would sanding and using the patina process work?
Rachel, that should work. Just use a very fine grit sandpaper. Good luck!
How much did you spend on materials at Rotometals?
Keeny, it’s been a while but I think it was around $250
Any tips on installing a breakfast bar with the same application??